Car & paint · 1 min read
Masking before sanding and painting: protecting edges
Masking tape for clean edges: where to mask, how to keep sanding dust and water out, and why you remove the tape promptly after painting.
Last updated:
KORNDEX sells abrasives – matching products are linked below the article.
Why you mask before sanding already
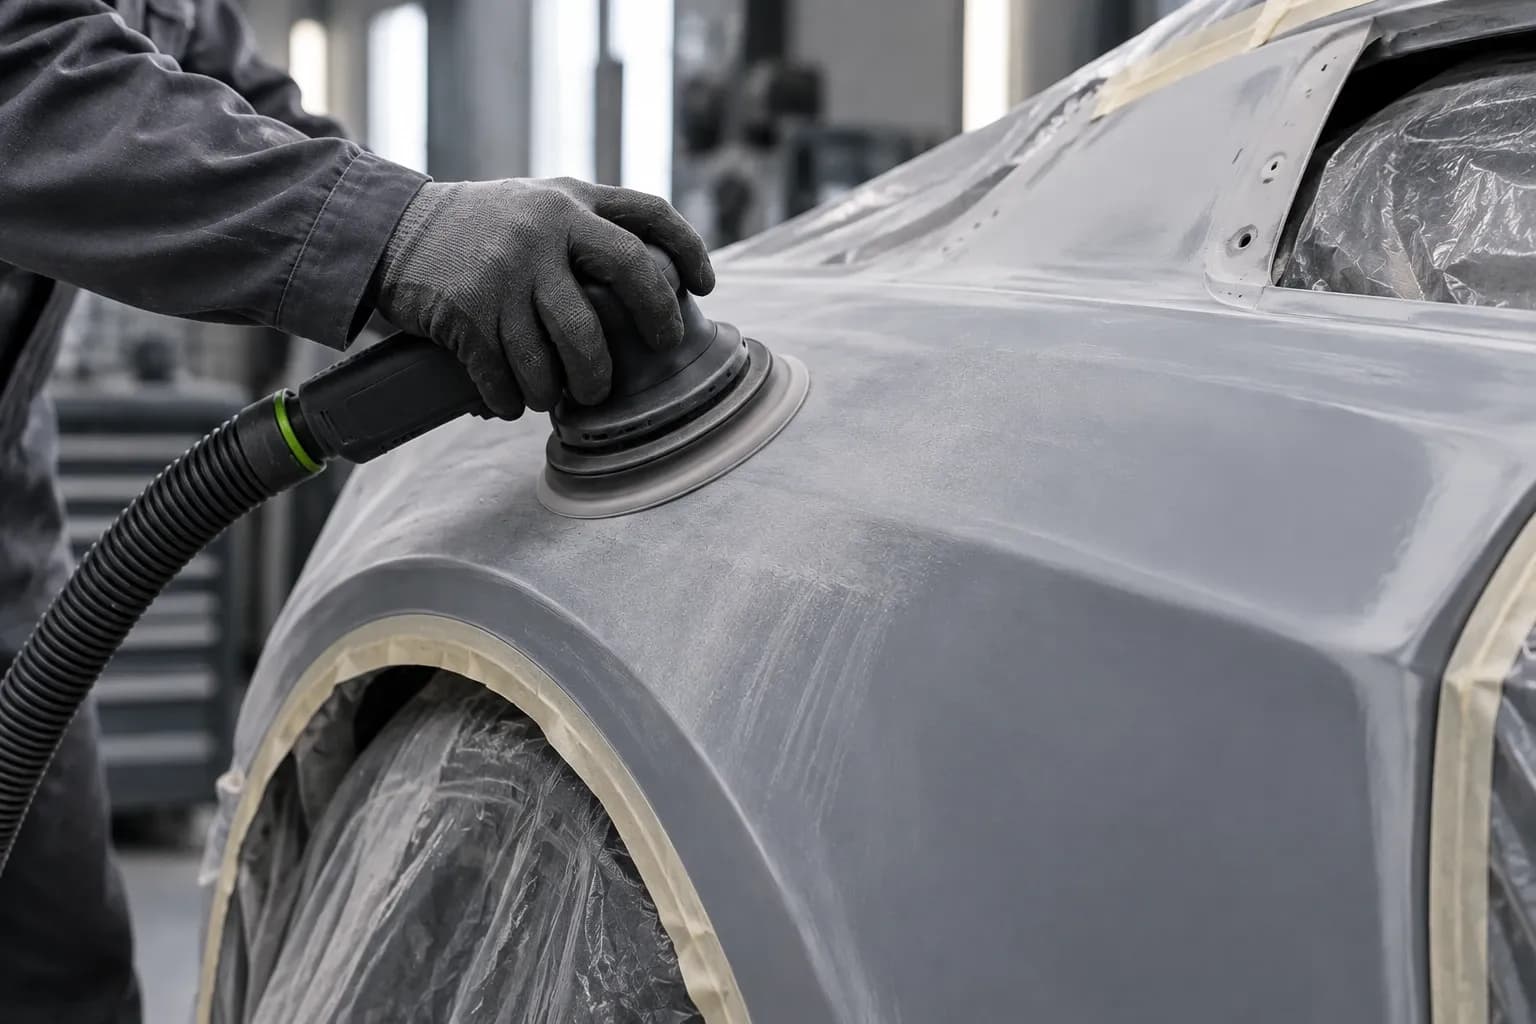
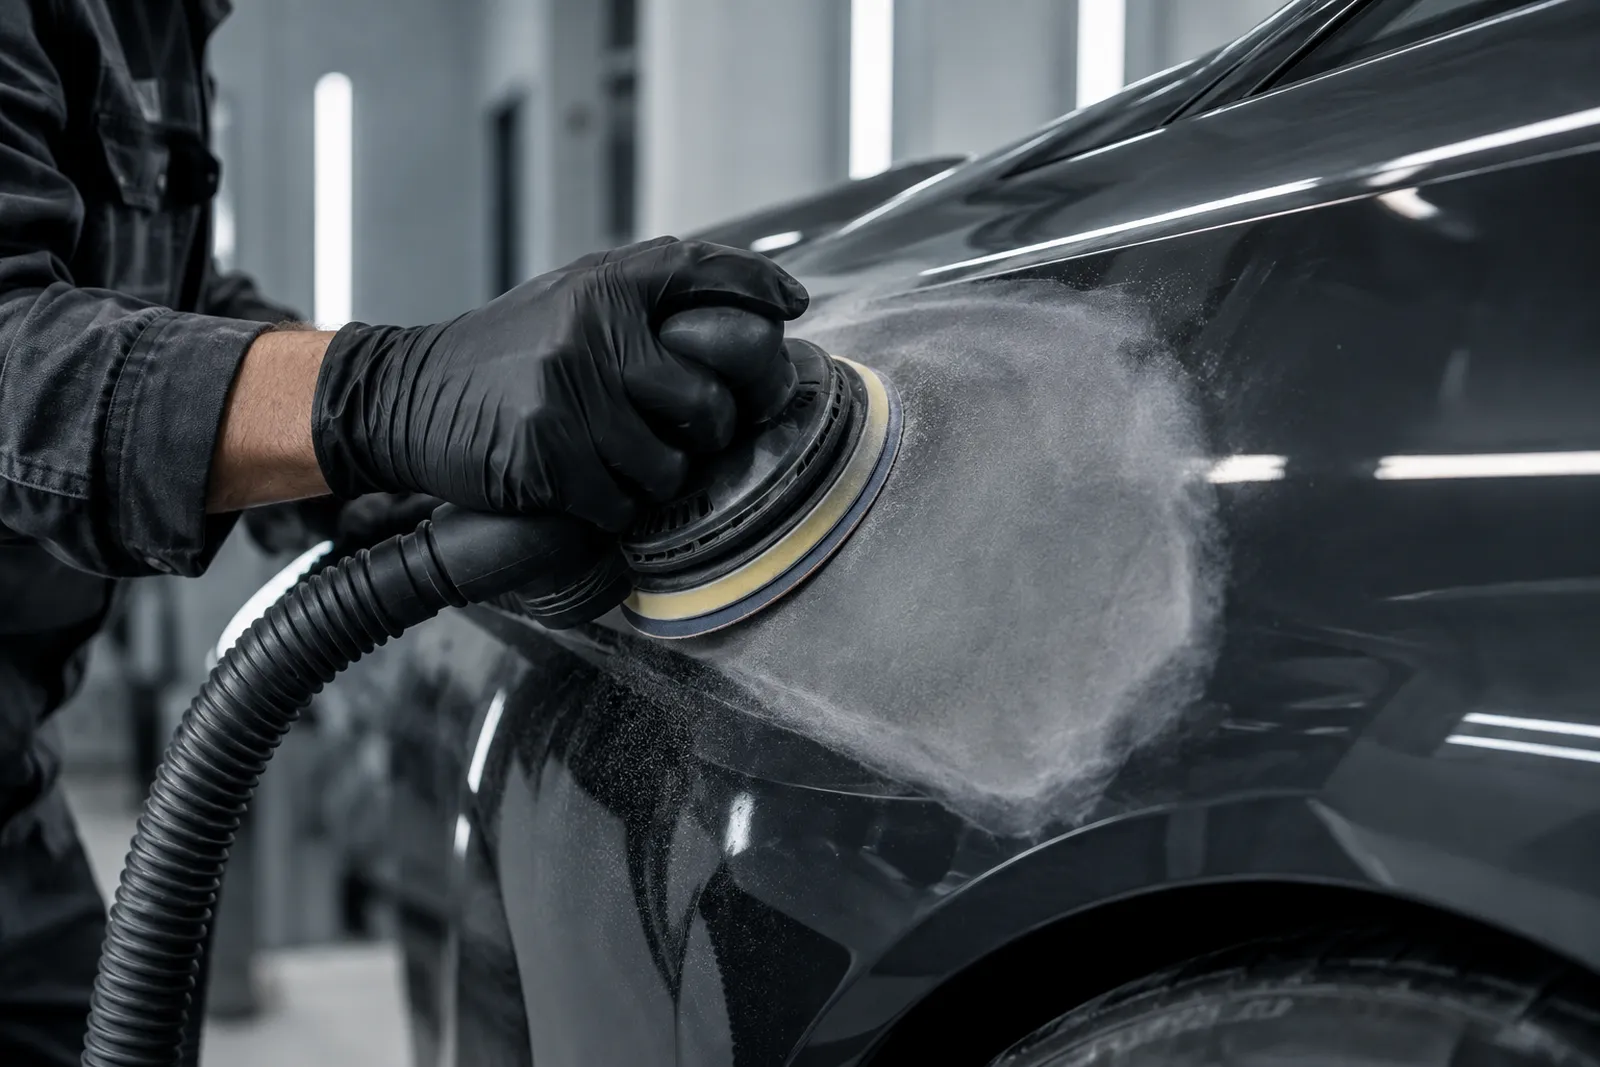
When sanding, masking tape protects edges, trim, seals and adjoining surfaces. The machine slips easily; a strip of masking tape stops the edge of a filler spot scratching into the neighbouring paint. Before painting, the tape protects everything that should not get paint.
How to mask
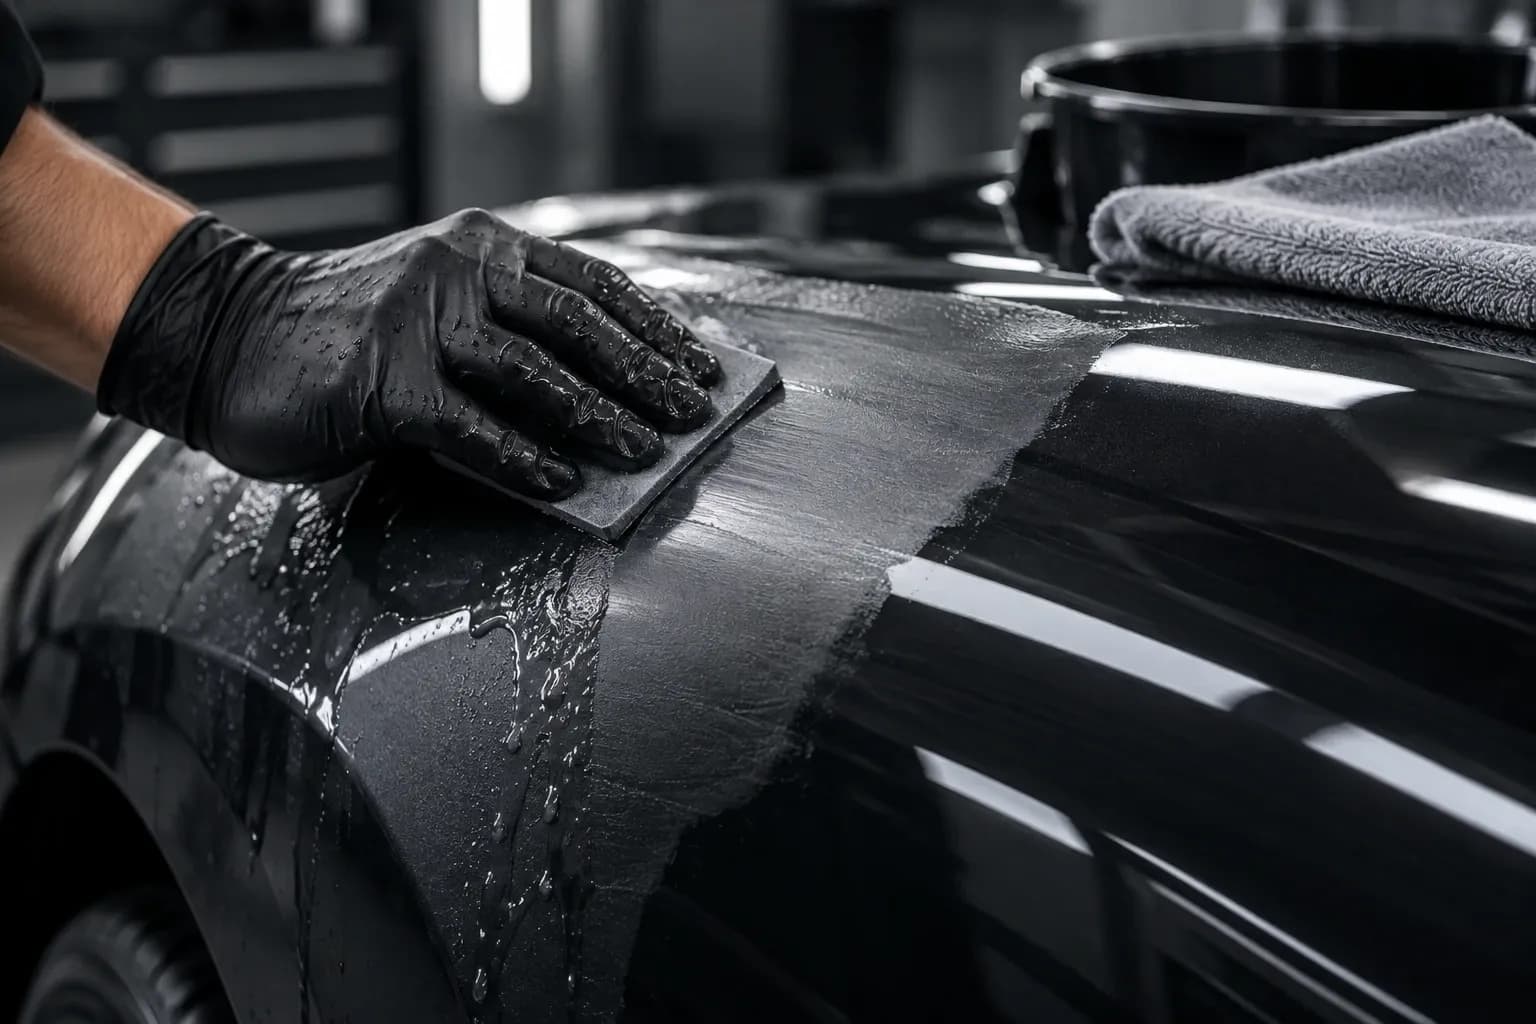
Clean and dry the surface, otherwise the tape does not hold. Press the tape down at the edge without stretching it so it does not lift again. On curves work in short pieces. With wet sanding make sure the edge is sealed so no water runs underneath.
Tape after painting
Remove the tape once the paint has set but not yet fully cured. That way the paint edge does not break off. A shallow angle when pulling prevents the paint tearing out.
Typical mistakes
Tape on a dirty surface: it comes loose, dust and water run underneath.
Leaving the tape on too long: it leaves residue. Residue-free masking tape for paint work has the advantage here.
Masked too tight: a step remains in the paint. For soft transitions see blending in.
FAQ
Do I also have to mask for sanding?
Yes, at edges, trim and seals: the tape stops the machine slipping and scratching the neighbouring paint.
When do I pull off the tape after painting?
Once the paint has set but not yet fully cured, at a shallow angle – so the edge does not tear out.