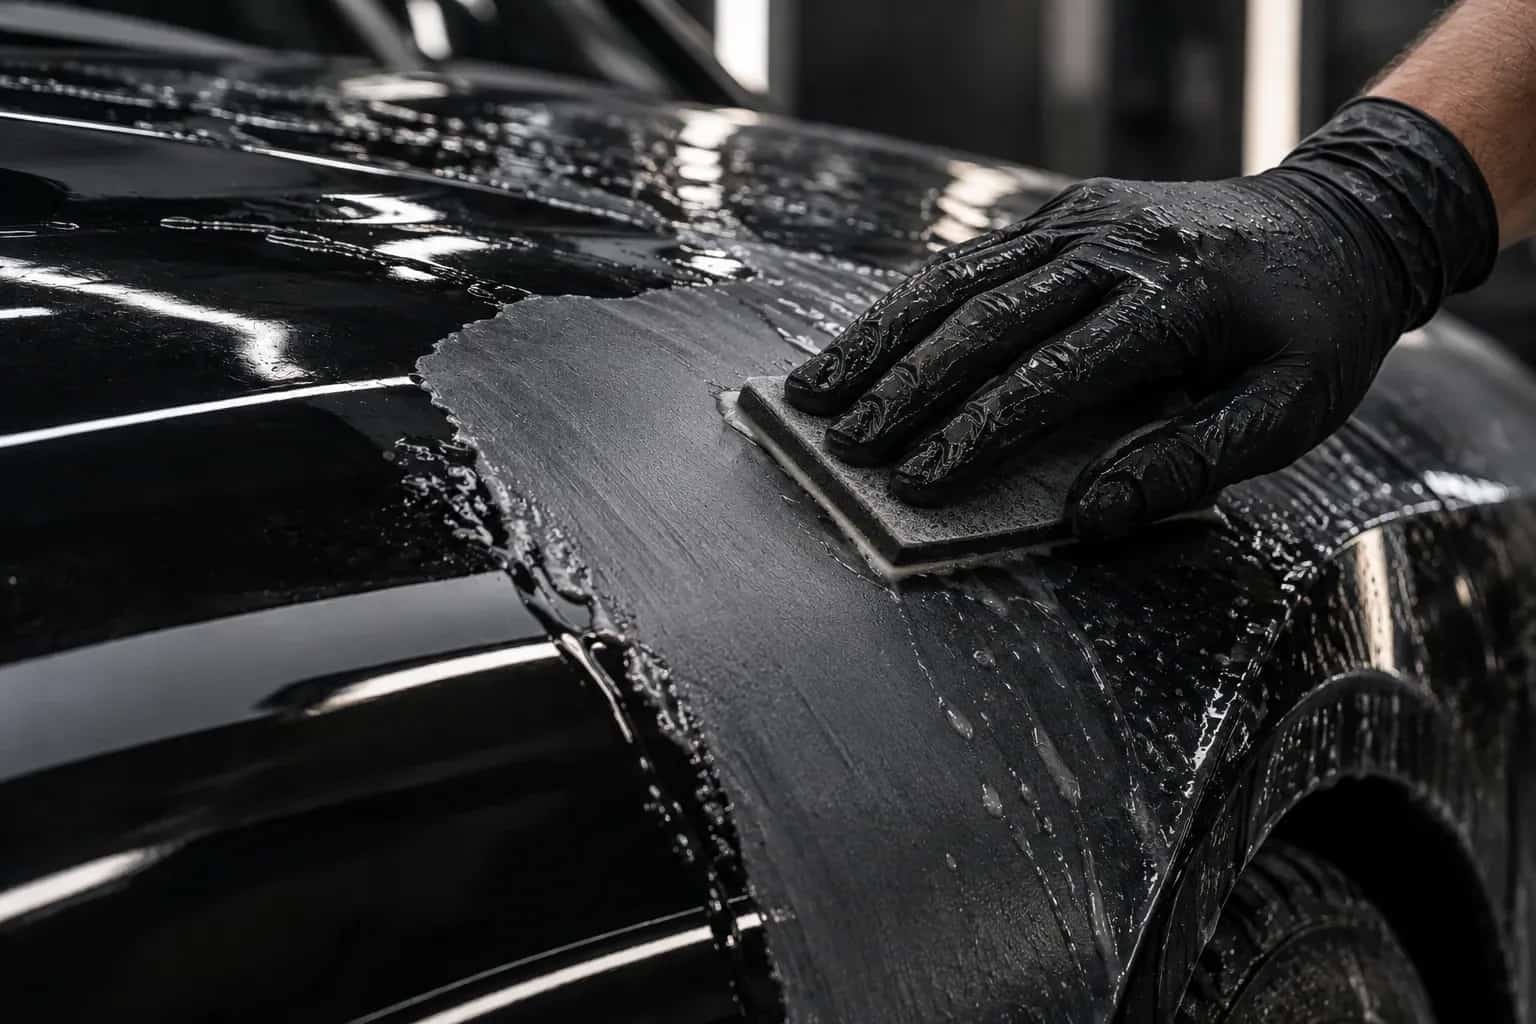
Perfect surfaces.
Sanding car & paint: grits and work steps
From body filler to the finish before polishing: key paint, smooth primer surfacer, remove paint defects. For painters, body shop pros and everyone who does it themselves.
Short answer: For car & paint: from P80 to P3000, step by step – P80 → P120 → P180 → P240 → P320 → P400 → P600 → P800 → P1000 → P1500 → P2000 → P3000. How far depends on the goal: for painting up to P600, with blend-in zone up to P1000, with finish up to P3000. Skip no step – each one removes the scratches of the one before.
5 work stepsGrit P80 to P3000Car paint starter set €69.90
The film
Sanding for car & paint
Body filler P80 to P240, primer surfacer P320 to P500, paint finishing P1500 to P3000.
How to go about it
3 stages from coarse to fine – and where you start depending on the condition of the surface.
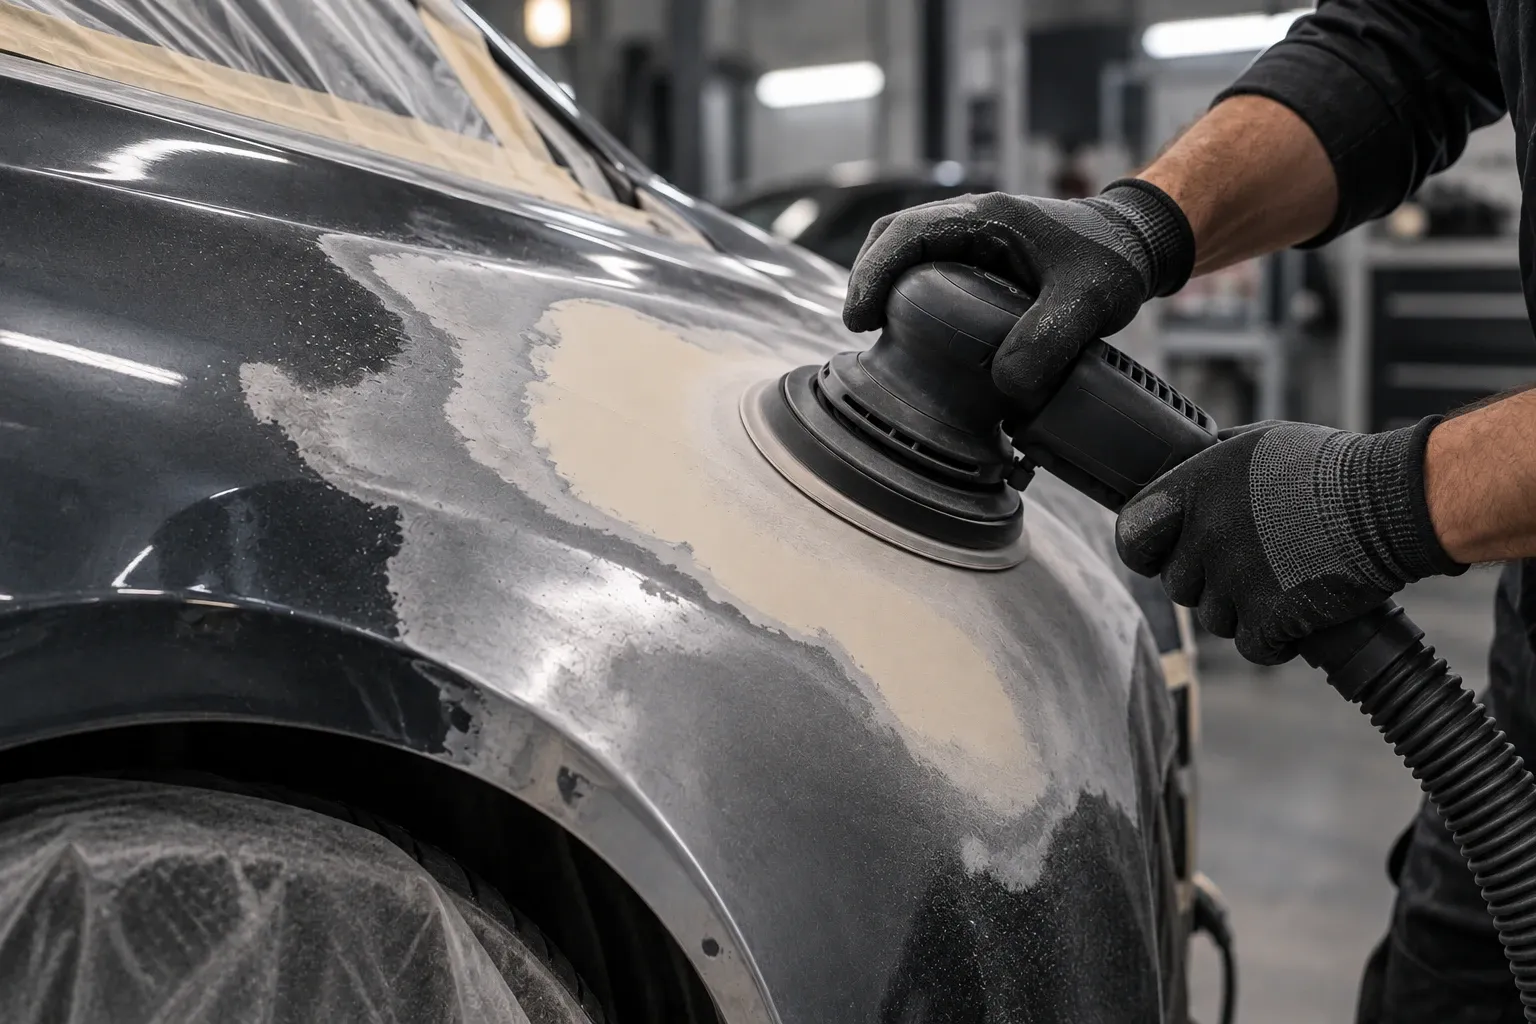
Work steps
5 steps in working order – from coarse to fine. For each step, the grits and the matching product.
- 1
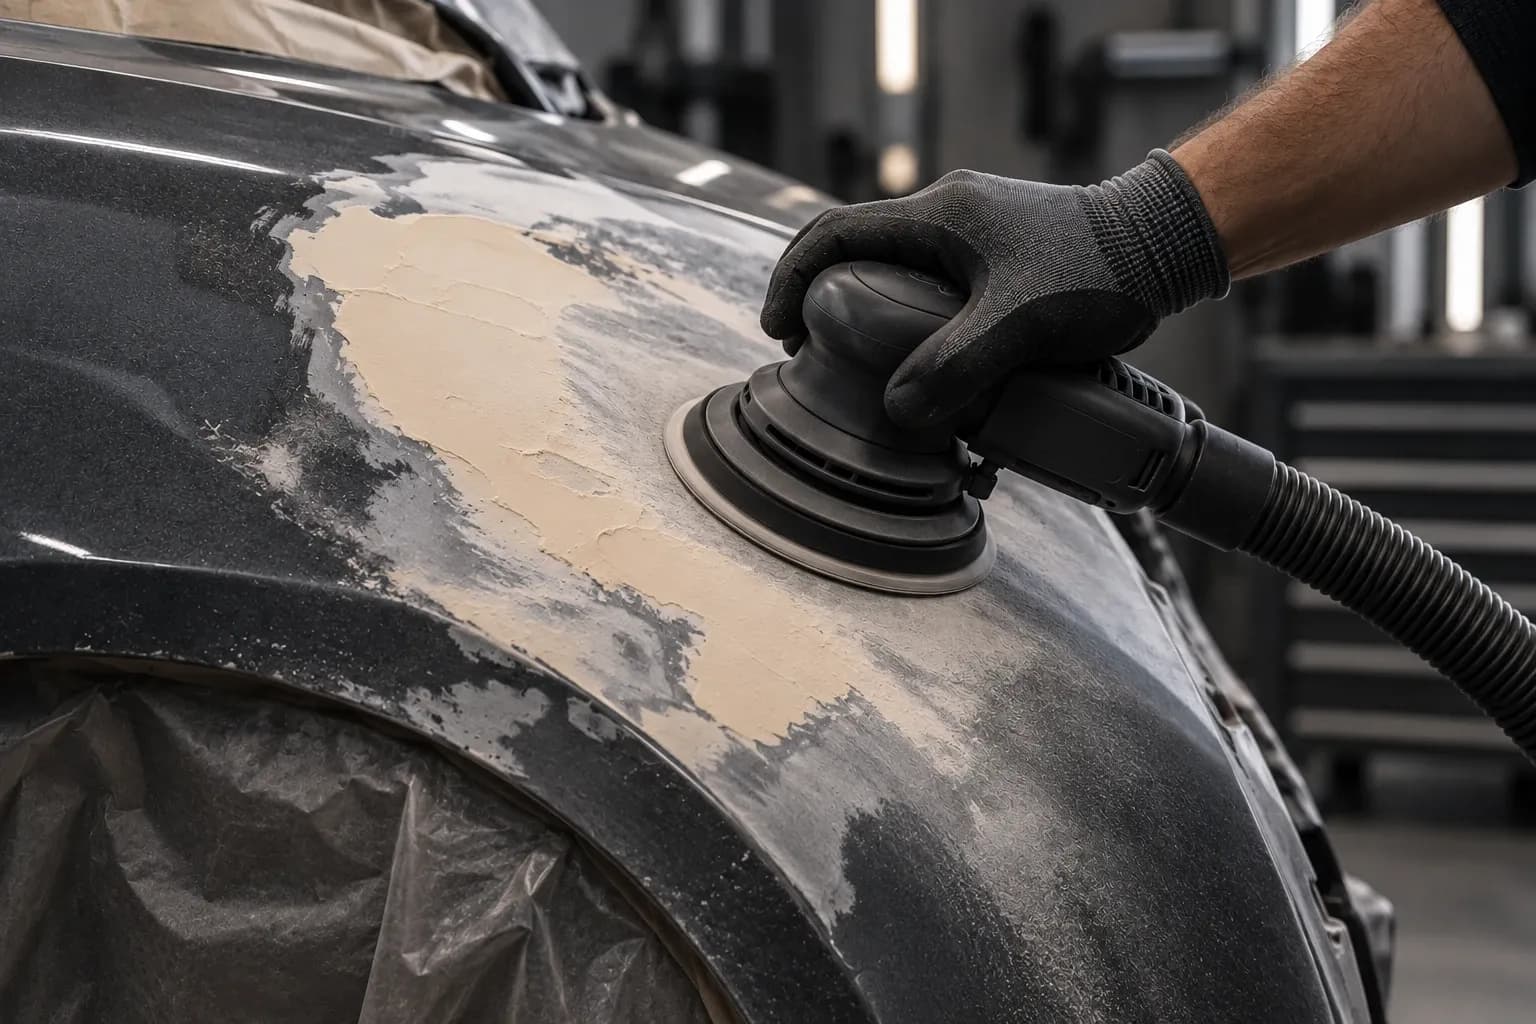
Sand body fillerDry
Shape filled areas and feather the edges into the old paint.
Move on when: The guide coat is gone everywhere and you can no longer feel the edge to the old paint with the flat of your hand.
Tip: Apply a guide coat before sanding: wherever it remains, there is still a dip. In the system: Sand body filler →
For thisPRO CUT 150 P80from €12.90 - 2
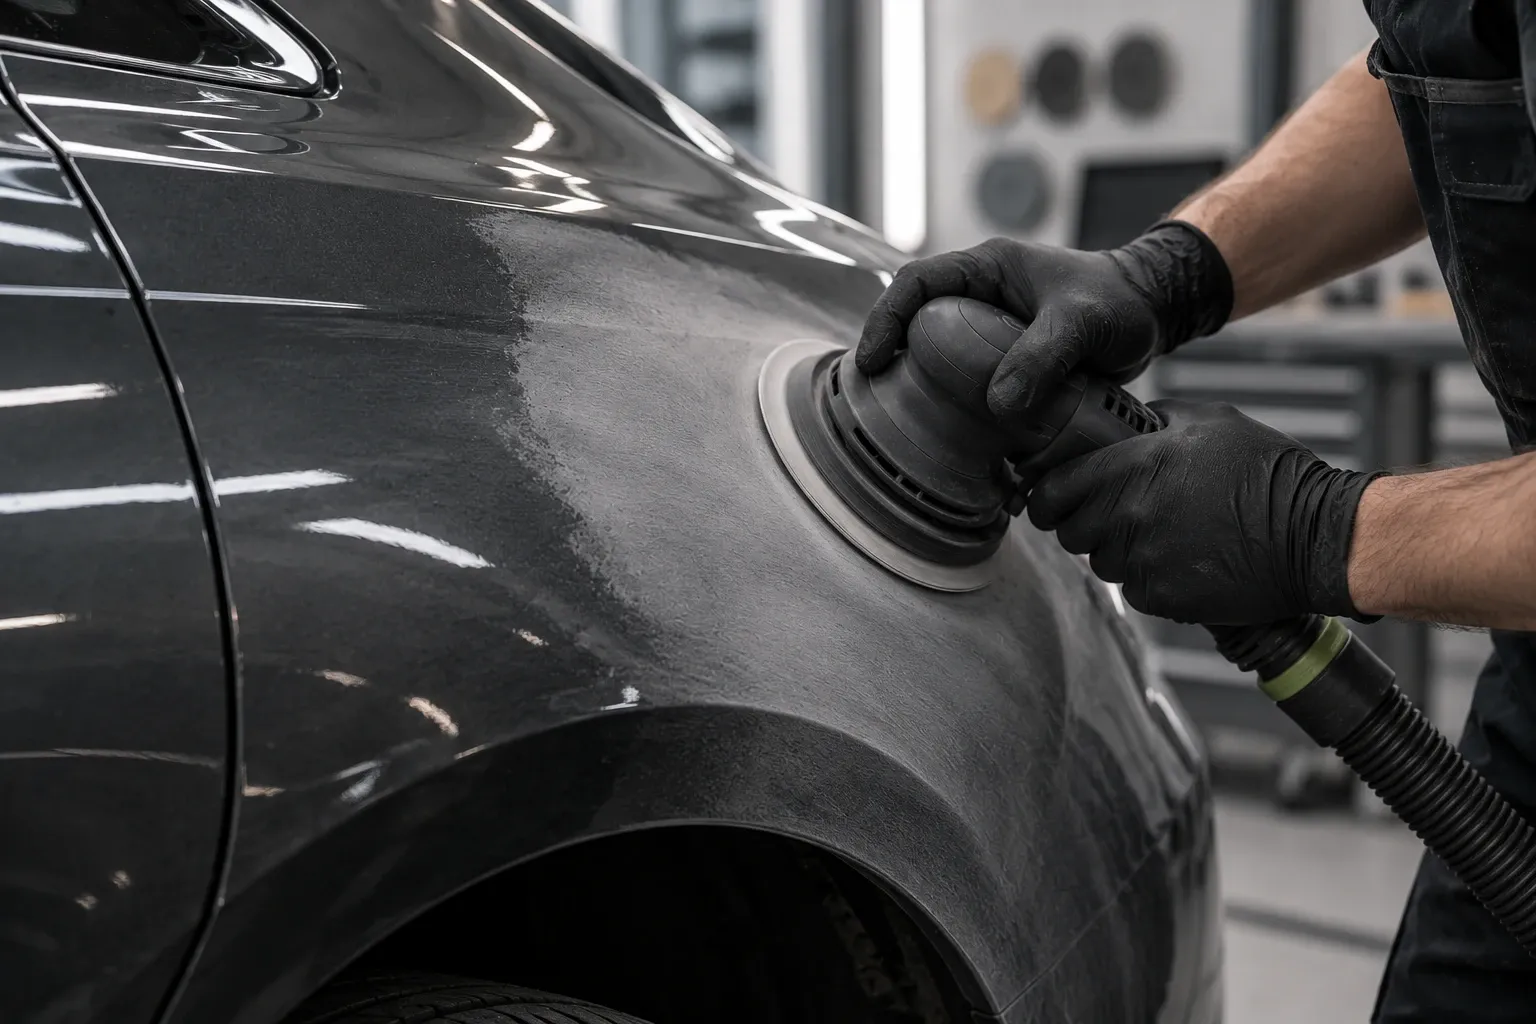
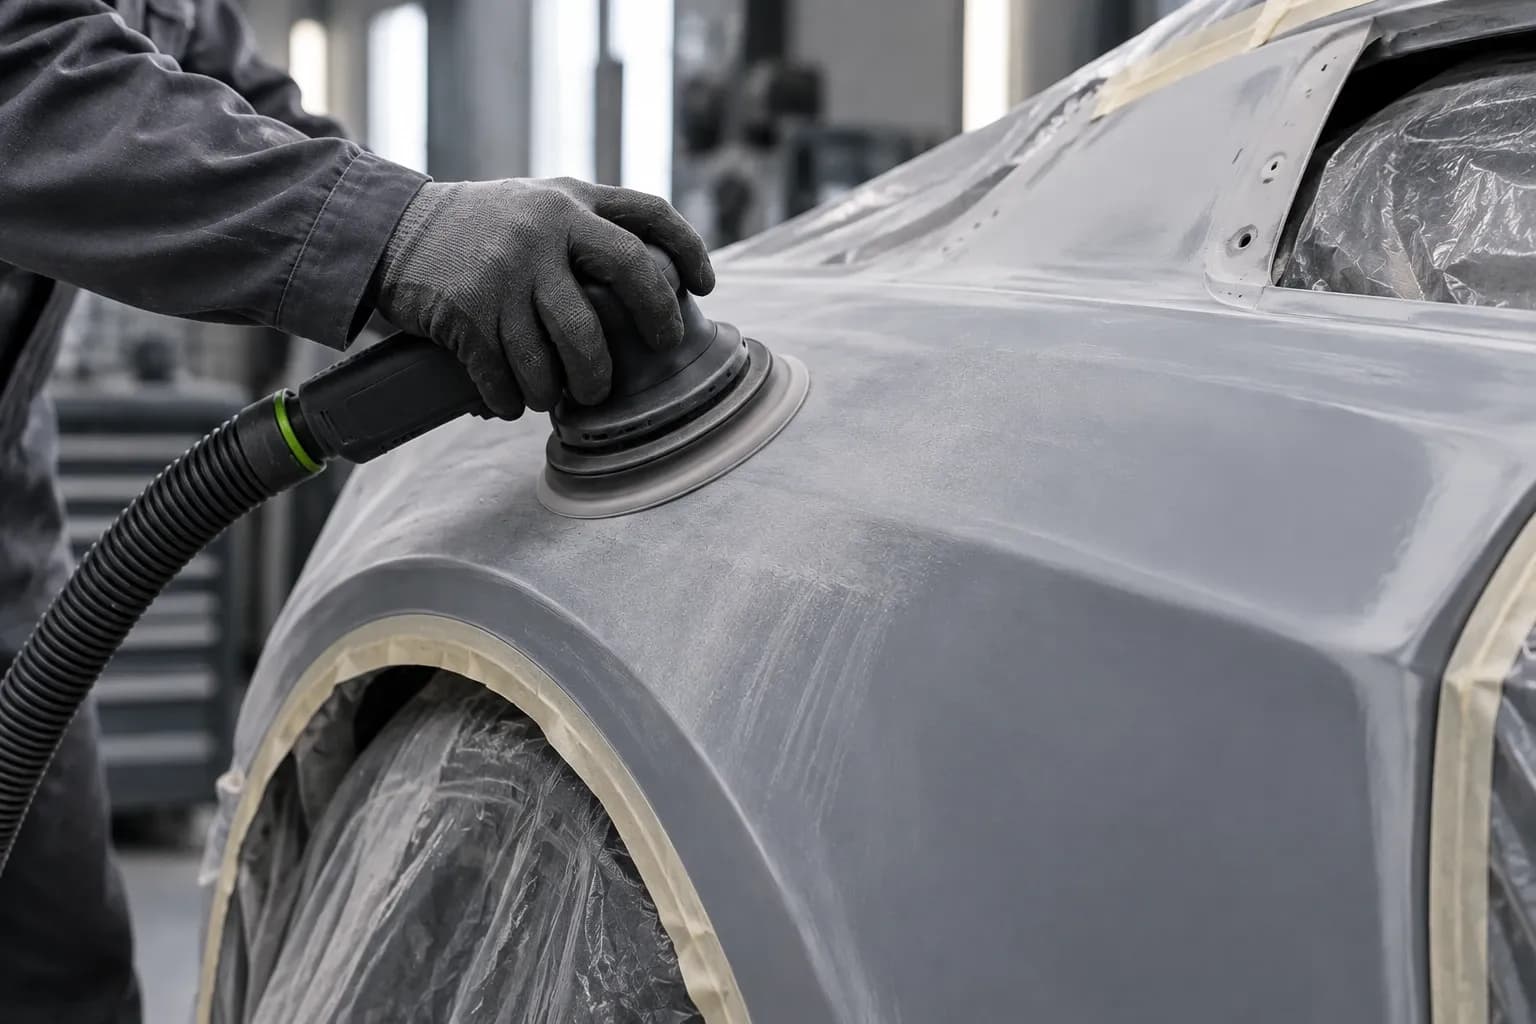
Sand primer / primer surfacerDry
Smooth the primer surfacer before the top coat – ideally with a mesh disc, which barely clogs in primer.
Move on when: No guide coat left in pores or scratches, the surface evenly matt – without sanding through to bare metal or filler.
Tip: Let the primer surfacer cure completely; if the disc clogs straight away, it is still too soft. In the system: Sand primer surfacer & primer →
For thisPRO NET 150 P320from €13.90 - 3
Keying paintDry, fine grits wet
Matt down old paint so the new coat adheres – P800 to P1000 for clear coat over base coat and for the blend-in zone.
Move on when: No glossy spots left, not even on edges and swage lines – the whole surface is evenly matt.
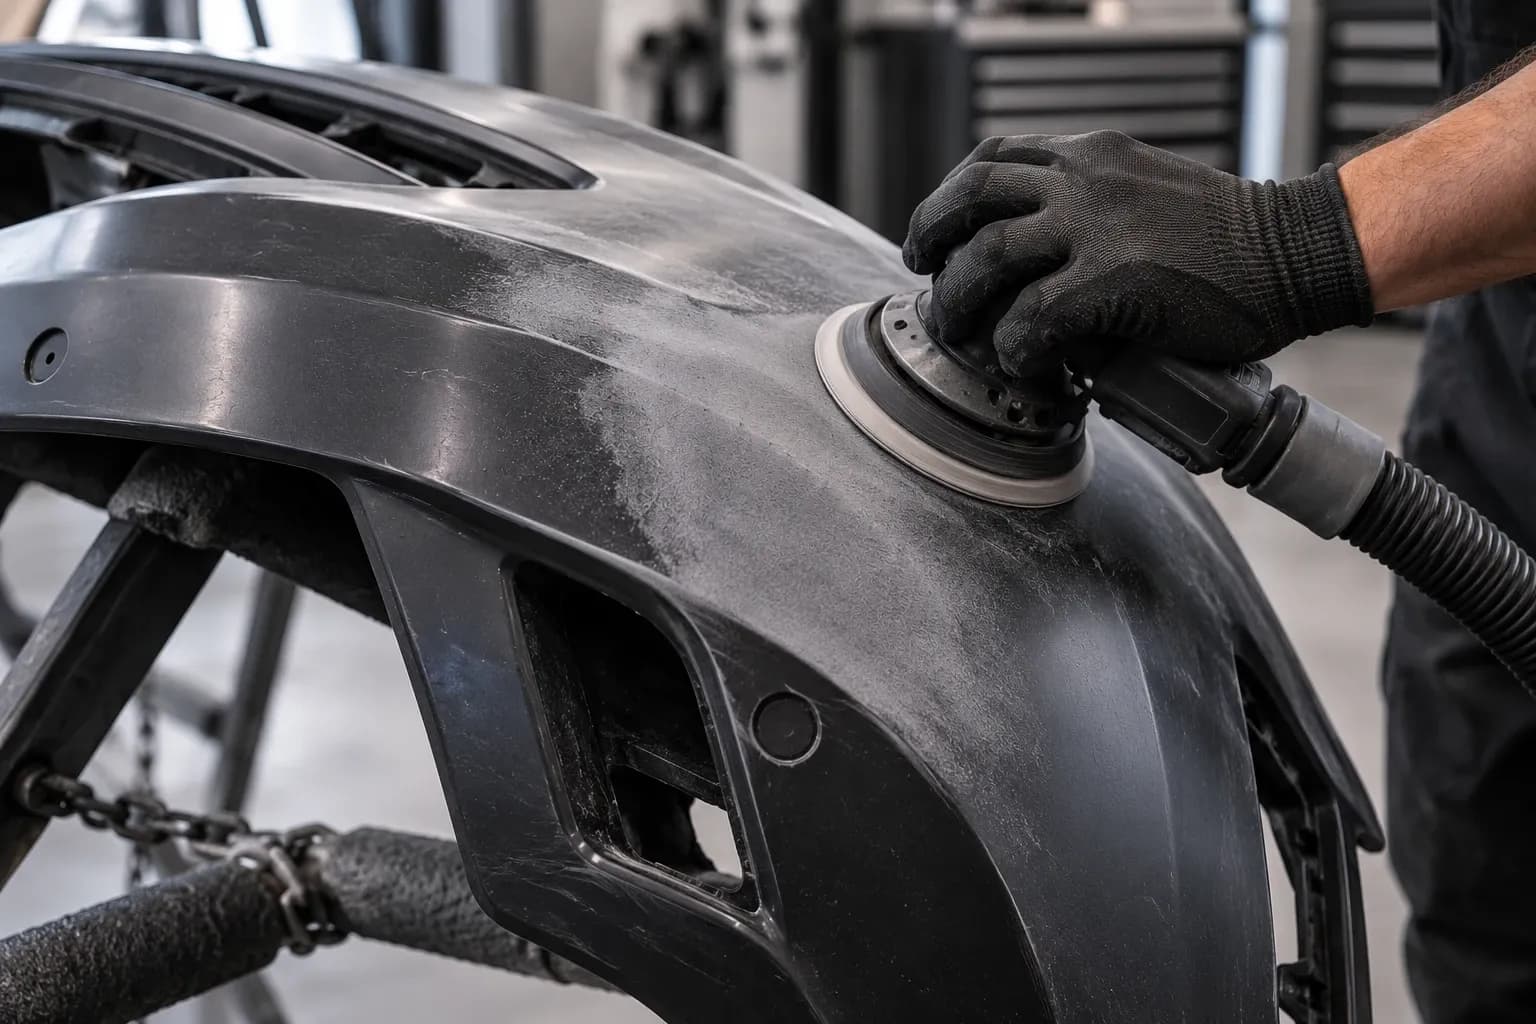
Tip: Edges and swage lines with non-woven abrasive instead of a disc – that way you won't sand through there. In the system: Key paint & plastic →
For thisPRO CUT 150 P400from €12.90 - 4
Remove paint defectsWet
Dust nibs and runs in the clear coat – spot-sand with a wet sheet on a small, hard block, light pressure.
Move on when: The defect is sanded flat: wiped damp, it shows an evenly matt patch with no glossy dot in the middle.
Tip: Only sand the defect itself, with a block or small pad, wet and with light pressure – leave the surrounding area alone. In the system: Remove paint defects →
For thisPRO SHEET 230 × 280 wet P1500from €19.90 - 5
Finish before polishingWet
Even out ultra-fine on the foam pad, then polish.
Move on when: The whole scratch pattern is evenly fine, no scratches from the coarser grit left – then dry and polish.
Tip: Matt the whole area evenly with the finest grit; the more even the scratch pattern, the shorter the polishing. In the system: Before polishing →
For thisPRO SHEET 230 × 280 wet P2000from €19.90
Dashed grits belong to the work step but are not yet in the range for Car & paint – the link explains what the grit does.
The whole sequence at once
7 grits, 1 × smallest pack each: PRO CUT 150 (10 pcs) P80 · P120 · P180 · P240 · P320 · P400 · P600.
Or as a set: Car paint starter set (P120–P600) for €69.90 →
incl. VAT, plus shipping
Matching products
14 products for Car & paint – recommended ones first, each card starts with the grit you need first here.
Abrasives
- Bestseller
- P80–P600
- Grit
- 150 mm
- Diameter
- 50 pcs
- Contents
€0.50 / pc · incl. VAT, plus shipping
- Bestseller
- P80–P400
- Grit
- 150 mm
- Diameter
- 50 pcs
- Contents
€0.50 / pc · incl. VAT, plus shipping
- Bestseller
- P240–P1500
- Grit
- 150 mm
- Diameter
- 10 pcs
- Contents
€1.59 / pc · incl. VAT, plus shipping
- 152 × 229 mm
- Dimensions
- 10 pcs
- Contents
- very fine (grey)
- Type
€1.49 / pc · incl. VAT, plus shipping
- P400–P2000
- Grit
- 230 × 280 mm
- Dimensions
- 25 pcs
- Contents
€0.80 / pc · incl. VAT, plus shipping
- P80–P400
- Grit
- 70 × 420 mm
- Dimensions
- 25 pcs
- Contents
€0.92 / pc · incl. VAT, plus shipping
- Bestseller
- P400–P2000
- Grit
- 150 mm
- Diameter
- 10 pcs
- Contents
€1.49 / pc · incl. VAT, plus shipping
Accessories
Machines
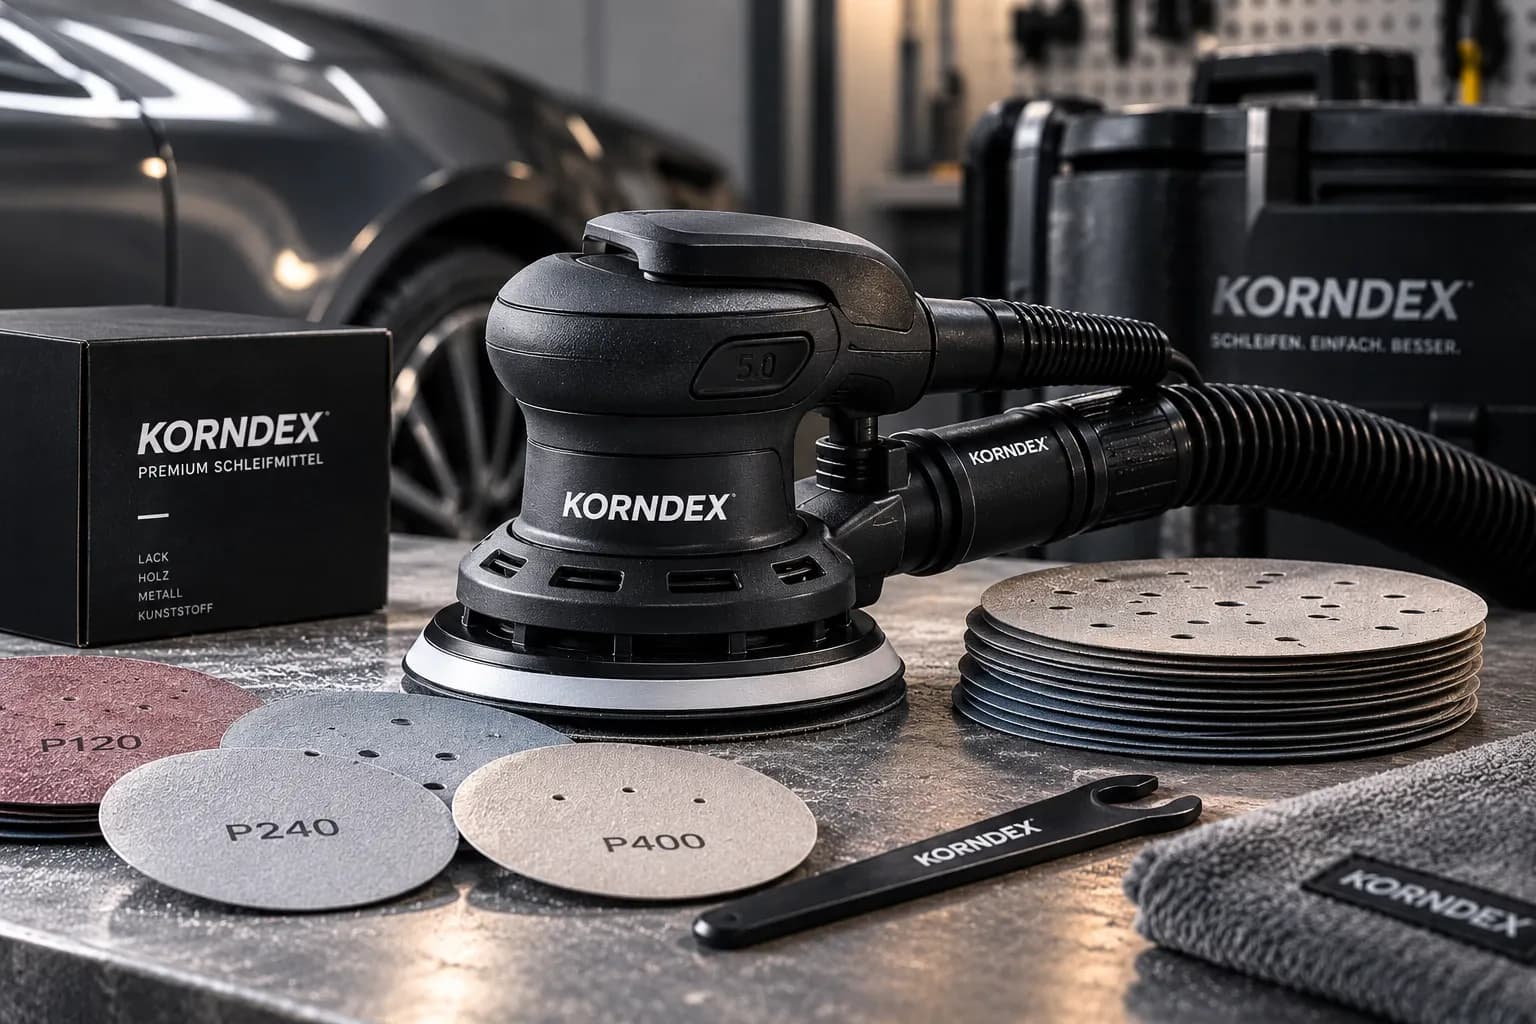
Sets & bundles
- Bestseller
- P120–P600
- Grit
- 150 mm
- Diameter
- 60 PRO CUT 150 discs
- Contents
incl. VAT, plus shipping
What matters with Car & paint
What counts beyond the grit – technique, typical defects and the related guides.
Tips from the workshop
01
Mask the edges
Mask edges, swage lines and trim before sanding: that is where the paint is thinnest, and the disc sands through to the primer in seconds.
02
Clean between grits
Before every finer grit, blow off the surface or wipe it with a tack cloth. Otherwise a broken-off coarse grain drags scratches through the fine finish.
03
Wet sanding done right
Water with a drop of washing-up liquid: keep the surface wet at all times and squeegee off the slurry regularly – that is the only way to see whether the dust nib or run has gone.
04
Dust and respiratory protection
Dust from filler, primer and paint has no place in your lungs: sand with dust extraction and wear at least an FFP2 mask – and gloves when wet sanding.
What can go wrong
View all sanding defects →Pigtails and arcs in the surface
Small, even arcs, usually only visible under raking light or after painting.
Usually: A grit was skipped – the fine grit can no longer remove the deep scratches left by the coarse one.
Scratches from the coarse grit are still there
Individual straight scratches, clearly deeper than the rest of the scratch pattern – guide coat stays in them.
Usually: The jump to the next grit was too big, for example from P120 straight to P320.
Sanded through – primer, wood or chipboard is exposed
The colour suddenly changes on edges and curves; on veneer, a different wood grain or glue shows through.
Usually: The machine was tilted, or put down or lifted off with the pad running – then the edge of the pad cuts in at one spot.
The filler repair shows through
An edge you can feel with the flat of your hand before you see it – after painting it shows as a shadow.
Usually: Sanded only on the filler instead of well beyond it – the edge remains as a step.
The disc no longer cuts, it smears
Same pressure, same speed – and still nothing happens; the surface gets warm, and there are shiny patches or lumps on the disc.
Usually: Worked without dust extraction: the dust clogs the grains before they are blunt.
The surface goes wavy, edges get rounded
Under raking light or with a long straightedge, shallow hollows show up; edges that should be crisp have gone soft.
Usually: The backing pad was tilted or put down with the machine running.
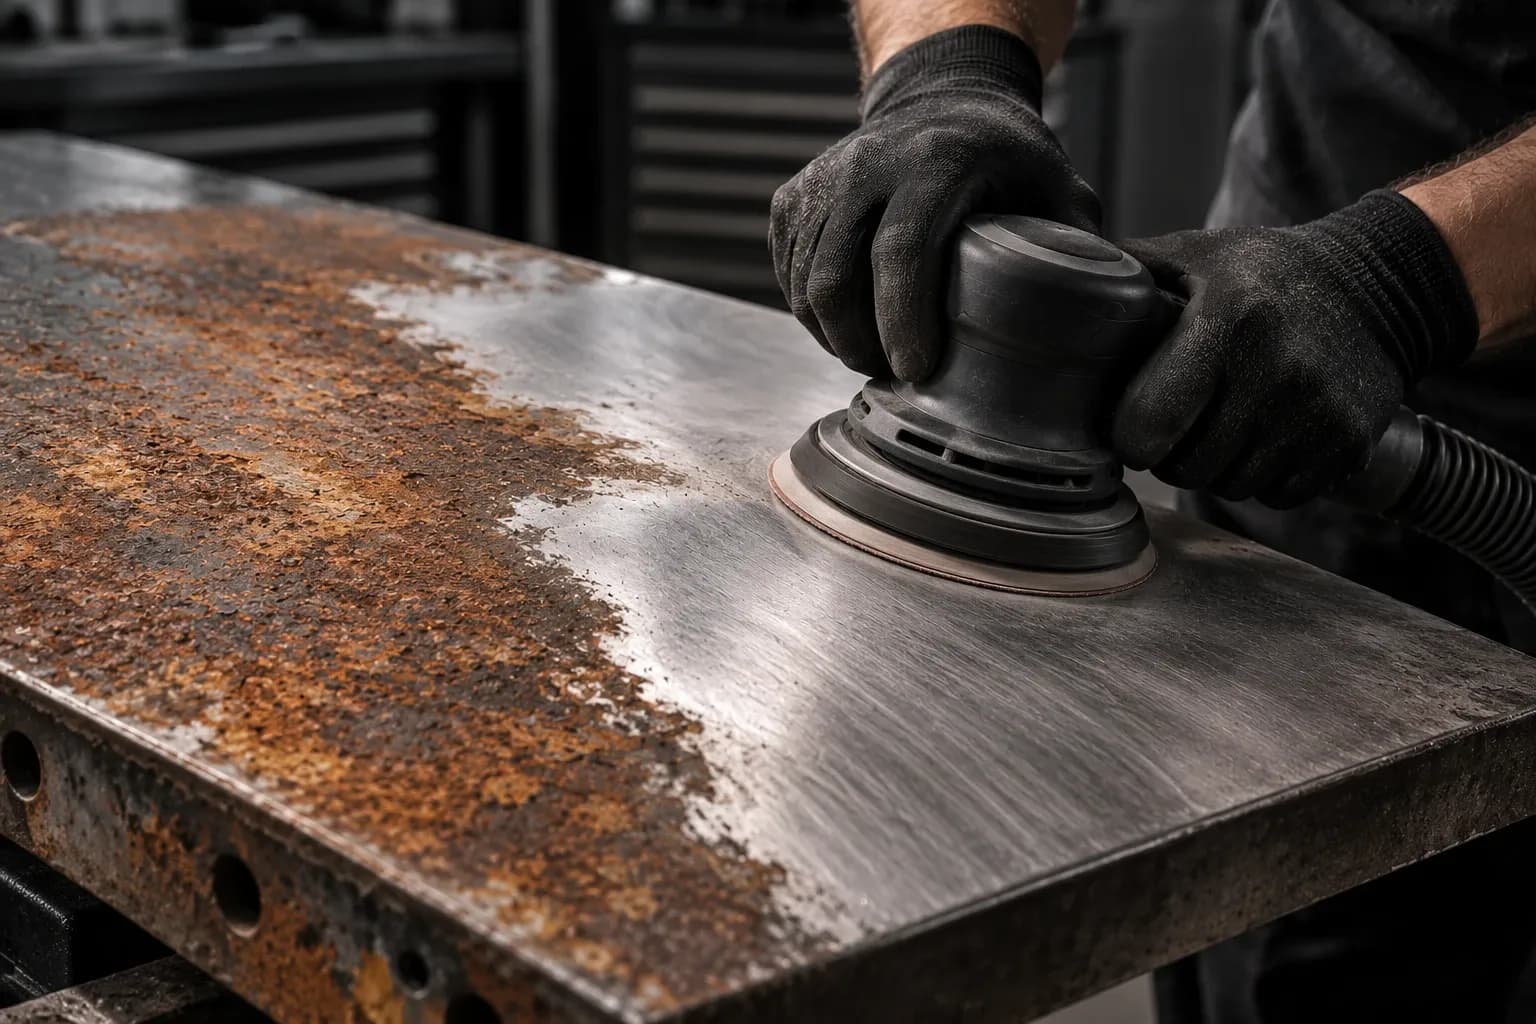
The rust comes back in the same spot
Weeks or months after the repair, the paint bubbles again in exactly the same spot.
Usually: Rust was left in the pores – under a bubble, the rust is almost always bigger than the bubble.
Blisters in the paint over a filler repair
After painting, small blisters appear over a filled area – and nowhere else.
Usually: The polyester filler was wet sanded: it is porous, soaks up the water and releases it later.
Orange peel in fresh paint
Fine waves and dimples in the paint surface that distort the reflection – like the skin of an orange.
Usually: Paint applied too thick or too dry, so it did not flow out any more.
Dust nibs and runs in the paint
Small bumps in the paint (dust) or ridges and drops (runs) that you can feel with a finger.
Usually: Dust in the air or on the part when spraying.
Haze and holograms after polishing
Rainbow-like haze or fine circular marks in polished paint that are only visible in direct sunlight or under a lamp.
Usually: The polish was too coarse, and the fine polish no longer removed the marks.
Related guides · 15 articles
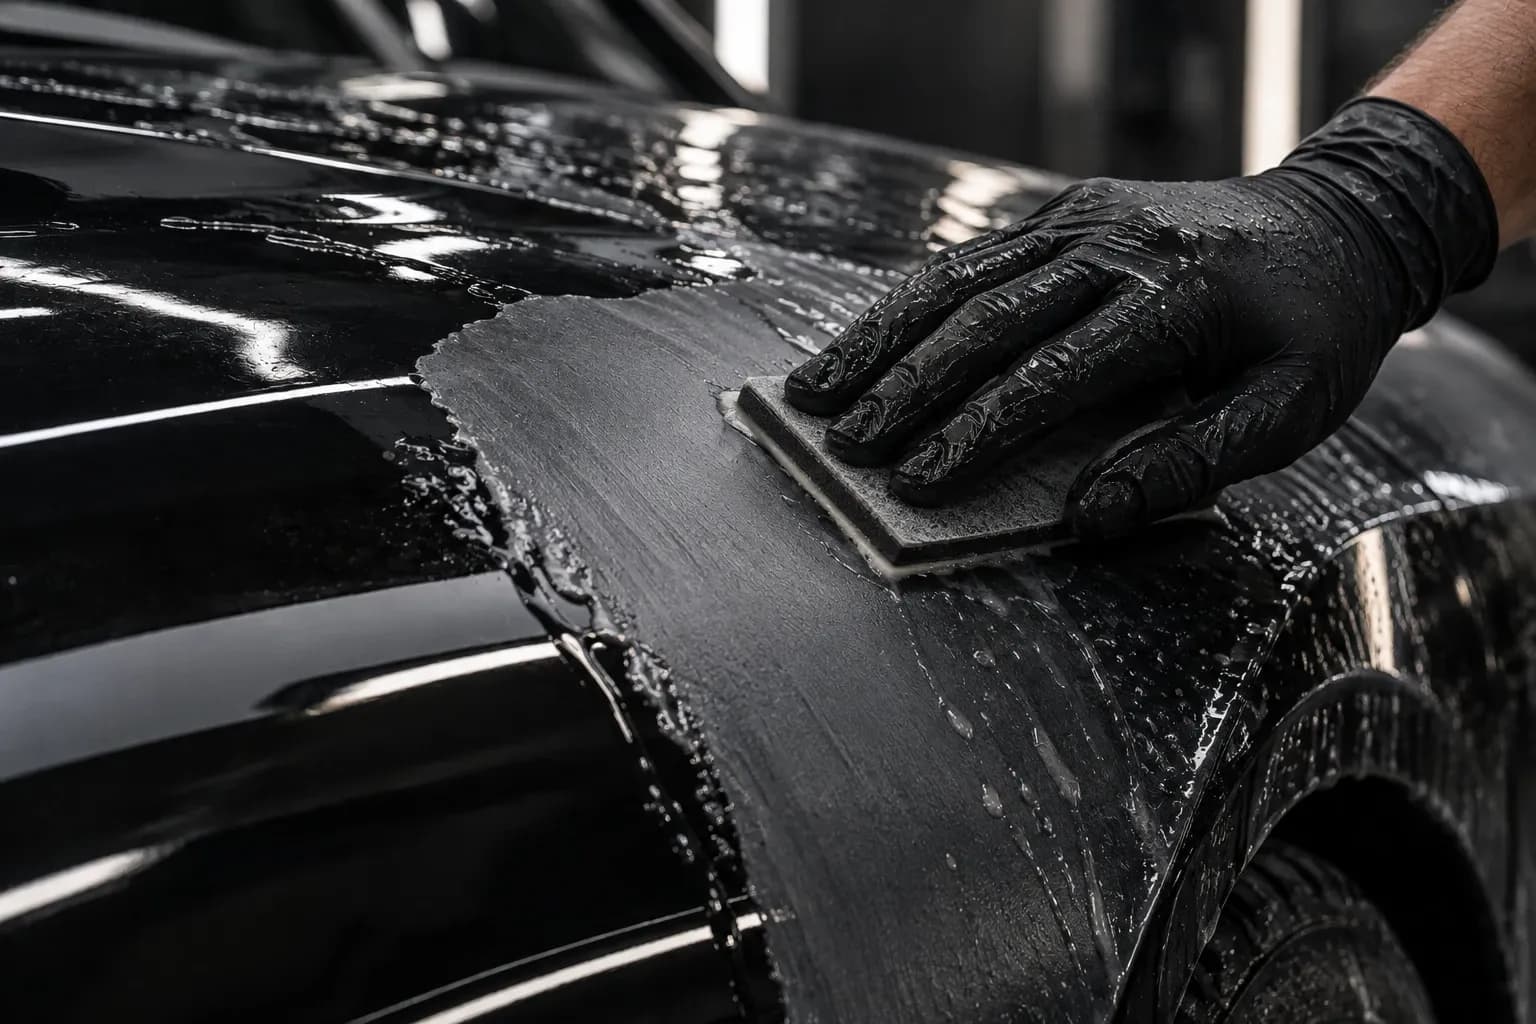
What grit sandpaper for car paint?
From body filler to finish: the grit sequence for a paint repair – and why you never skip a step.
P80 → P120 → P180 → P240 → P320 → P400 → P600
Read · 4 min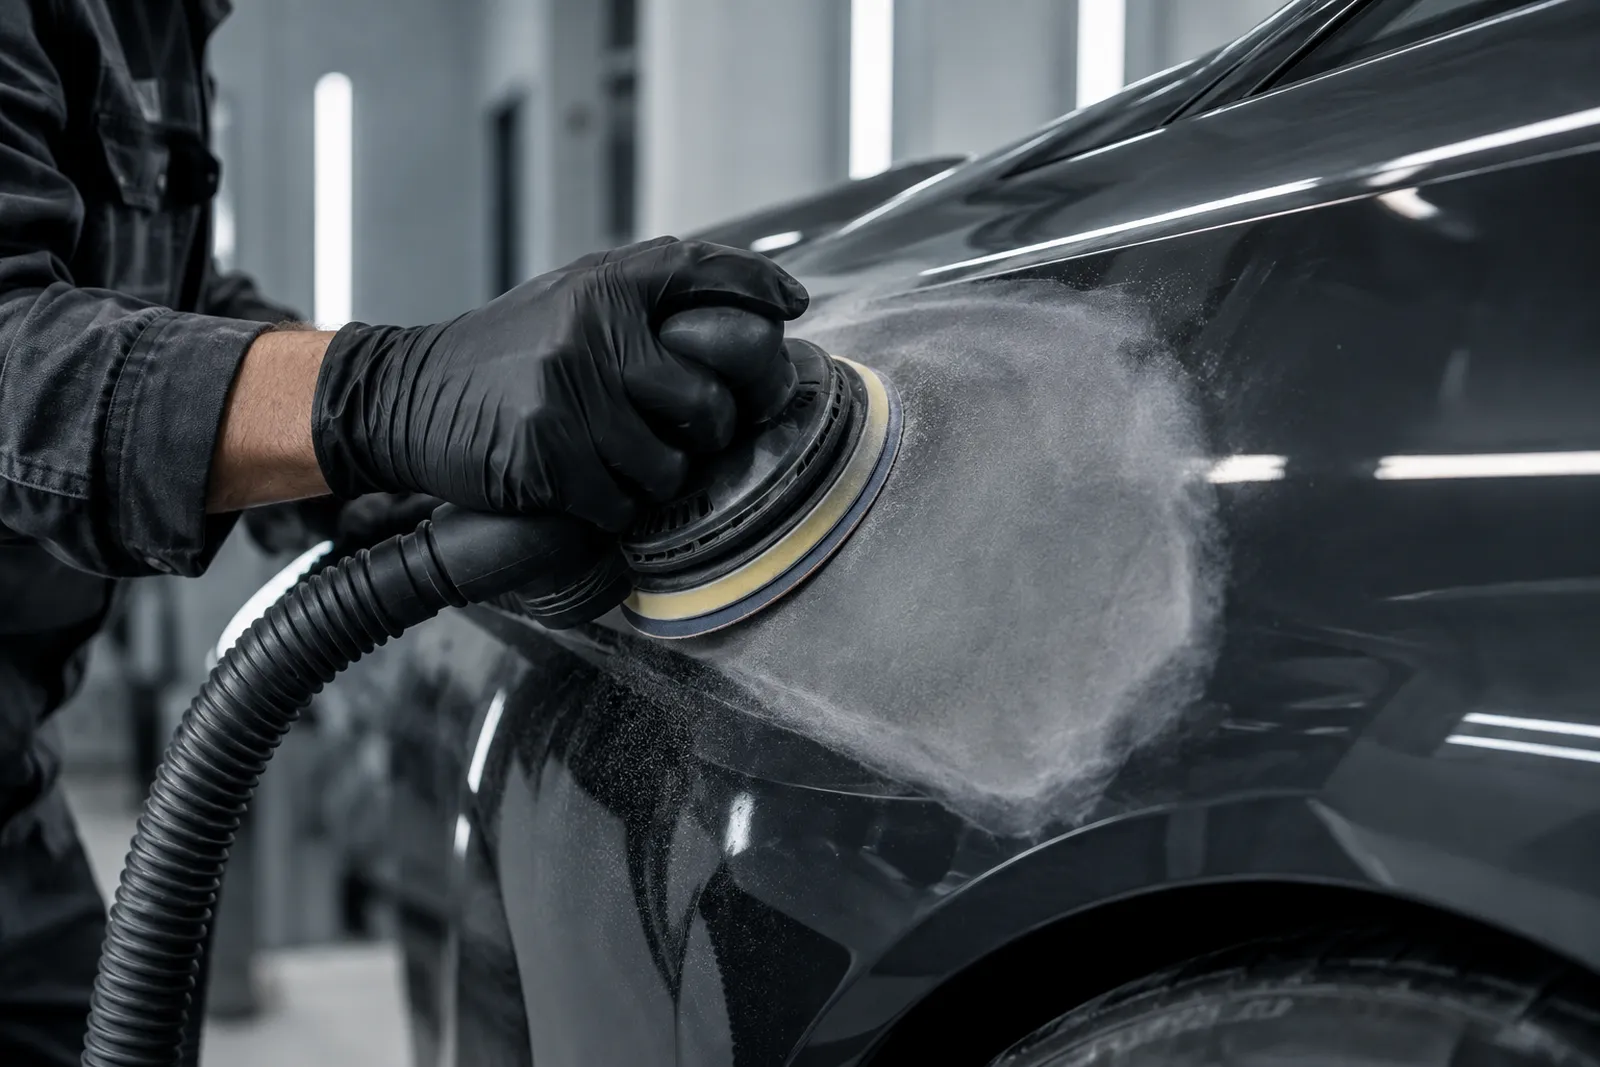
Wet or dry sanding: which grit when?
Dry with dust extraction up to P600, wet from P800 on paint – and what the water really does.
Read · 2 min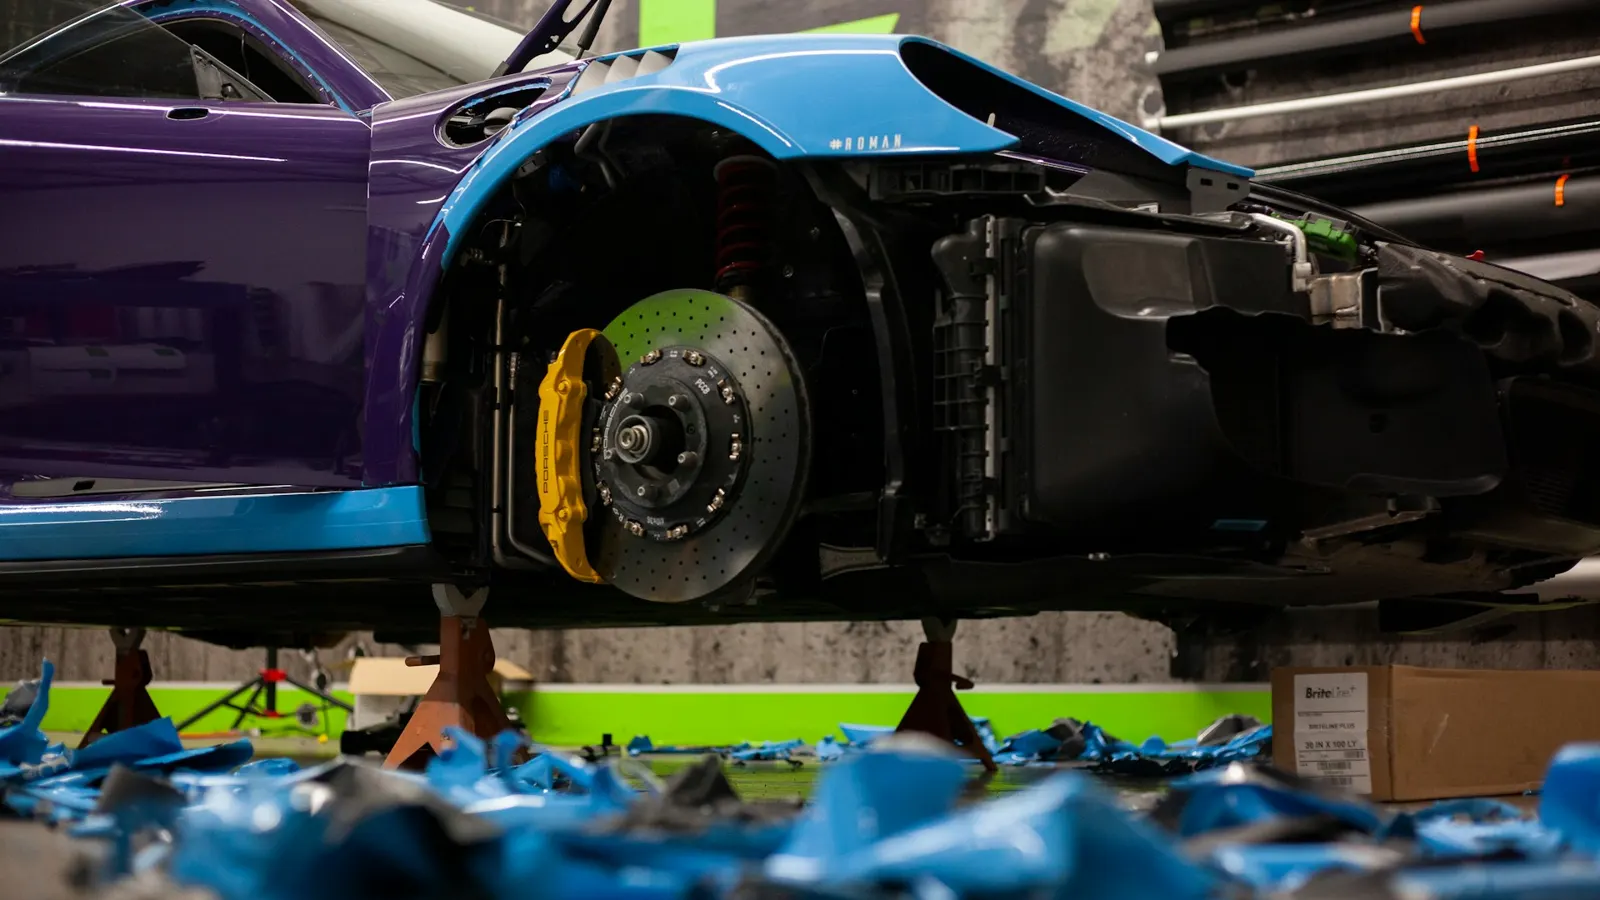
What grit for clear coat? Wet sanding P1500 to P3000
Matting before a respray, removing dust nibs and runs, finishing before polishing – three jobs, three grit ranges.
P1500 → P2000
Read · 3 min
- How to avoid pigtails and sanding scratches
- Can you sand out scratches in car paint?
- Sanding and repairing rust bubbles on a car
- Preparing a motorcycle tank for painting
- Blending paint: keying the transitions properly
- Wet sanding paper: grit, use, how to wet sand properly
- Sanding out orange peel, runs and dust nibs in paint
- Polishing paint after sanding: from P2000 to high gloss
- Repairing stone chips on a car: sanding the edge
- Masking before sanding and painting: protecting edges
- Avoiding and removing holograms when polishing
- Sanding paint matt: scuffing with P800 to P1000
FAQ on Car & paint
Which grit do I use to key paint before painting?
Matt down old paint with P400 to P600 – dry with mesh or a disc on the random orbital sander, by hand on edges and curves. For clear coat over base coat, P800 to P1000 wet is enough.
How do I polish paint after wet sanding?
After P1500 and P2000 wet, first remove the fine marks with cutting polish, then finish with fine polish. If scratches or holograms remain, the sanding was not fine enough: go back to P2000, do not polish harder.
Which grit do I use to sand paint matt for repainting?
Wet with P800 to P1000, dry with P400 to P600, until the whole surface is evenly matt and no gloss remains.
Wet or dry sanding?
Filler and primer surfacer dry with dust extraction – it is faster and you can see the surface. On paint from about P800, on clear coat and for paint defects, wet: water cools, flushes away the sanding dust and gives a finer scratch pattern.
How do I remove dust nibs and runs in clear coat?
Spot-sand them flat with P1500 to P2000 wet on a small, hard block, then even out with P3000 and polish. Light pressure, check often – edges sand through quickly.
How do I prepare the blend-in zone?
Evenly matt down the adjacent area where base coat and clear coat fade out, with P800 to P1000 wet or fine non-woven abrasive – no glossy spot may remain. Sand it coarser and the scratches will show through the clear coat later.
What orbit does the random orbital sander need for paintwork?
A 5 to 7 mm orbit for filler and heavy stock removal, 3 to 5 mm for primer surfacer and paint. The smaller the orbit, the finer the scratch pattern – with 5 mm, one machine covers almost everything from filler to keying.
Why film or foam instead of paper in the fine grits?
From about P800, film is better: it is uniformly thick, does not tear and handles water, so the scratch pattern is more even. On foam (P1500 to P3000) the disc follows curves and does not sand through on edges as quickly.
How many sanding discs do I need for one panel?
For a wing or a door, allow about two to four discs per grit – more for filler, because it clogs the disc faster. A disc is spent when it stops cutting or starts smearing, not only when it looks worn.
More applications
Different surface, different process – each application with its own work steps and grits.
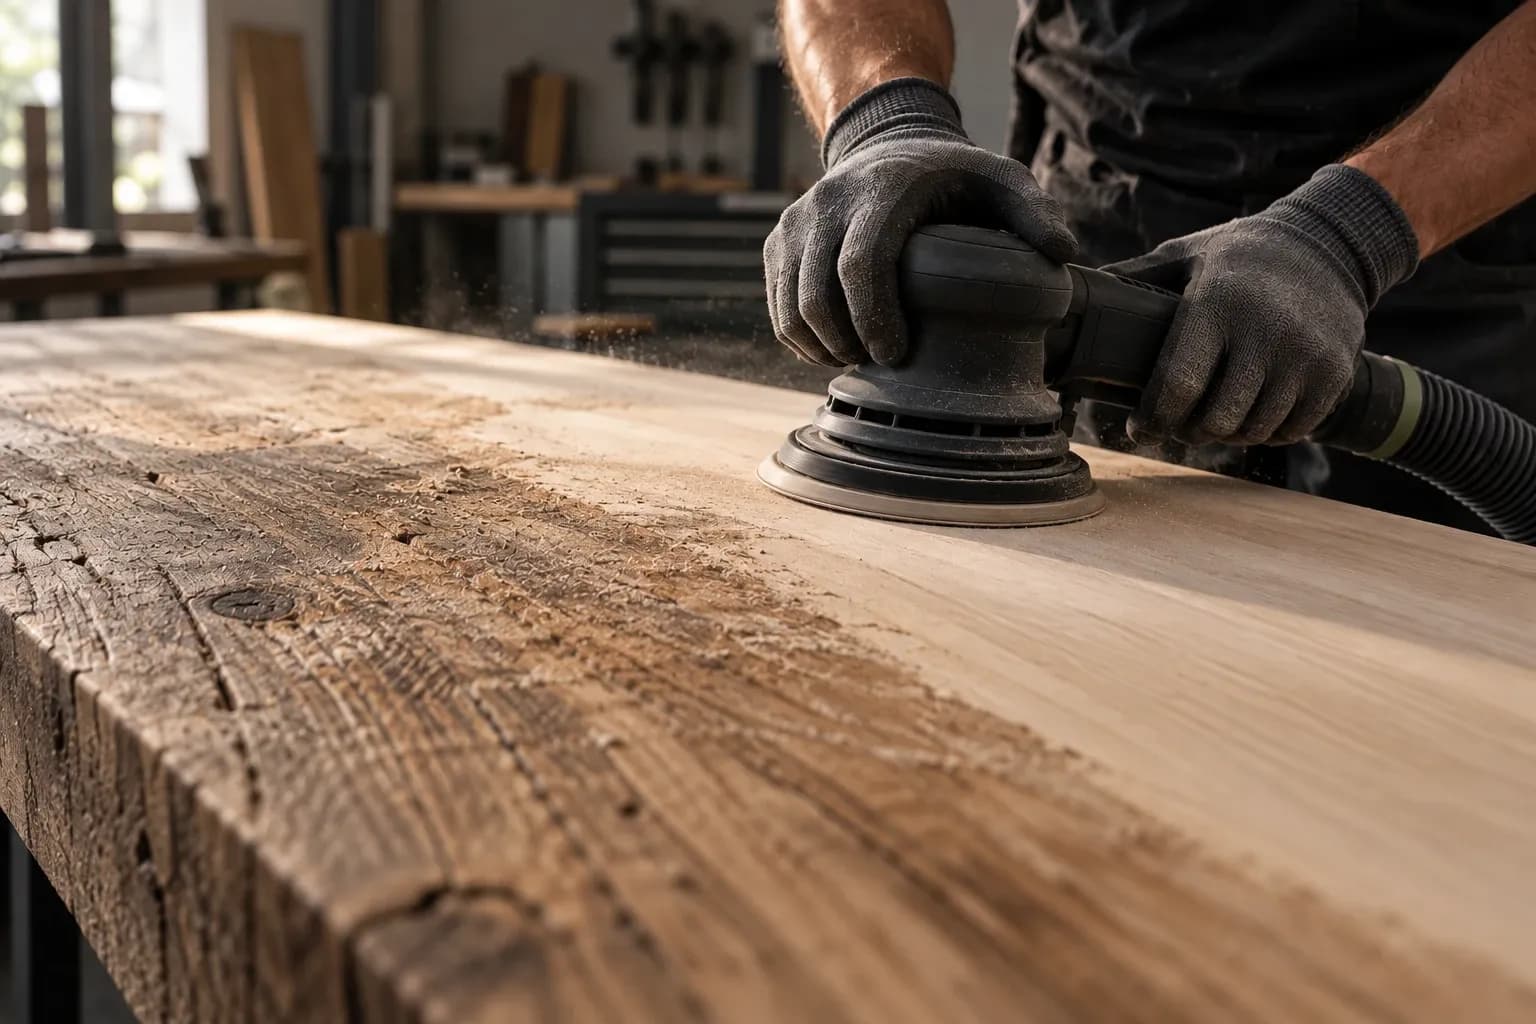
Still unsure?
The abrasive finder asks about your machine and goal – the material is already set – and tells you the product and grit.
Find abrasives for Car & paint →