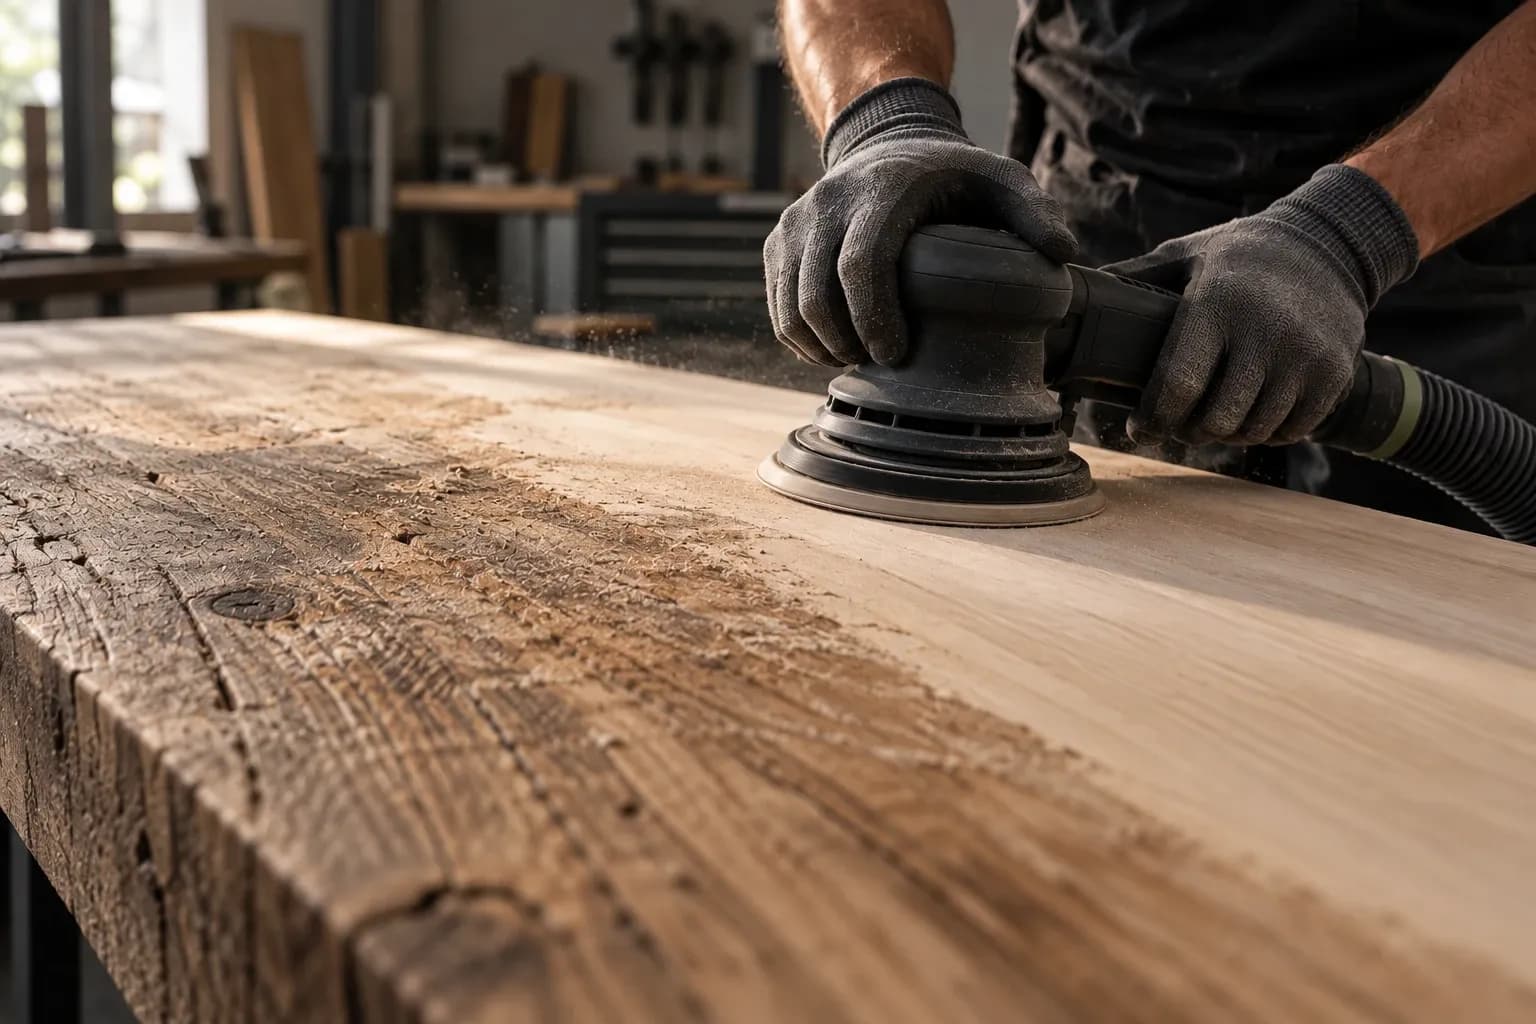
Naturally strong results.
Wood
Coarse, intermediate and fine sanding for solid wood, furniture, doors and floors – plus stripping old varnish and stain. For joiners, cabinet makers and DIYers.
5 work stepsGrit P80 to P320With old paint from P40Wood starter set €49.90
The film
Sanding for wood
From rough to perfect: P80, P120, P180, P240 – always with the grain, never skip a grit.
How to go about it
3 stages from coarse to fine – and where you start depending on the condition of the surface.
From raw to finished
Stage 1: Rough sanding
P80 – P120
Stage 2: Intermediate sanding
P120 – P180
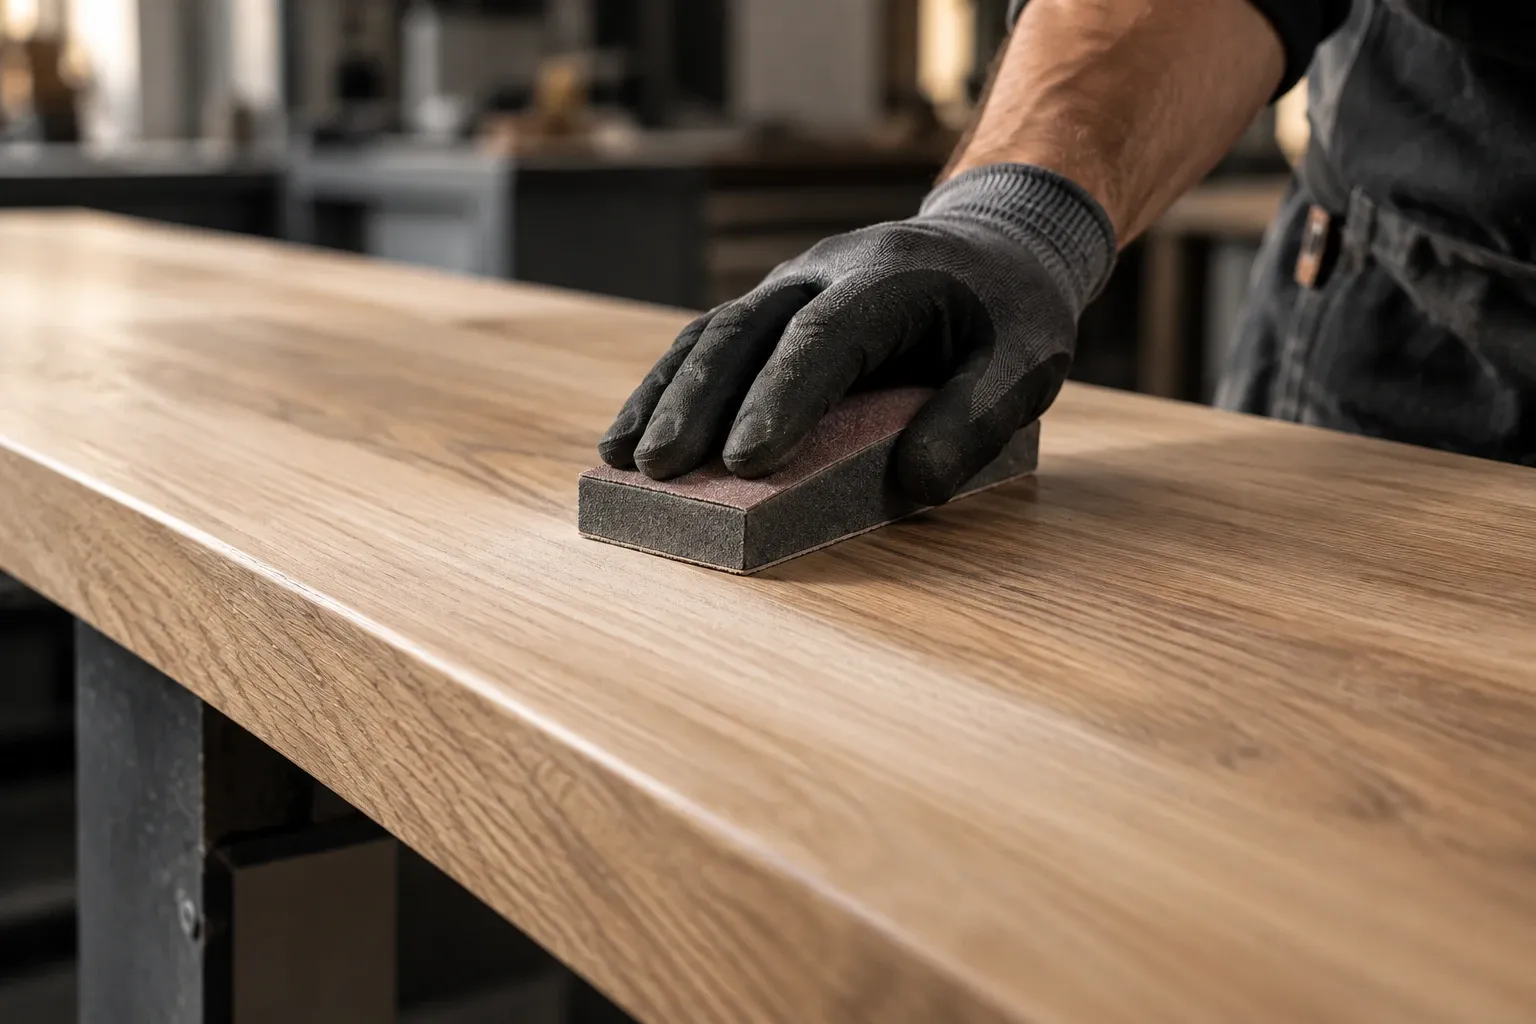
Stage 3: Fine sanding
P180 – P240
Where do I start?
The starting grit depends on the condition of the surface – not everyone starts at step 1.
| Initial condition | Starting grit | Start |
|---|---|---|
| Old varnish, stain or paintThin varnish: P60 is enough. | P40 | from step 1 ↓ |
| Sawn wood with saw marks | P80 | from step 2 ↓ |
| Weathered grey wood outdoorsDown to fresh, light-coloured wood. | P80 | from step 2 ↓ |
| Planed wood, new board | P120 | from step 3 ↓ |
| Sound finish, just recoatingJust key it until everything is matt. | P180 | from step 4 ↓ |
| VeneerNever coarser – the face veneer is often thinner than 1 mm. | P180 | from step 4 ↓ |
Work steps
5 steps in working order – from coarse to fine. For each step, the grits and the matching product.
- 1
Strip paintOnly with old paint
Remove old varnish, stain and paint – until bare wood shows everywhere again.
Move on when: No glossy or coloured patches left, not even in the pores.
Tip: First go coarse down to bare material, then one grade finer over the whole surface – otherwise the P40 scratches show through primer, paint or oil. In the system: Remove old paint & rust →
- 2
Rough sanding
Remove unevenness and saw marks.
Move on when: No saw marks, dents or stains left – the surface is flat and evenly matt.
Tip: Always sand with the grain and dust off the surface between grits – otherwise a broken-off coarse grain drags scratches through the fine finish. In the system: Pre-sand and intermediate-sand wood →
- 3
Intermediate sanding
Remove the marks from coarse sanding and smooth the surface.
Move on when: No scratches from the previous grit under raking light – a pencil grid drawn beforehand shows where you have already sanded.
- 4
Fine sanding
Ready for oil, wax or varnish – finer than P240 closes the pores.
Move on when: Smooth to the flat of your hand, no scratches visible when wiped damp. Remove dust thoroughly.
Tip: Before the last sanding pass, dampen with a wet cloth and let it dry: you then sand off the raised fibres once, instead of after the first coat. In the system: Fine-sand wood →
- 5
Between coats
Once dry, lightly key by hand so the next coat adheres – with a block and strip you are less likely to sand through than with a machine.
Move on when: The coat is evenly matt everywhere without sanding through – then remove the dust and apply the next coat.
Dashed grits belong to the work step but are not yet in the range for Wood – the link explains what the grit does.
The whole sequence at once
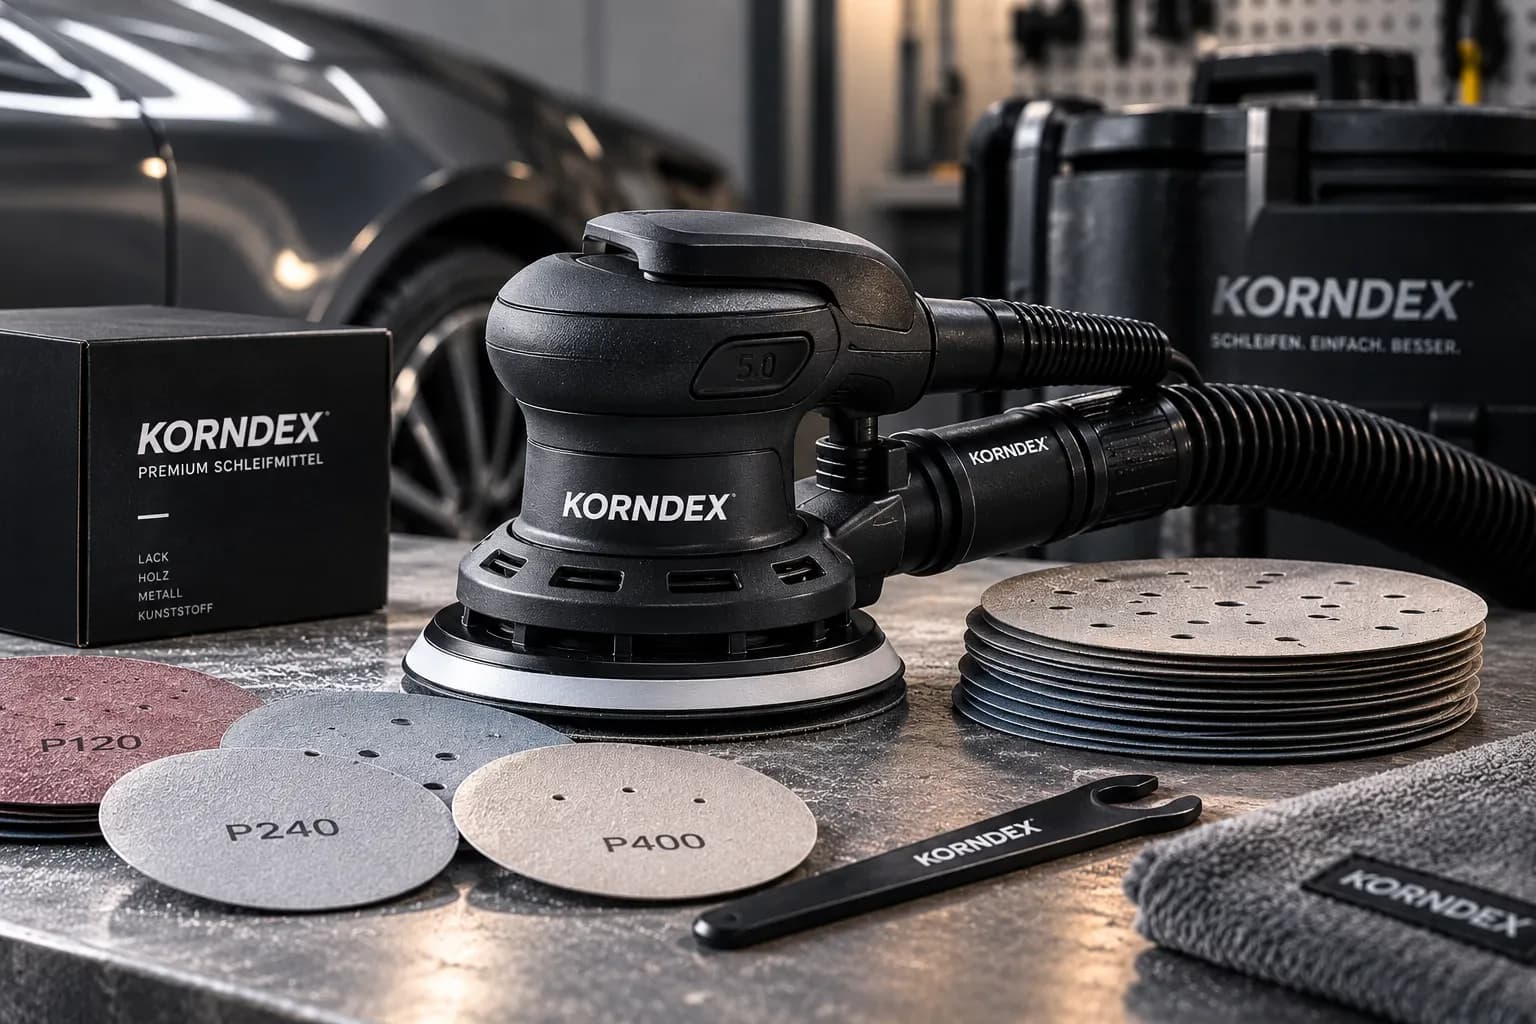
4 grits, 1 × smallest pack each: PRO CUT 150 (10 pcs) P80 · P120 · P180 · P240.
Or as a set: Wood starter set (P80–P240) for €49.90 →
incl. VAT, plus shipping
Matching products
9 products for Wood – recommended ones first, each card starts with the grit you need first here.
Abrasives
- Bestseller
- P80–P600
- Grit
- 150 mm
- Diameter
- 50 pcs
- Contents
€0.50 / pc · incl. VAT, plus shipping
- P80–P400
- Grit
- 70 × 420 mm
- Dimensions
- 25 pcs
- Contents
€0.92 / pc · incl. VAT, plus shipping
- 152 × 229 mm
- Dimensions
- 10 pcs
- Contents
- very fine (grey)
- Type
€1.49 / pc · incl. VAT, plus shipping
- Bestseller
- P80–P400
- Grit
- 150 mm
- Diameter
- 50 pcs
- Contents
€0.50 / pc · incl. VAT, plus shipping
- Bestseller
- P400–P2000
- Grit
- 150 mm
- Diameter
- 10 pcs
- Contents
€1.49 / pc · incl. VAT, plus shipping
Machines · Sets & bundles
- P80–P240
- Grit
- 40 PRO CUT 150 discs, 25 PRO STRIP strips
- Contents
incl. VAT, plus shipping
What matters with Wood
What counts beyond the grit – technique, typical defects and the related guides.
Tips from the workshop
01
Surfaces with the random orbital sander
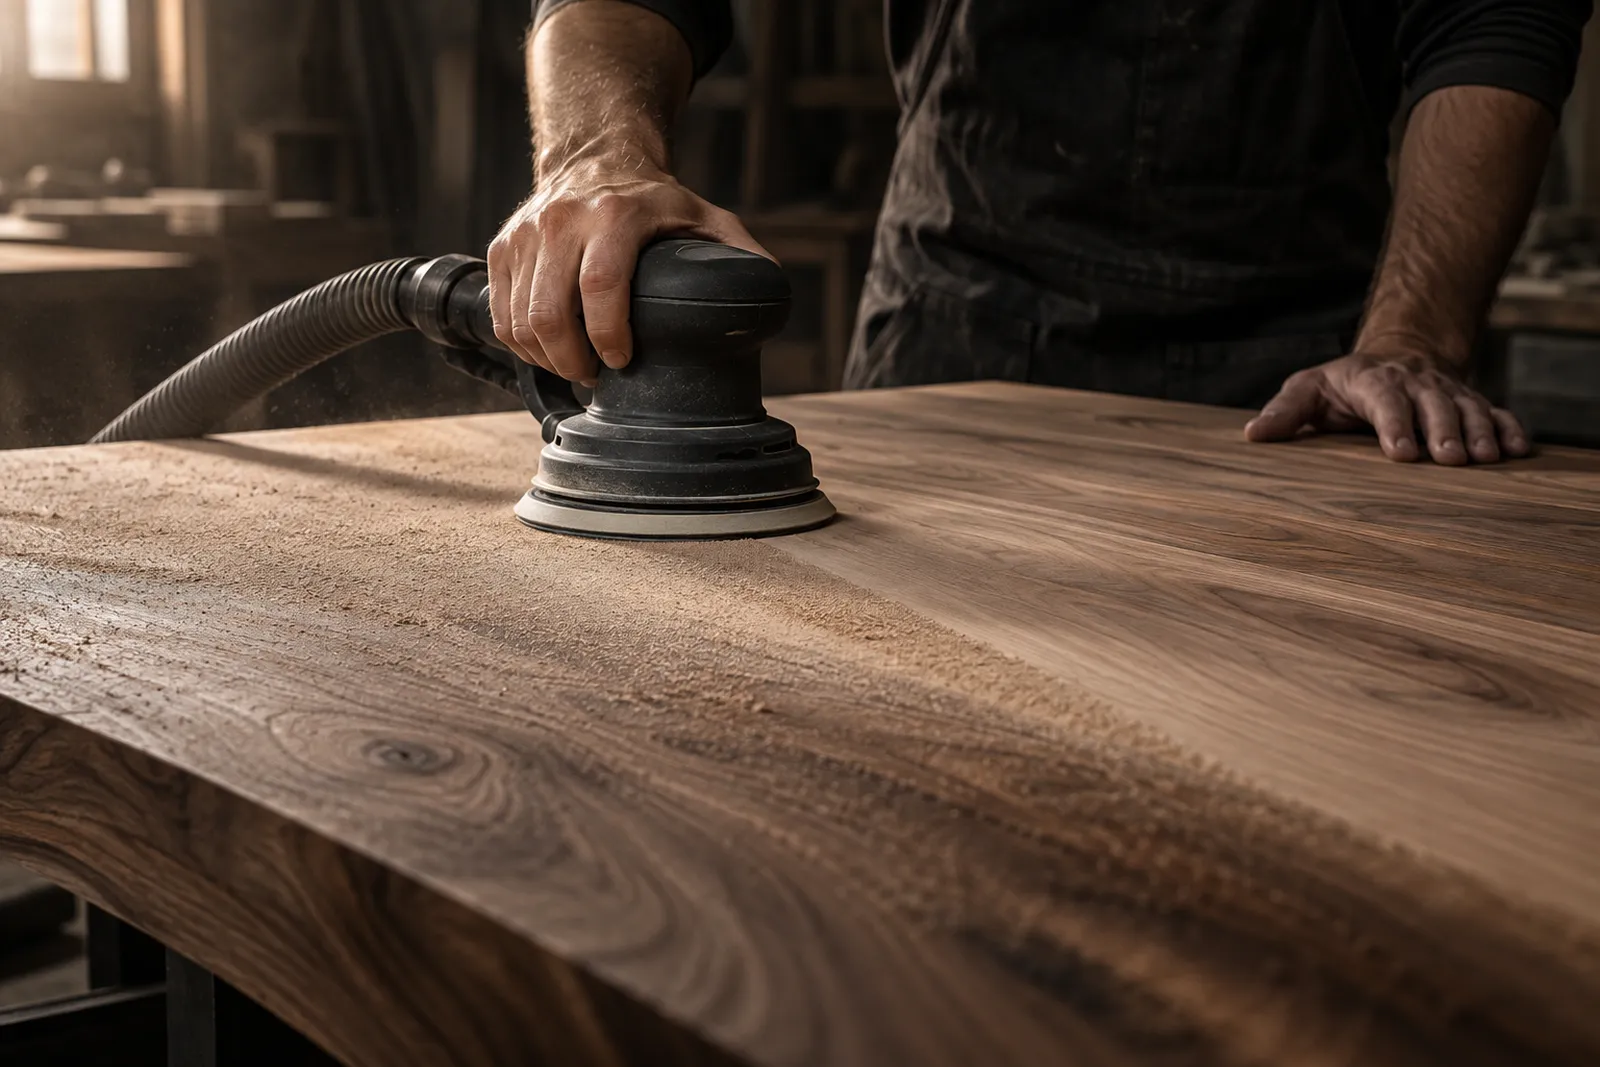
Tabletops, doors and stair treads with the random orbital sander: 5 mm orbit for stock removal, light pressure with fine grits. Let the machine do the work – pressure creates heat and pigtails. Whole plank floors are quicker with a floor sander; the random orbital does the edges.
02
Edges and profiles by hand
No round disc reaches into corners, profiles and edges: put a sanding strip on the hand sanding block, wrap roll around a shaped block. Always sand with the grain.
03
Don't skip grits
The next grit is at most twice as fine: P80 → P120 → P180 → P240. Jump straight from P80 to P240 and you will see the coarse scratches under oil or varnish at the latest.
04
Extract the dust
With dust extraction the grain cuts for longer and you can see the surface. Oak and beech dust is classed as carcinogenic – extraction and an FFP2 mask are a must.
What can go wrong
View all sanding defects →Sanded through – primer, wood or chipboard is exposed
The colour suddenly changes on edges and curves; on veneer, a different wood grain or glue shows through.
Usually: The machine was tilted, or put down or lifted off with the pad running – then the edge of the pad cuts in at one spot.
The disc no longer cuts, it smears
Same pressure, same speed – and still nothing happens; the surface gets warm, and there are shiny patches or lumps on the disc.
Usually: Worked without dust extraction: the dust clogs the grains before they are blunt.
The surface goes wavy, edges get rounded
Under raking light or with a long straightedge, shallow hollows show up; edges that should be crisp have gone soft.
Usually: The backing pad was tilted or put down with the machine running.
Wood feels rough after the first coat
The surface was sanded smooth and is rough again after the first coat.
Usually: Water-based varnish or stain raises the wood grain.
The new paint won’t stick or beads off
The fresh coat pulls together, beads off in places or can later be lifted with a fingernail.
Usually: Shiny spots were left – anything still shiny has not been keyed and gives the paint nothing to hold on to.
Related guides · 10 articles
What grit sandpaper for wood?
P80 for saw marks, P120 to P180 to smooth, P240 before oil and varnish – and why going finer than P240 often does harm.
P80 → P120 → P180 → P240
Read · 2 minSanding wood before oil or varnish: which final grit?
For oil, P180 to P240 is enough; under varnish, finish at P240 and key between coats with P320. Plus the damp-cloth trick that keeps the surface smooth after the first coat.
P120 → P180 → P240 → P320
Read · 1 minSanding and repainting an old wooden door
Strip it completely or just key it? When you need P80, when P180 is enough – and why mouldings and edges are sanded by hand.
P80 → P120 → P180 → P240
Read · 1 min
FAQ on Wood
Which grit do I start with on wood?
On raw, planed wood with P80 or P120; on old varnish and stain with P40 to P60. Start only as coarse as necessary – every coarse grit has to be sanded out again by the ones that follow.
How fine do I sand before oil, wax or varnish?
Before oil and wax, P180 to P240 is enough – finer closes the pores and the wood absorbs less oil. Before varnish P240; between coats, lightly key with P240 to P320.
Sand with or across the grain?
By hand, always with the grain, otherwise cross-grain scratches remain visible. With a random orbital sander the direction hardly matters, because it sands in small circles.
Random orbital or orbital sander for wood?
For large surfaces, the random orbital sander: it removes material faster, and because the disc also rotates, it leaves no visible sanding pattern. The orbital sander with its square pad gets into corners and along edges the disc cannot reach – many people have both.
Softwood or hardwood – do I sand differently?
Softwood such as pine and spruce sands quickly, but the soft growth rings wear away easily: light pressure, don't start too coarse – P120 is often enough. Hardwood such as oak and beech takes more time per grit but is more forgiving.
How many sanding discs do I need for a table?
For a tabletop of about two square metres, allow two to four Ø 150 mm discs per grit – more in the coarse grit if there is old varnish, because it clogs the disc. A pack of 10 per grit covers a table, door or chest of drawers with some to spare.
Can I wet-sand wood?
Better not with water: it raises the grain and swells the wood. The exception is oil – you can wet-sand the last coat of oil in with P320 to P400 or non-woven abrasive. The sanding dust mixes with the oil and fills the pores, leaving the surface especially smooth.
Why does wood feel rough again after the first coat?
Water in the varnish or stain raises the wood fibres. The fix: dampen the finished sanded surface beforehand, let it dry and go over it again with P180 to P240. Between coats, a light sand with P240 to P320 is then enough.
More applications
Different surface, different process – each application with its own work steps and grits.
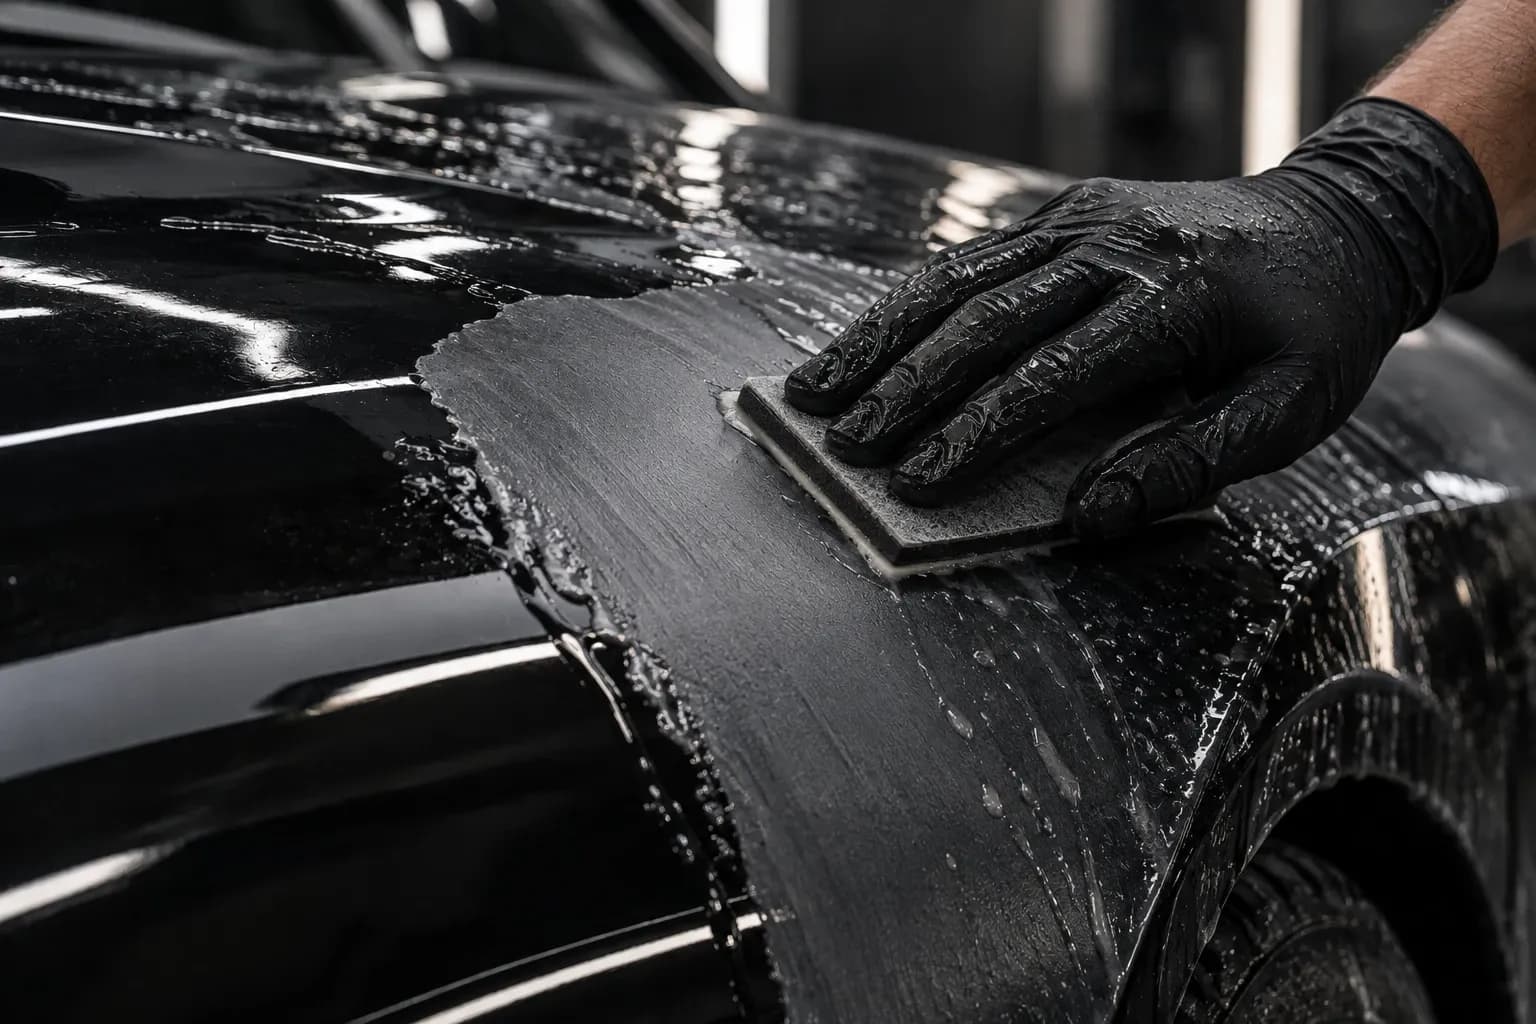 Car & paintPerfect surfaces – from repair to finishP80 – P3000
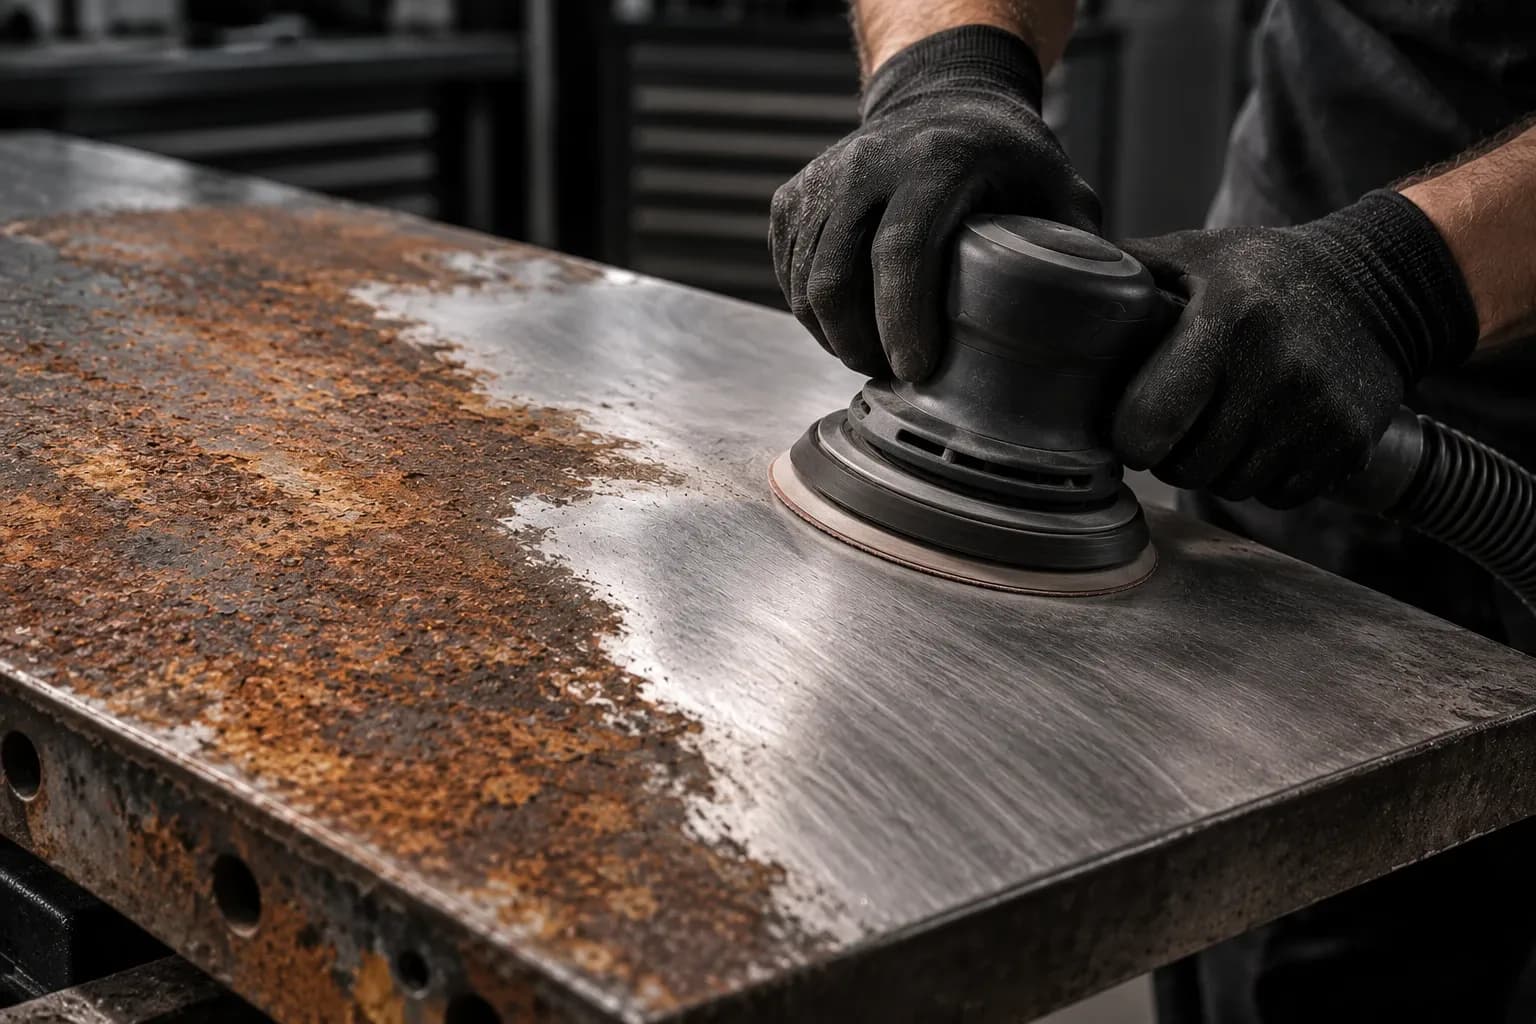 MetalRemove rust, refine surfaces, protect for goodP40 – P400
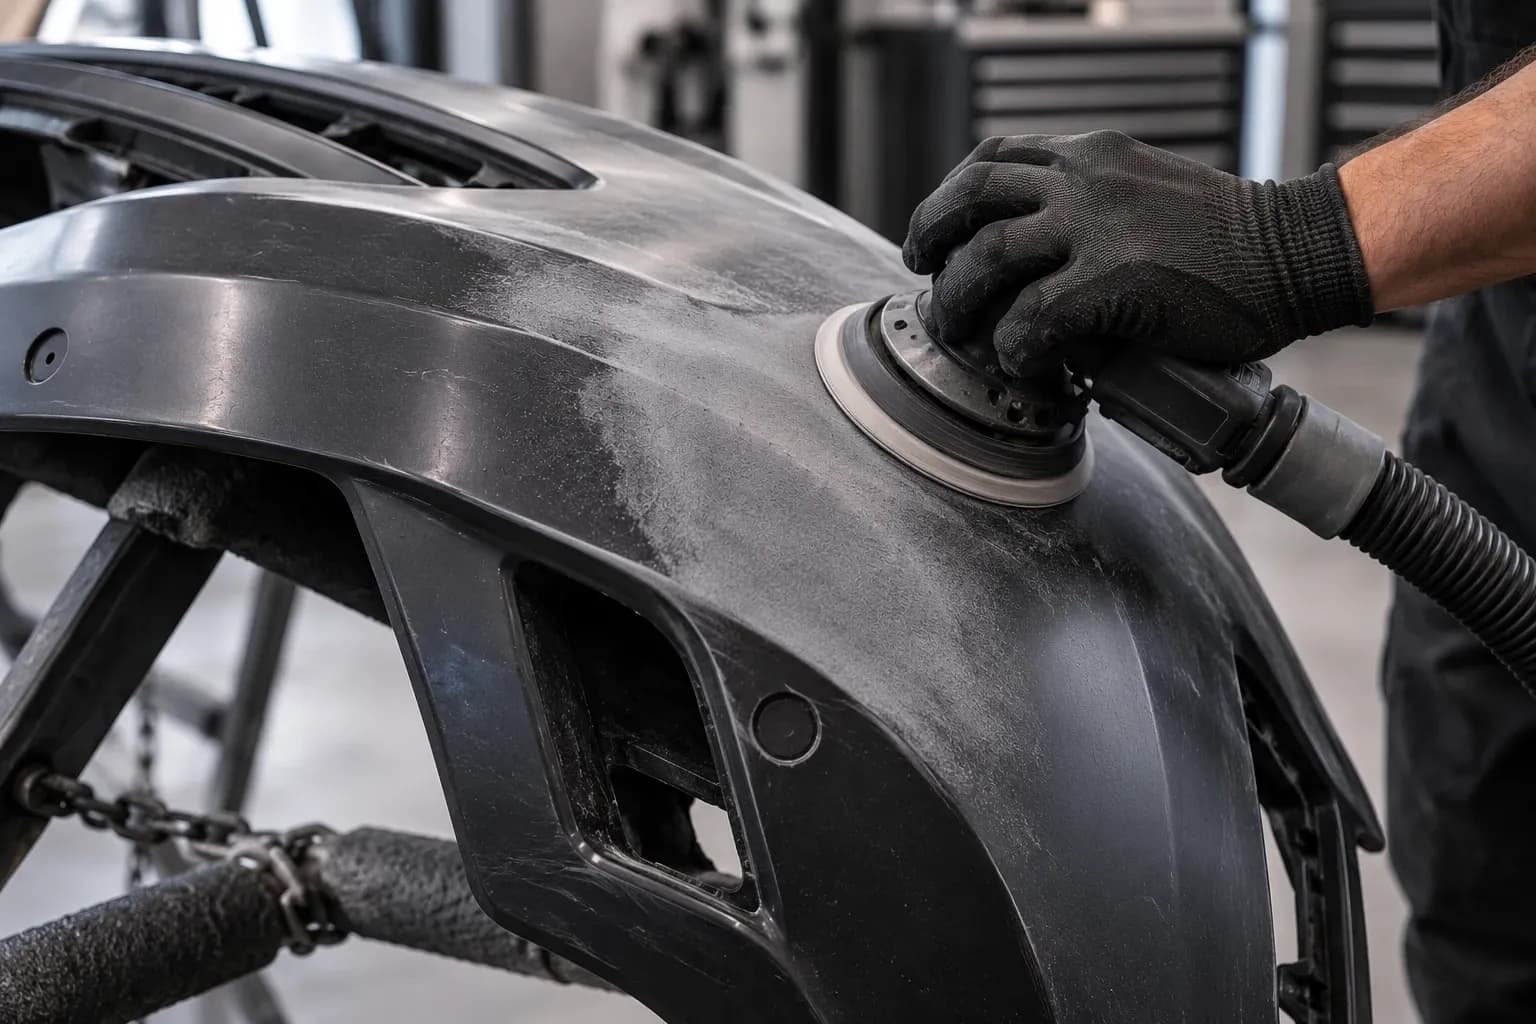 PlasticSand safely – for optimum adhesion and perfect resultsP180 – P1000
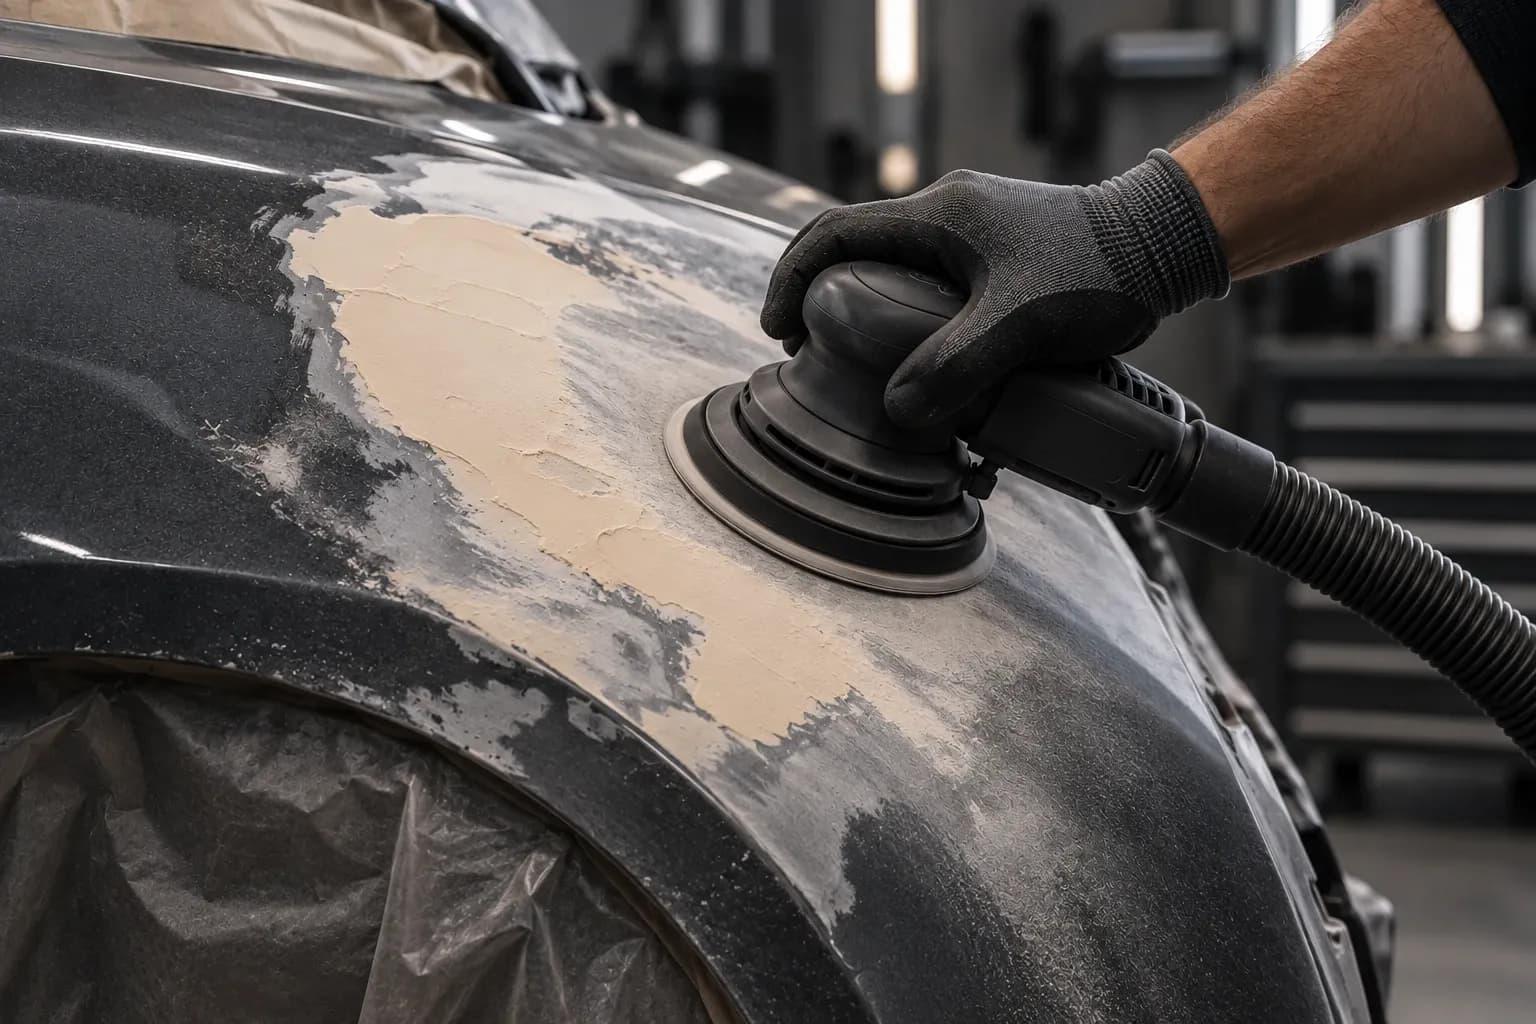 Body fillerLevel fast – shape cleanly – prepare perfectlyP80 – P240
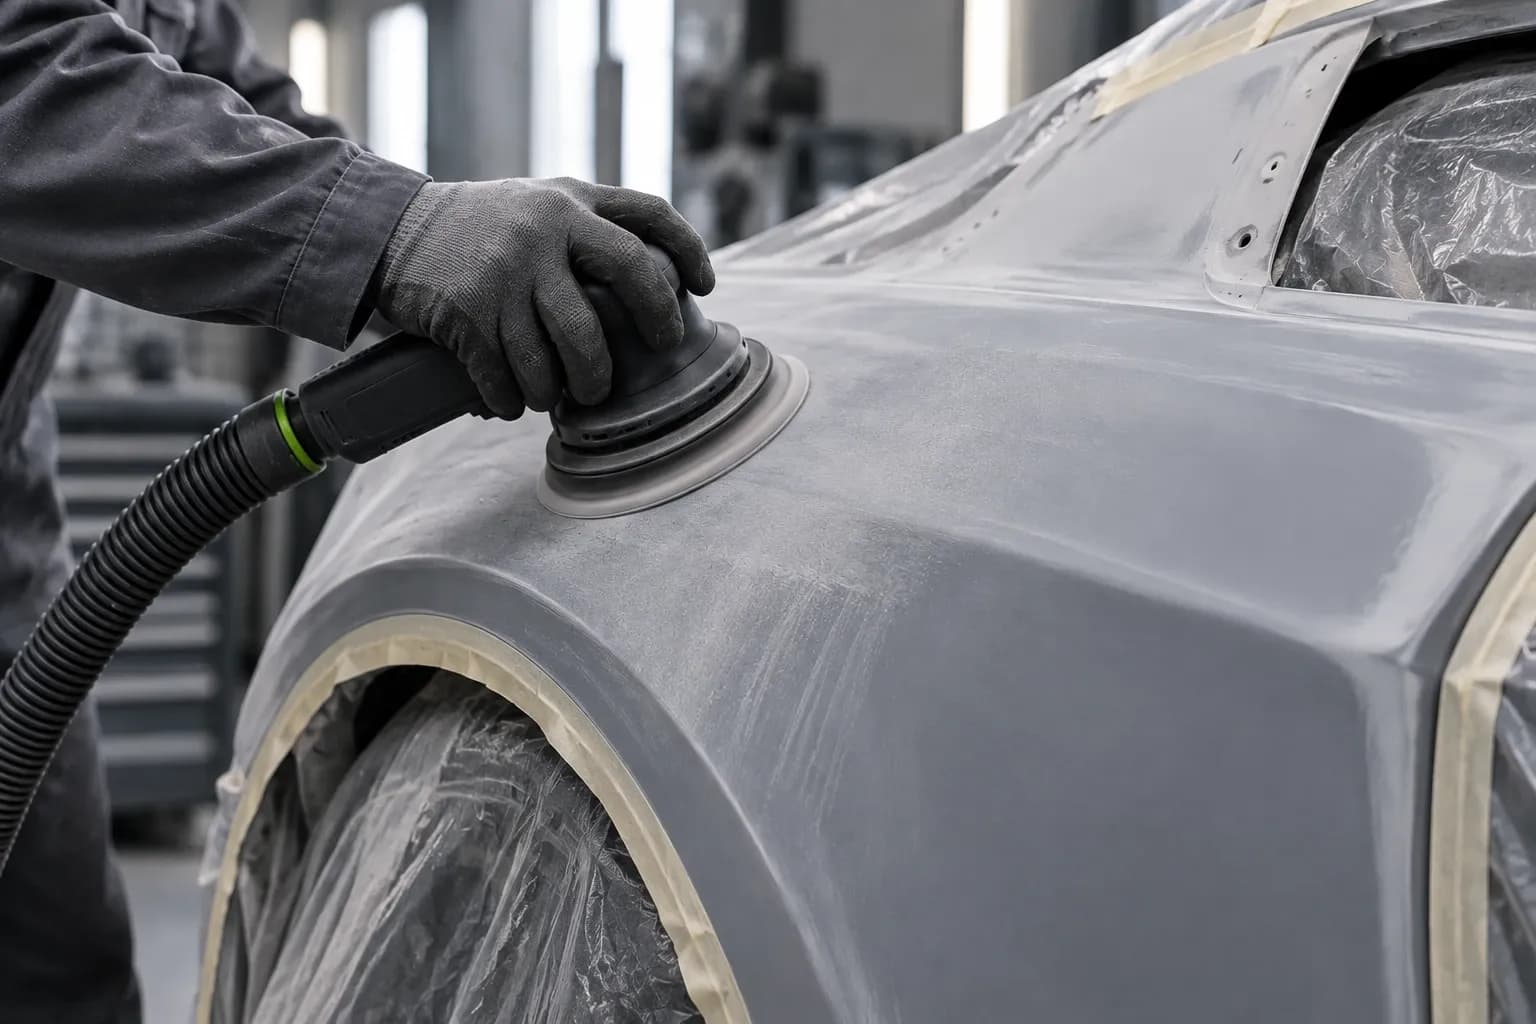 PrimerFor an even, high-quality paint finishP320 – P600
Still unsure?
The abrasive finder asks about your machine and goal – the material is already set – and tells you the product and grit.
Find abrasives for Wood →