The KORNDEX system.
Every step fits the next.
Sanding is not a single product but a sequence: preparation, paint preparation, finish. Here the range is laid out in exactly that order – for every work step, the abrasives in the grits intended for it, and the accessories that go with them.
coarseultra-fine
Why a system?
The grits follow on from each other.
Never more than double from step to step – so the scratches of the previous pass disappear.
Accessories are part of it.
Backing pads, interface pads, hand sanding blocks and machines sit in the tab of every phase, not on a different shelf.
You know what comes next.
Every product page shows the next sanding step – and the grit guide explains why.
The film
Three phases to the finish
Preparation, paint prep, finish – every layer ready for the next.
The process
Three phases to the finish.
Each phase has its work steps, each step its grit range. Start wherever your surface is right now – or work your way through from top to bottom.
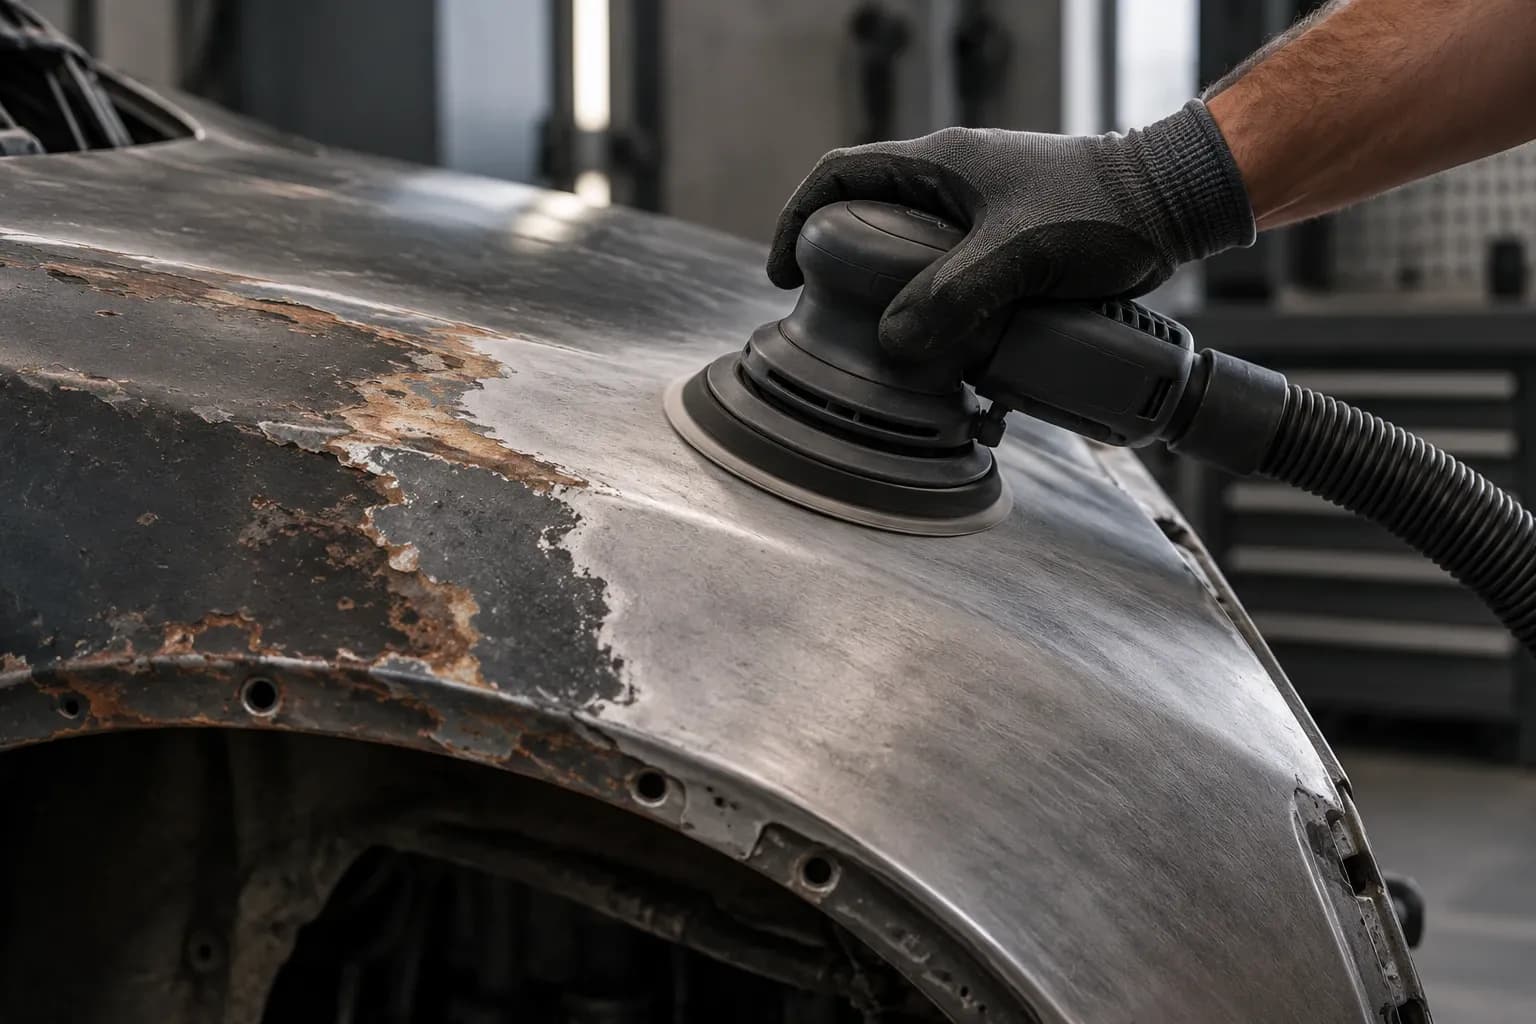
Phase 01
Preparation
P40–P240
The foundation for everything that follows.
12 products, of which 6 accessories & machines

Phase 02
Paint preparation
P240–P1000
Every layer ready for the next.
15 products, of which 6 accessories & machines
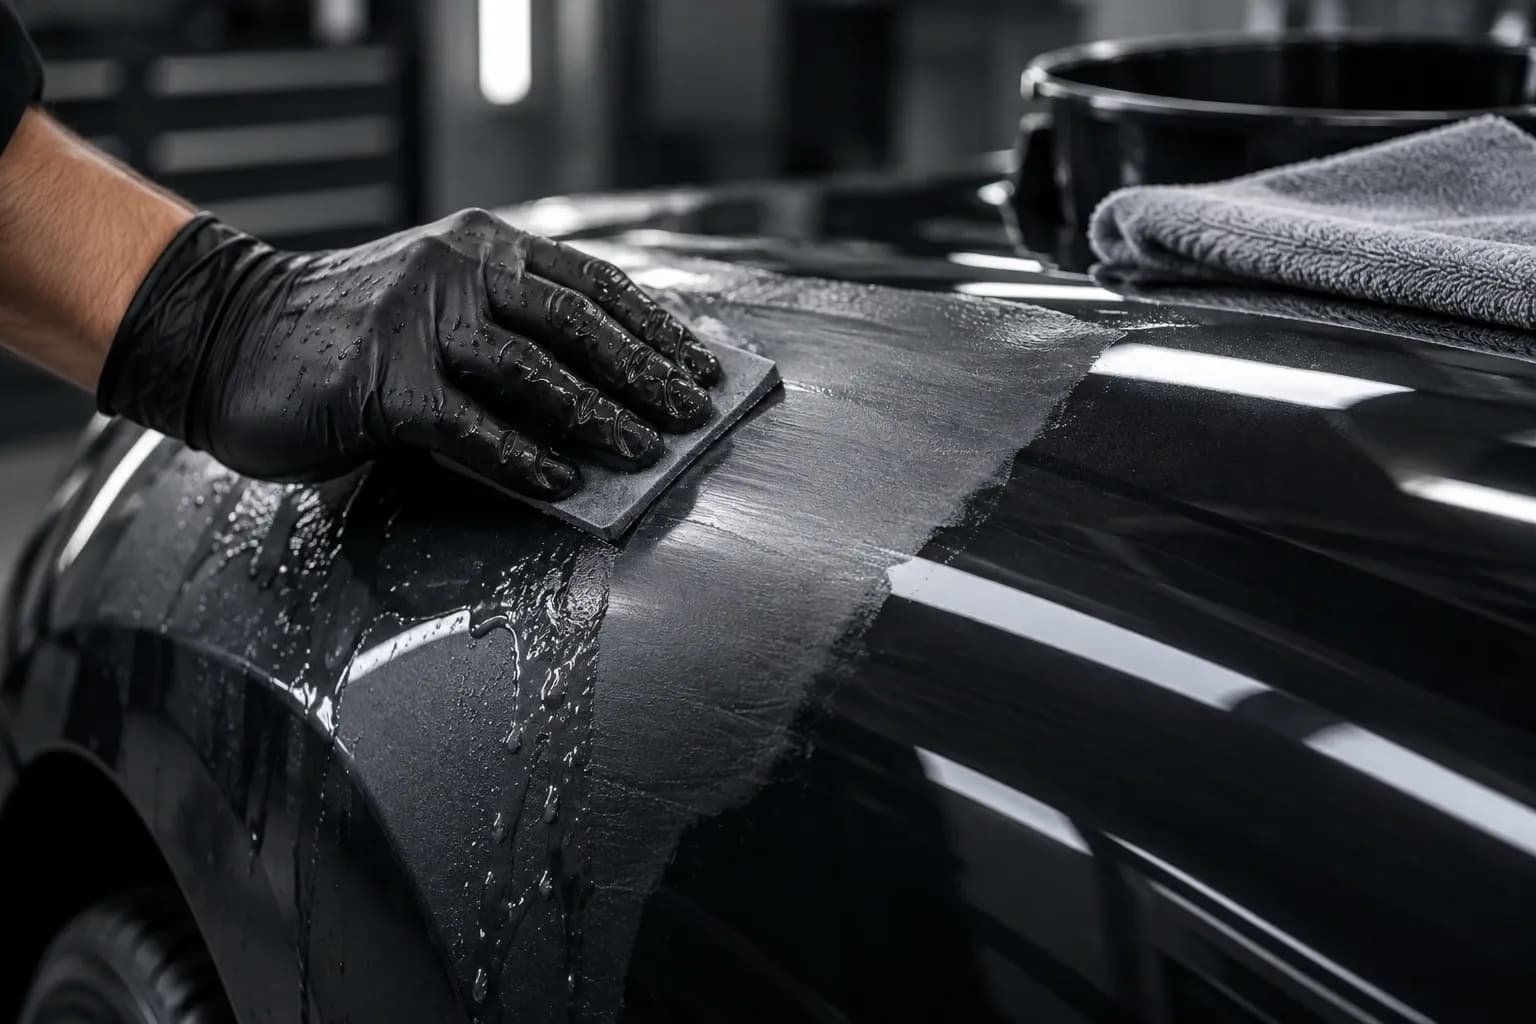
Phase 03
Finish
P1200–P3000
From paint defect to polish.
7 products, of which 4 accessories & machines
Phase 01
Preparation.
The foundation for everything that follows.
Old coatings off, rust gone, filler shaped: this is where it is decided whether the surface ends up flat. Coarse grits, lots of stock removal, good dust extraction.
3 work steps · P40–P240
Remove old coatings, rust and mill scale. Typically P40–P120.
Tip: First go coarse down to bare material, then one grade finer over the whole surface – otherwise the P40 scratches show through primer, paint or oil.
5 products – swipe sideways →
Phase 02
Paint preparation.
Every layer ready for the next.
Smooth primer surfacer, key old paint and plastic, fine-sand wood: the surface gets the scratch pattern that primer, paint or oil can hold on to.
3 work steps · P240–P1000
Smooth the primer surfacer before the top coat. Typically P320–P600.
Tip: Let the primer surfacer cure completely; if the disc clogs straight away, it is still too soft.
8 products – swipe sideways →
Phase 03
Finish.
From paint defect to polish.
Dust nibs and runs out, then so fine that polishing does the rest. Ultra-fine grits, mostly wet, always with light pressure.
2 work steps · P1200–P3000
Spot-sand dust nibs and runs, wet. Typically P1200–P2000.
Tip: Only sand the defect itself, with a block or small pad, wet and with light pressure – leave the surrounding area alone.
3 products – swipe sideways →
Grit sequences
From the first grit to the last.
This is what the path through the system looks like for typical jobs – never more than double from grade to grade. Every grit leads to its abrasives.
Rust to primer
Bare metal, ready for primer.
Filler repair to primer surfacer
Filled area feathered flat, then smooth primer surfacer.
Raw wood to oil
Smooth surface without saw marks, ready for oil, wax or varnish.
Paint defect to polish
Nib gone, scratch pattern so fine that polishing stays short.
FAQ about the system
Do I have to go through every phase?
No. You start where your surface is right now: if the old paint is intact and only needs matting down, you begin in Paint preparation. Rust, filler or raw wood start in Preparation. You only need Finish if you are sanding out paint defects or polishing.
Can I skip grits?
At most up to double the grit per step – so after P80 go to P120 or P150, not straight to P240. Jump further and the finer grit can no longer remove the deep scratches of the previous pass, and they will show in the paint later.
Which grit before painting?
Sand primer surfacer and primer with P320 to P600 – the finer the top coat, the finer the last pass: under solid colour P400 to P500 is enough, under base coat rather P500 to P600. Matt down sound old paint that only needs to carry the new coat with P400 to P1000 or with non-woven abrasive.
Wet or dry sanding?
Preparation and Paint preparation are done dry with dust extraction. In Finish you mostly sand wet: water cools, flushes away the debris and stops the ultra-fine grits from clogging.
Why does the same product appear in several steps?
Because it comes in several grits. A sanding disc from P80 to P400 belongs to filler sanding with P80 to P240 and to primer sanding with P320 and P400. Each tab only shows the grit range intended for that step.
Do I need a different machine for every phase?
Not necessarily. A random orbital sander with a 5 mm orbit covers Preparation and Paint preparation; for fine sanding and Finish, a smaller orbit (2.5–3 mm) or hand sanding with a block is more comfortable. What matters is that disc, backing pad and hole pattern match.
Which step is yours?
The abrasive finder asks about material, machine and goal – and tells you the product and grit sequence.