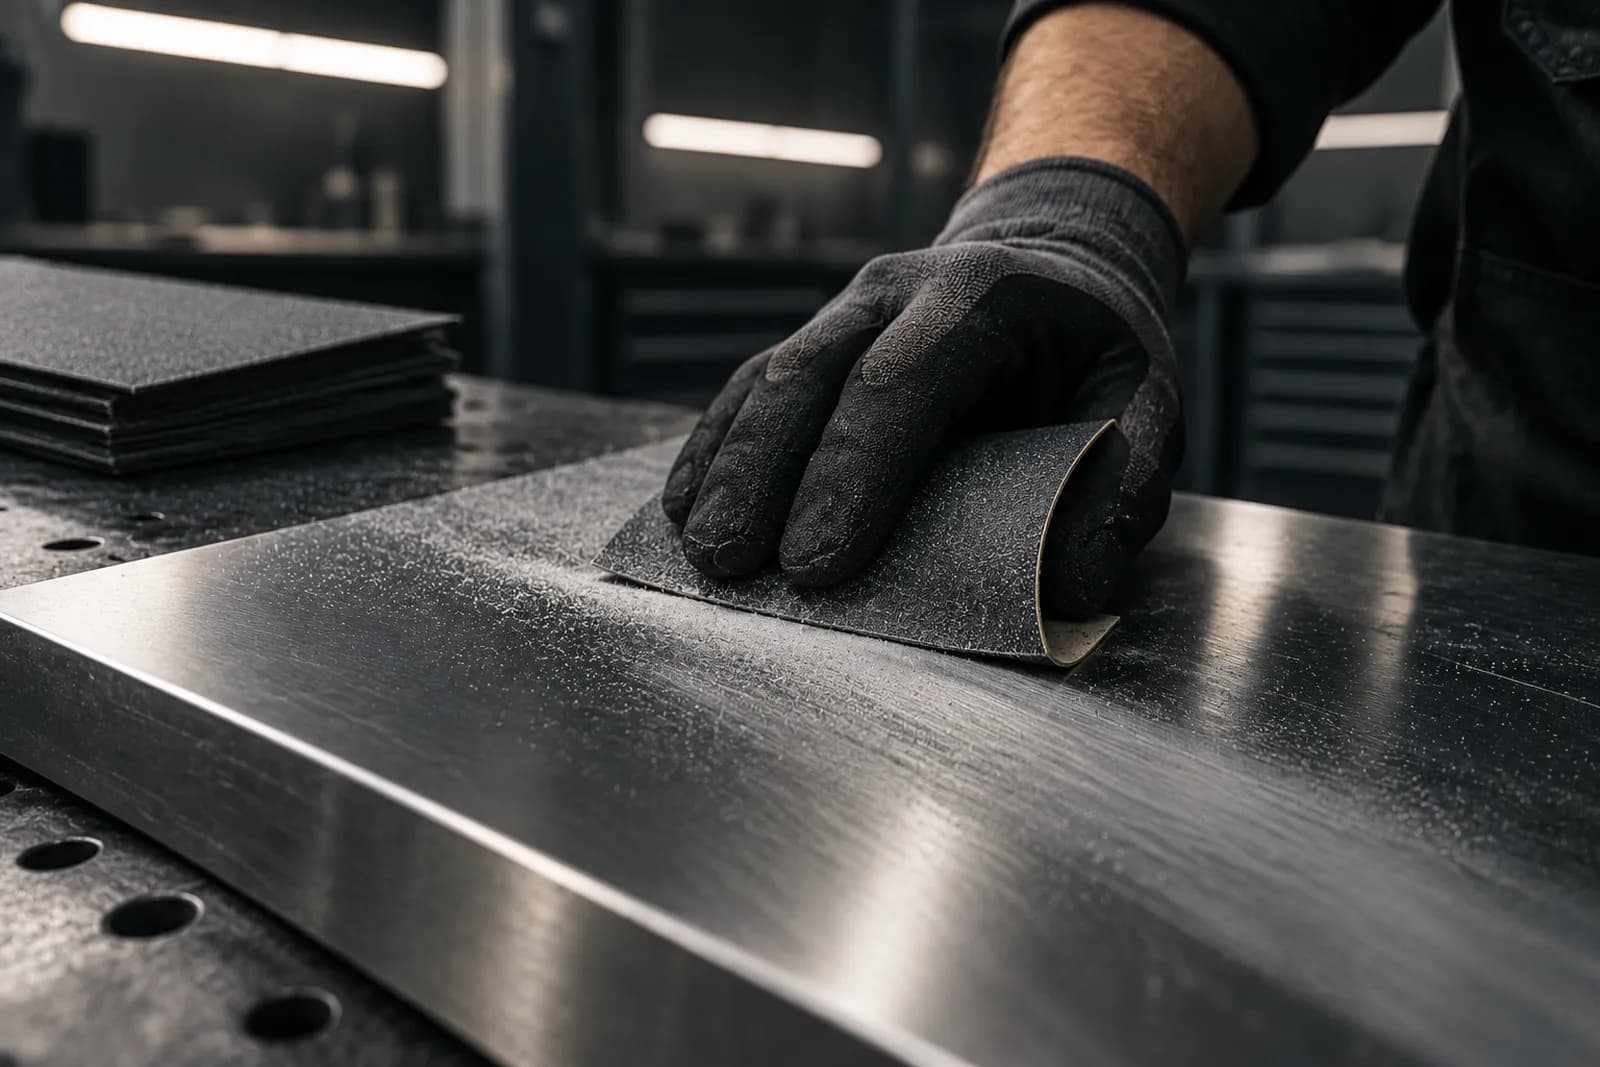
Sanders & technique · 1 min read
Sanding edges, profiles and curves
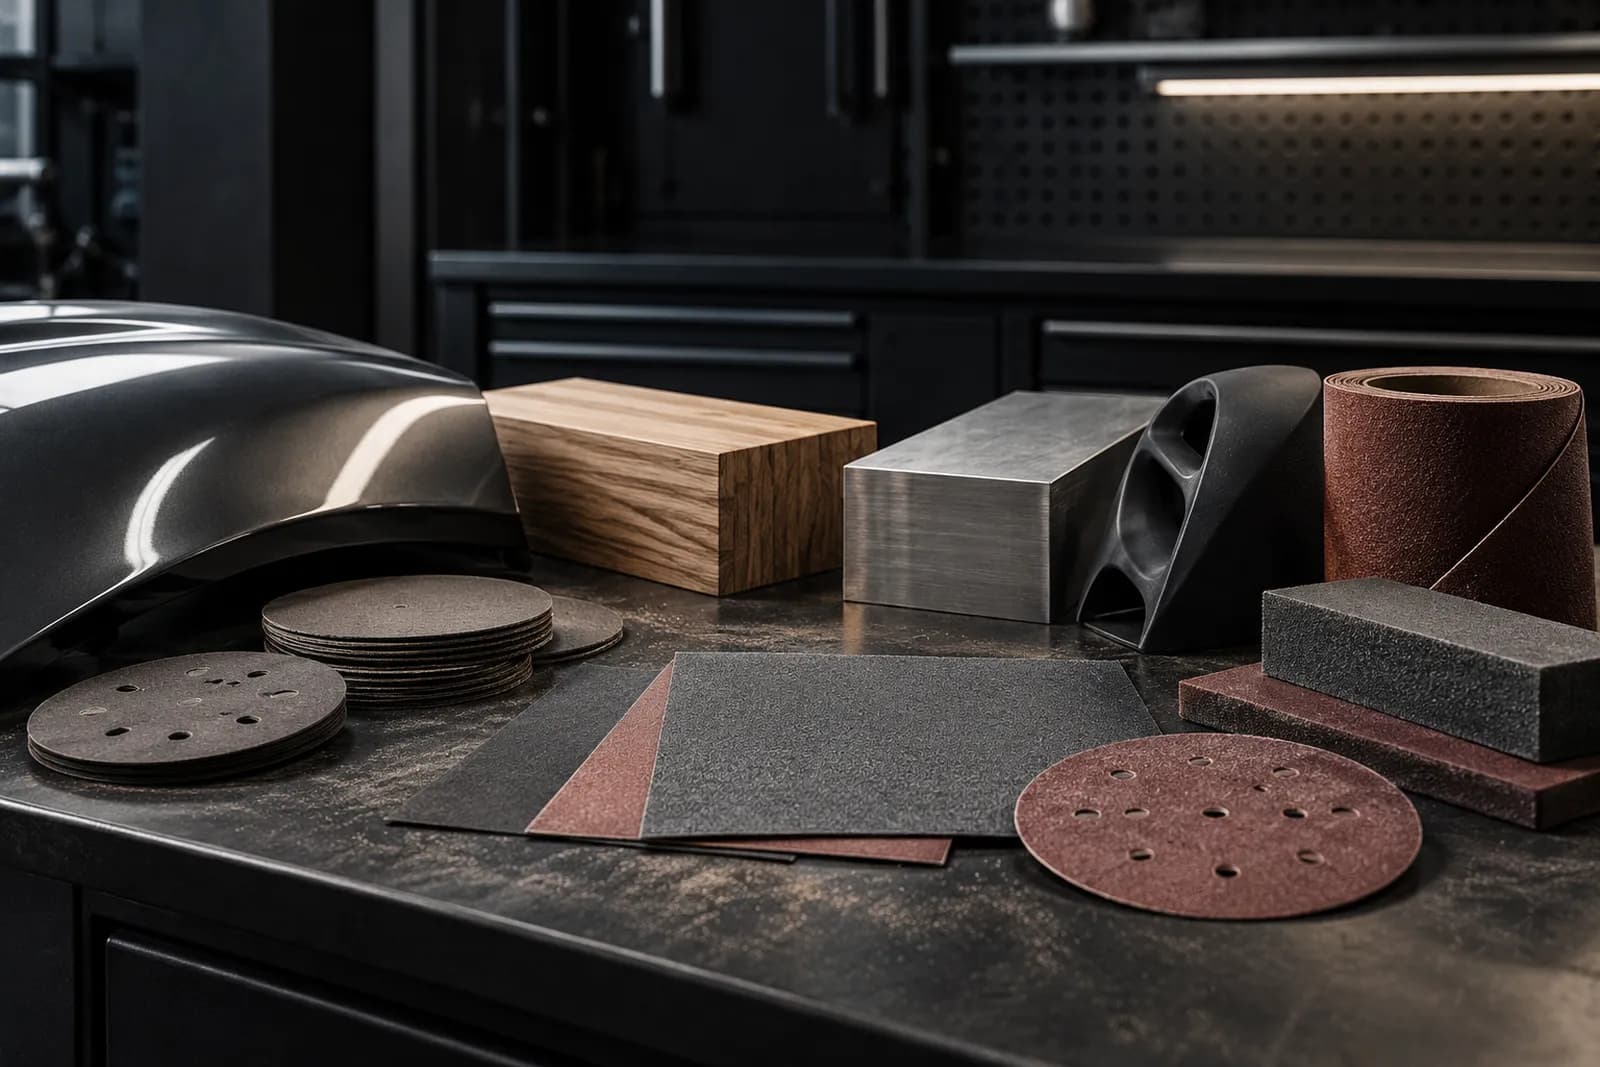
Where the random orbital sander can’t reach: hand block, sanding strips and non-woven abrasive – with a shaped block for profiles and without rounding over the edges.
Last updated:
Edges: keeping them straight
On sharp edges, paint and veneer go through first – the sander puts all its weight on a few millimetres there. So do edges by hand: guide the block flat on the surface up to just short of the edge, then break the edge itself with one or two light strokes at about 45 degrees.
A slightly broken edge holds paint better than a razor-sharp one: on sharp edges the paint pulls back and goes thin.
Profiles and curves
For moulding, chair legs and curves, wrap the sanding strip round a matching shaped block – a piece of dowel, a hose, foam cut to shape. That way the paper follows the shape instead of rounding it off. Wrap a strip round bars and tubes and pull it back and forth.
Non-woven abrasive adapts to any shape and is the first choice for swage lines, corners and matting before painting. It removes little material, but it doesn’t leave deep scratches.
The same grit as on the surface
FAQ
Why does the paint go thin or chip at the edges?
As it dries, paint pulls back from sharp edges. Break the edges slightly, key them cleanly and apply an extra coat there if in doubt.