Abrasives · 1 min read
Using guide coat properly: making unevenness visible
Apply thinly, sand, check: where the powder stays, the surface is still uneven. How it shows defects and scratches at every grit change.
Last updated:
KORNDEX sells abrasives – matching products are linked below the article.
What guide coat shows
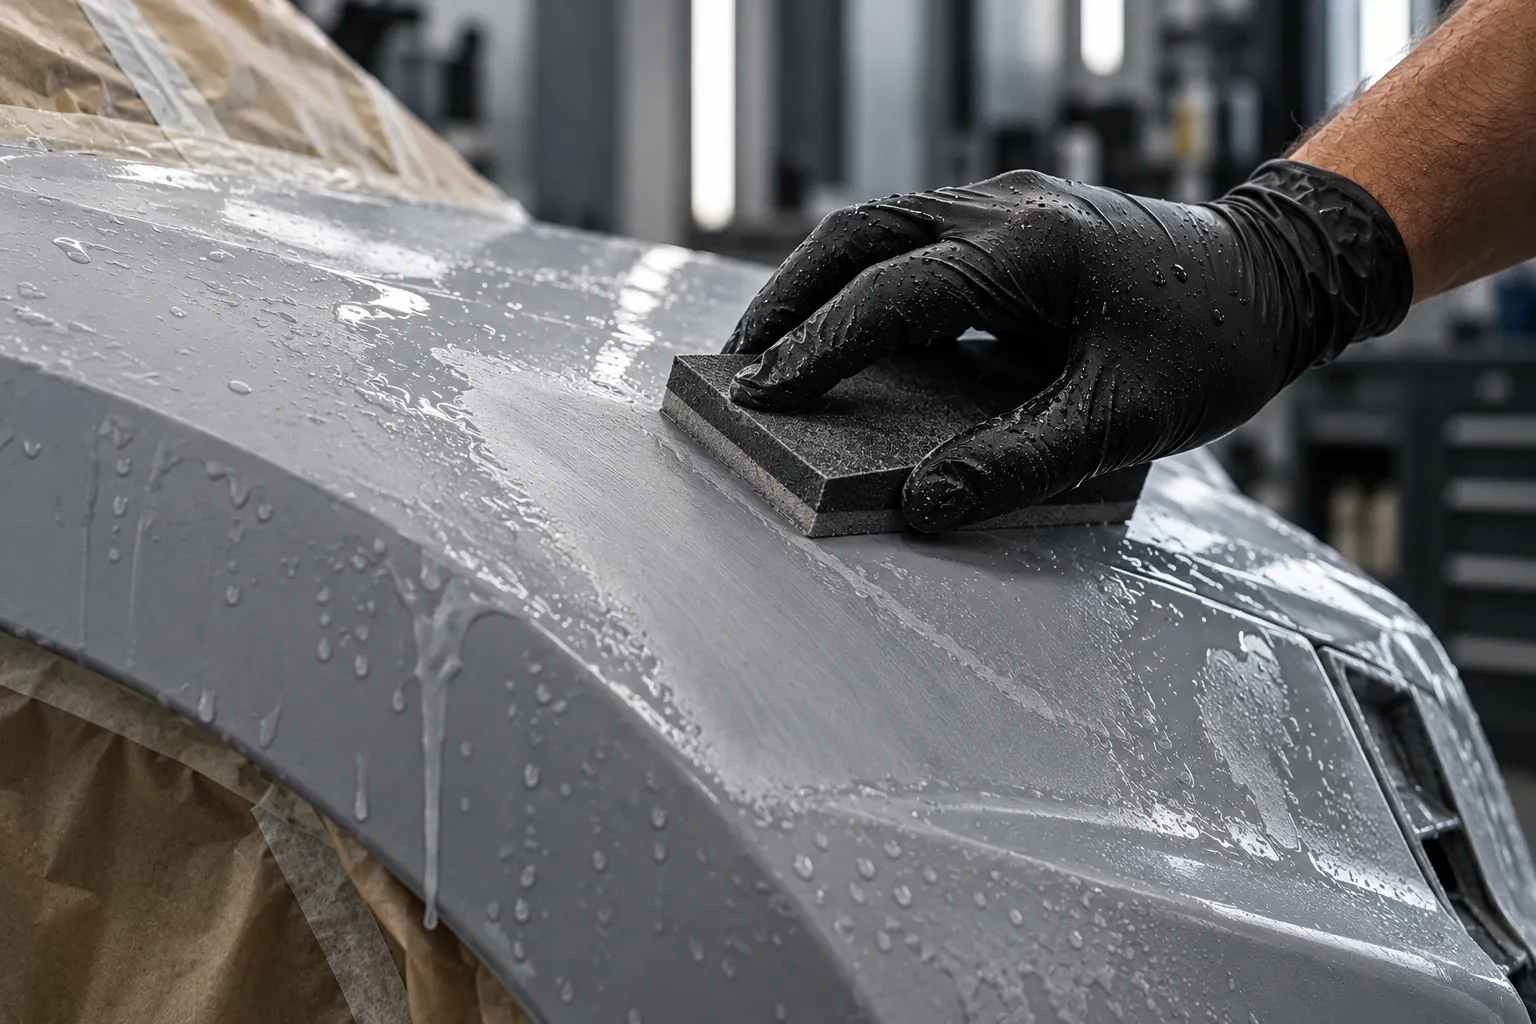
Guide coat (also control layer) is a fine, dark dry film applied to a light surface. When sanding it disappears on the high spots and stays in the low spots, scratches and pores. So you see where material is still missing or too much stands before it shows under the paint.
How to proceed
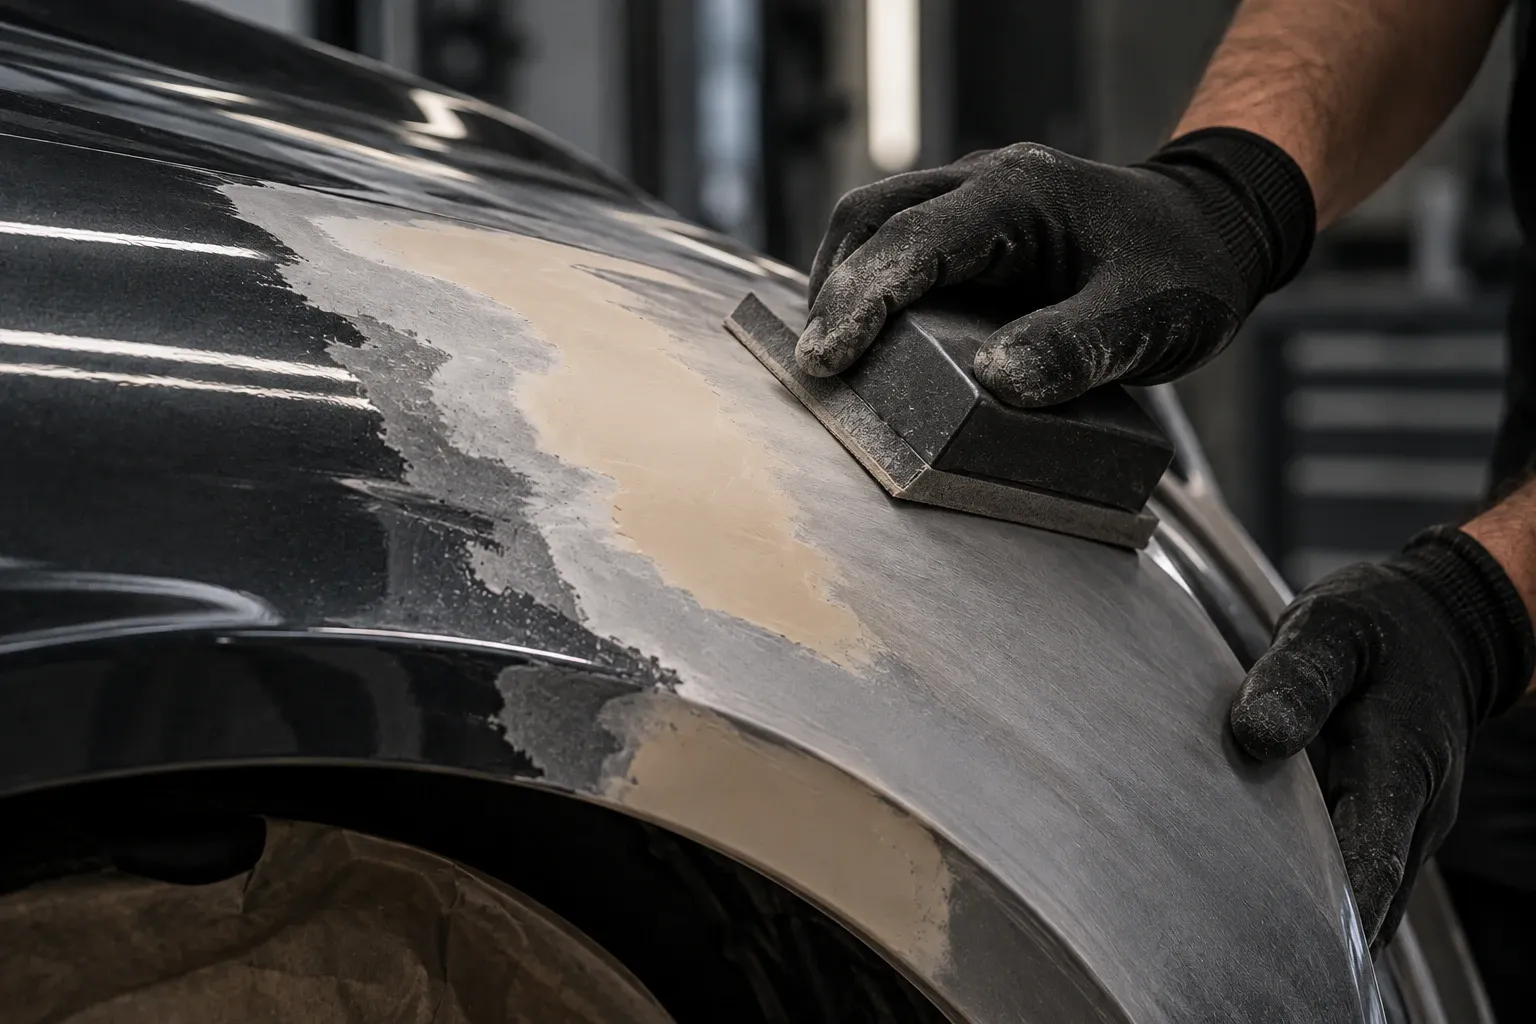
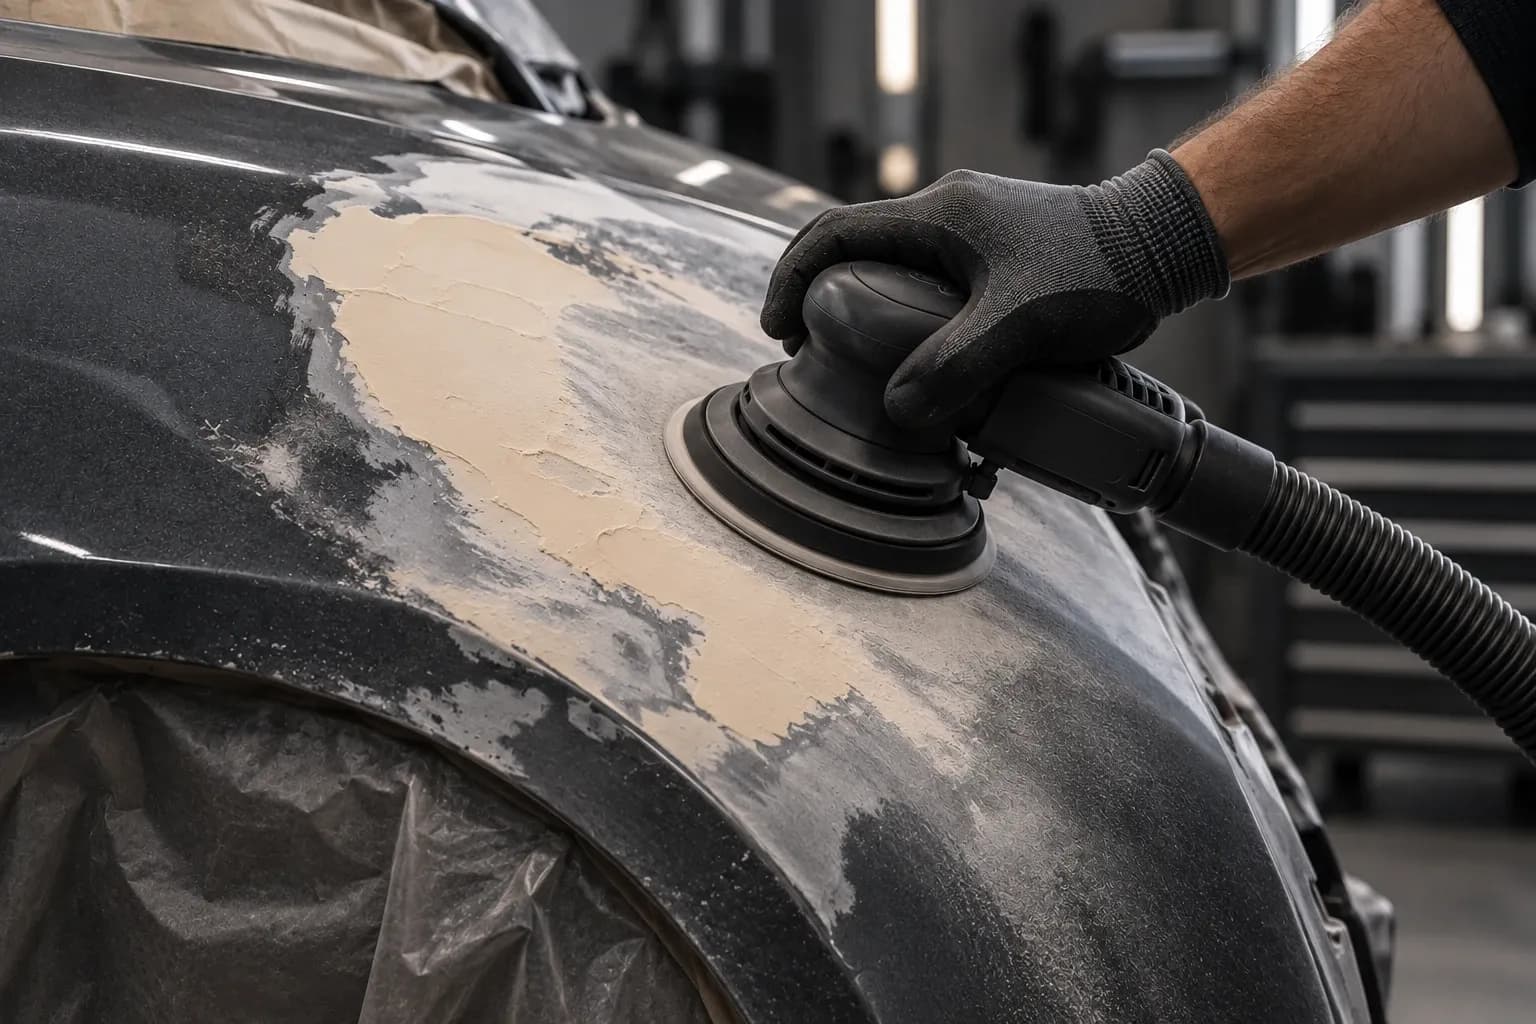
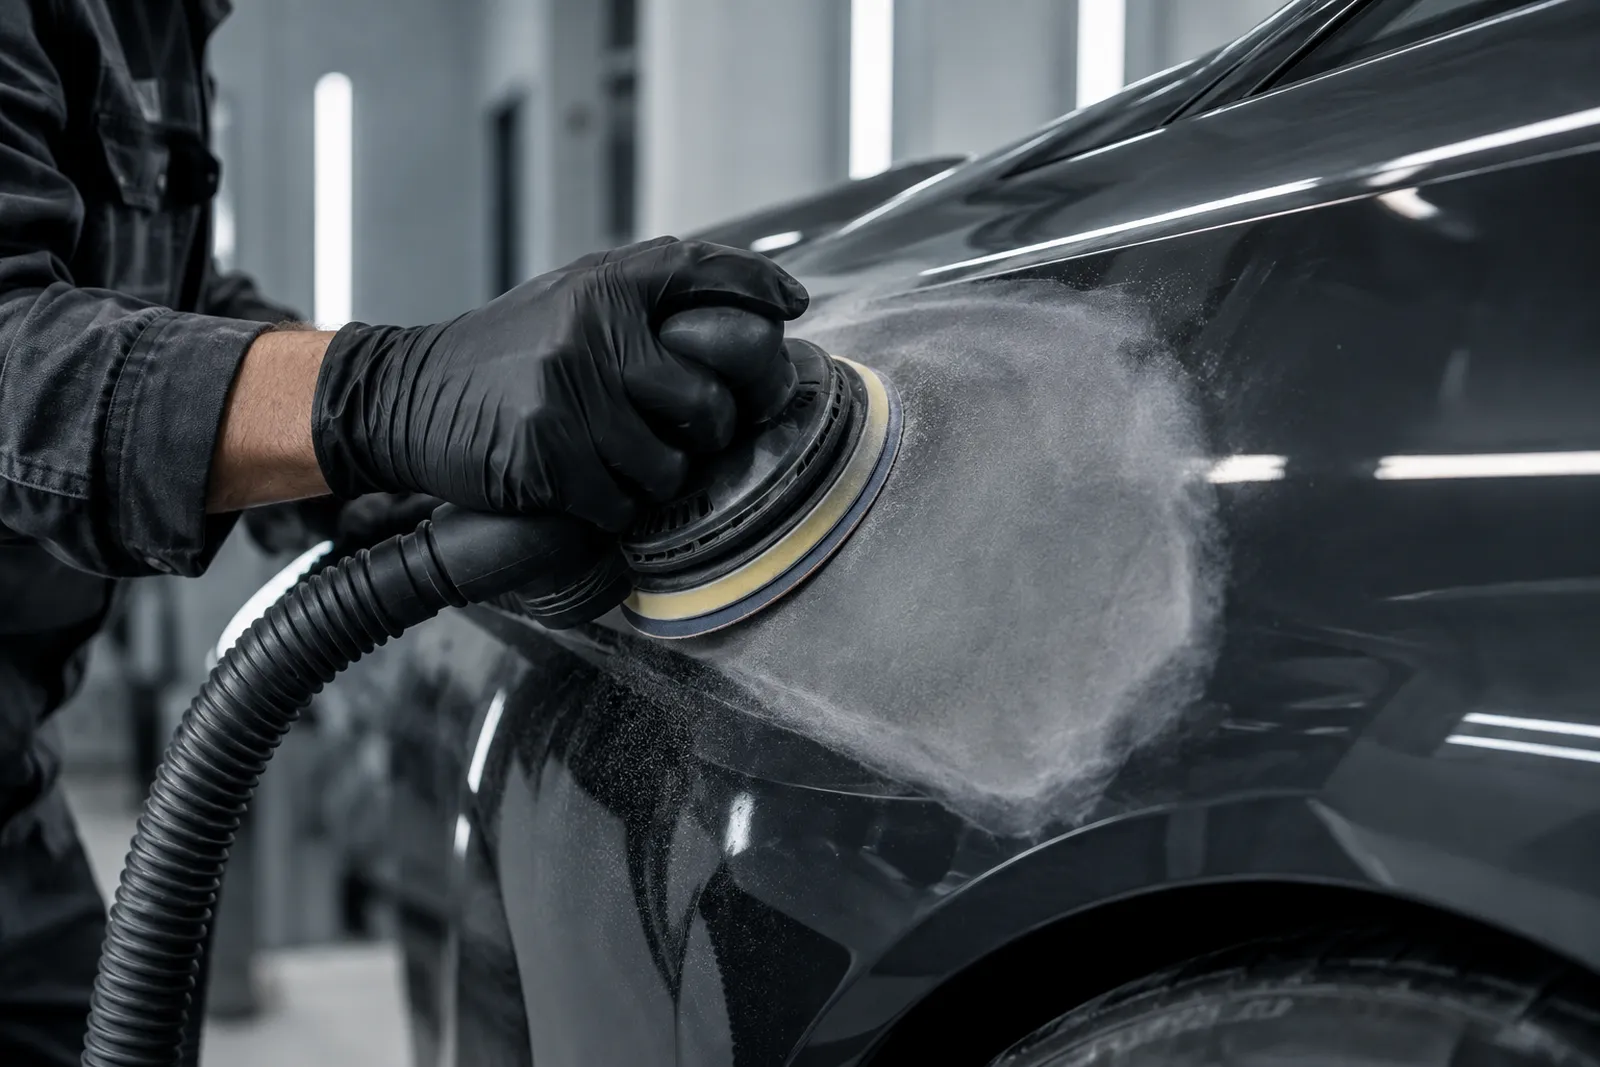
Clean the surface and wipe it dry. Apply the powder thinly with the applicator, evenly and without lumps. Then sand with the grit that should just work the surface out, going over it with the hand sanding block or the random orbital sander. Where the powder is gone everywhere, the surface is level at that spot; if it stays, a low spot remains.
New at every grit change
Before switching to the next grit apply fresh and check whether all marks of the previous step have gone. That way you do not skip a step by accident, and deep scratches show before they appear under the paint.
Typical mistakes
Applying it too thick: the powder then fills scratches instead of showing them. Just a veil.
On a damp surface: the powder clumps and cannot be sanded evenly. The surface must be dry.
Not removed: extract and wipe off residues thoroughly before painting.
FAQ
How thick do I apply guide coat?
Only as a thin veil. Too thick fills scratches instead of showing them.
When do I need guide coat?
For filler and primer and at every grit change: it shows where the surface is still uneven and whether marks of the previous grit remain.