Abrasives · 2 min read
Learning to sand: the basics in seven steps
Understand grit, keep the sequence, guide the machine, choose wet or dry, check, spot defects, finish: seven steps with the articles that deepen each one.
Last updated:
KORNDEX sells abrasives – matching products are linked below the article.
The answer in one paragraph
Good sanding rests on three rules: start with the coarsest grit that removes the defect, never more than double the grit and never skip a step, and check after every step before going finer. Everything else – machine, wet or dry sanding, product – follows from what you are working on.
1. Understand grit
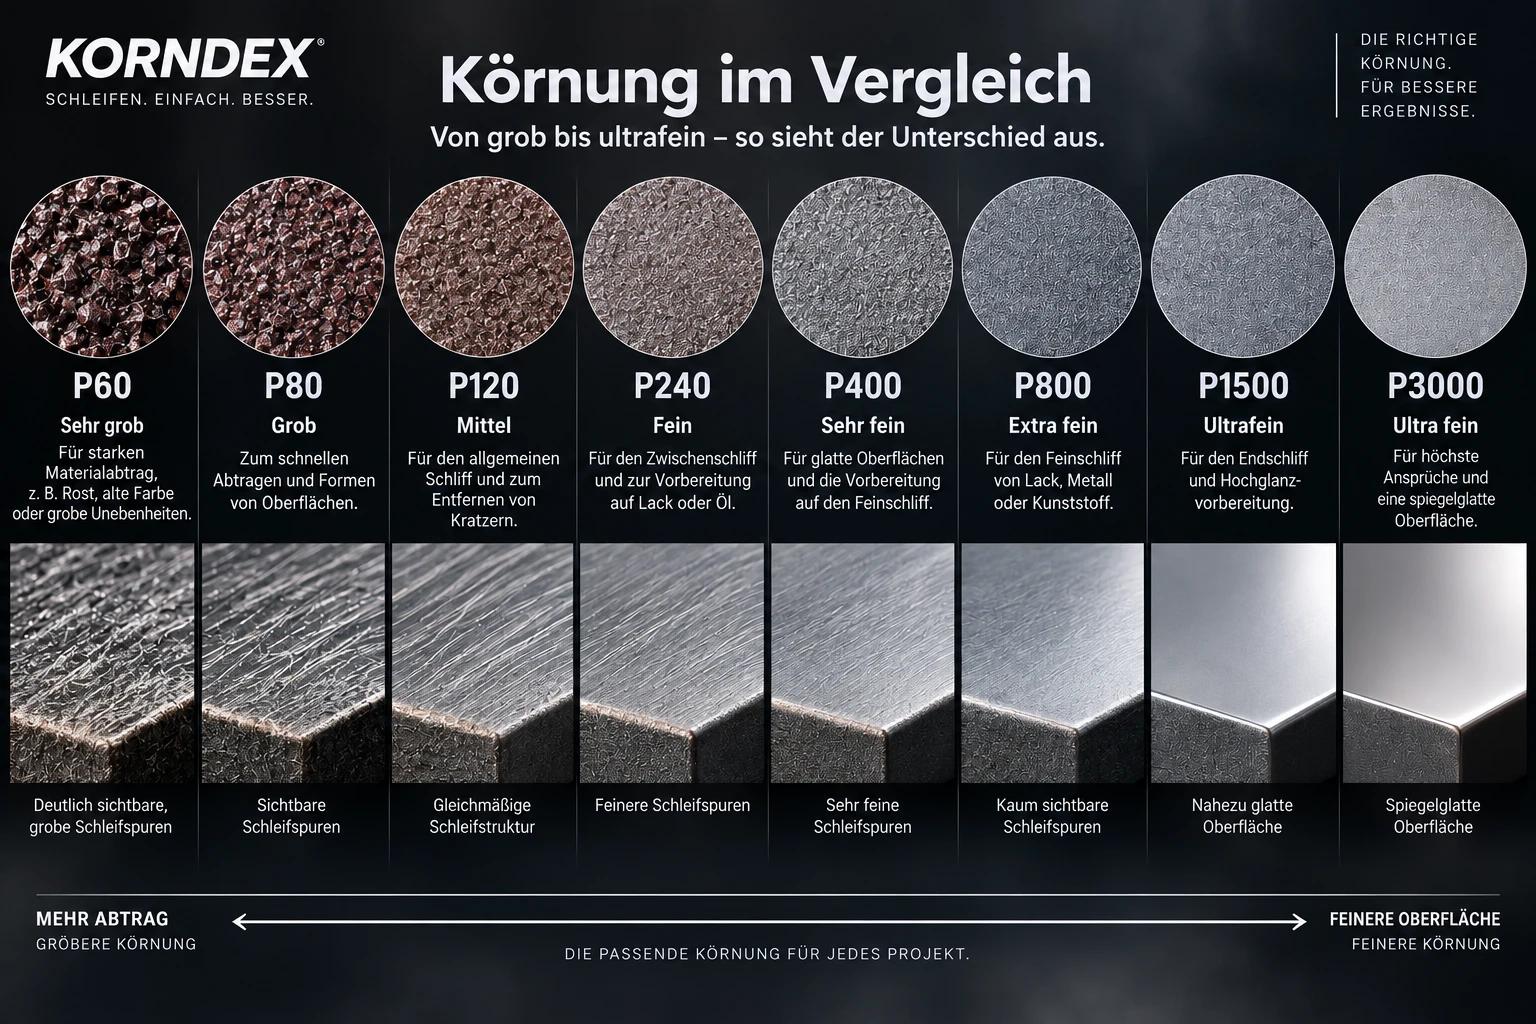
The P number says how fine the grain is: the higher, the finer. P80 removes material, P240 prepares paint, P2000 brings clear coat to the state before polishing. The grit table shows all steps, the converter translates US grit.
2. Keep the sequence
Each grit removes the marks of the previous one. Jumping from P80 to P240 leaves the deep scratches, and they only show under the paint. Never more than doubling per step.
3. Guide machine and pad
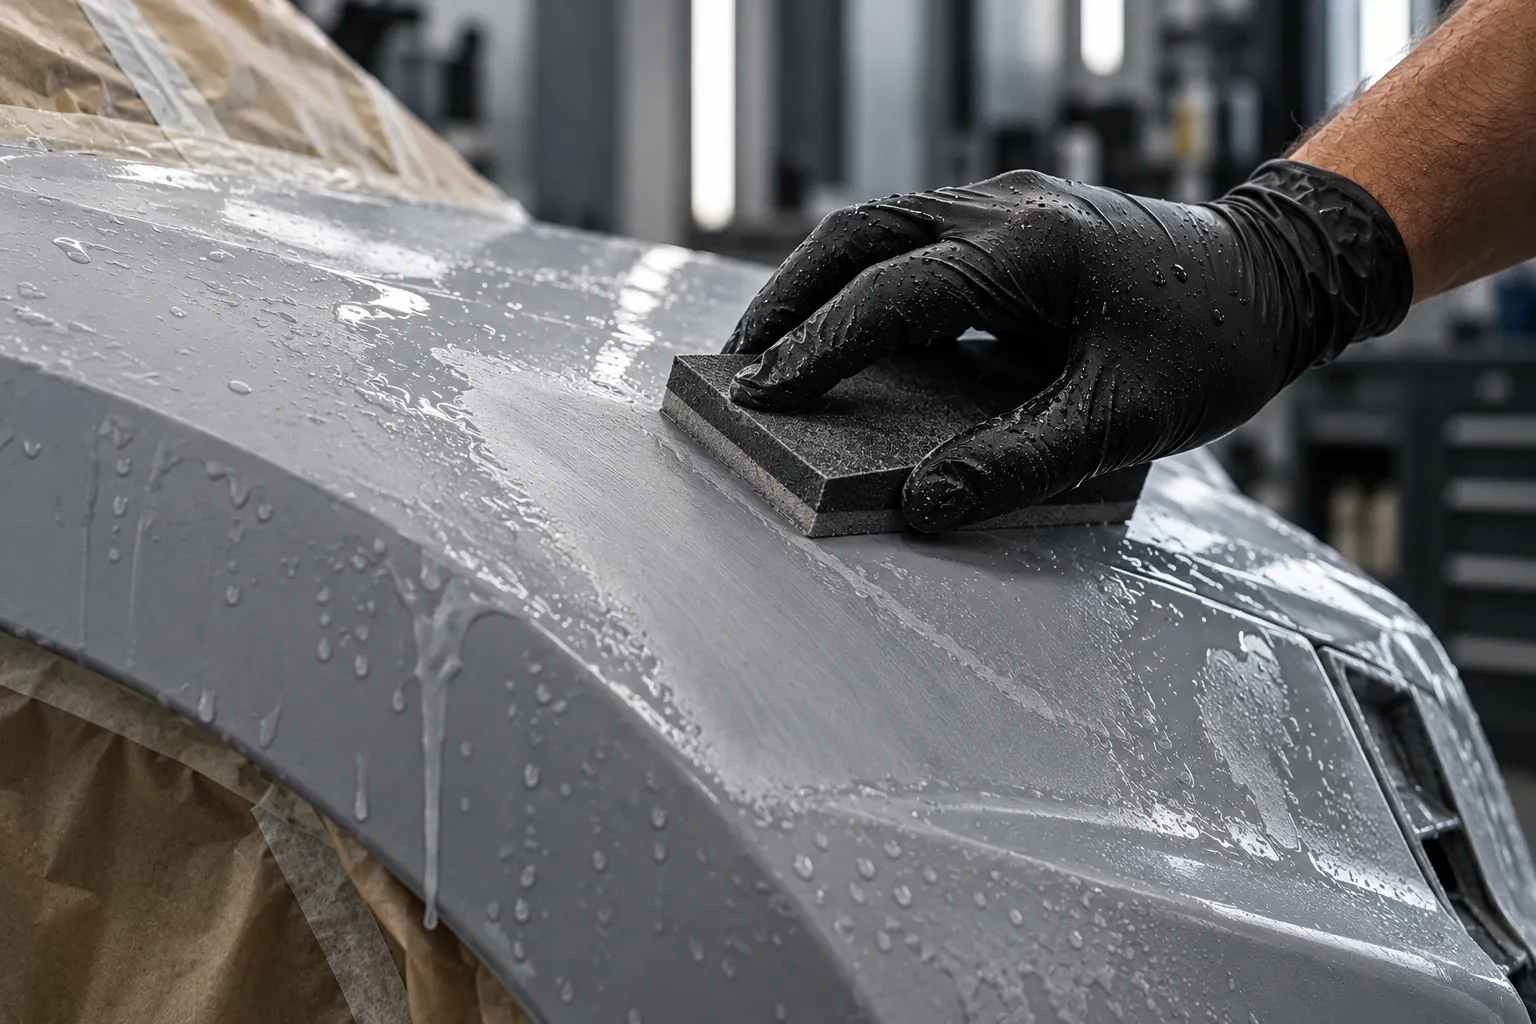
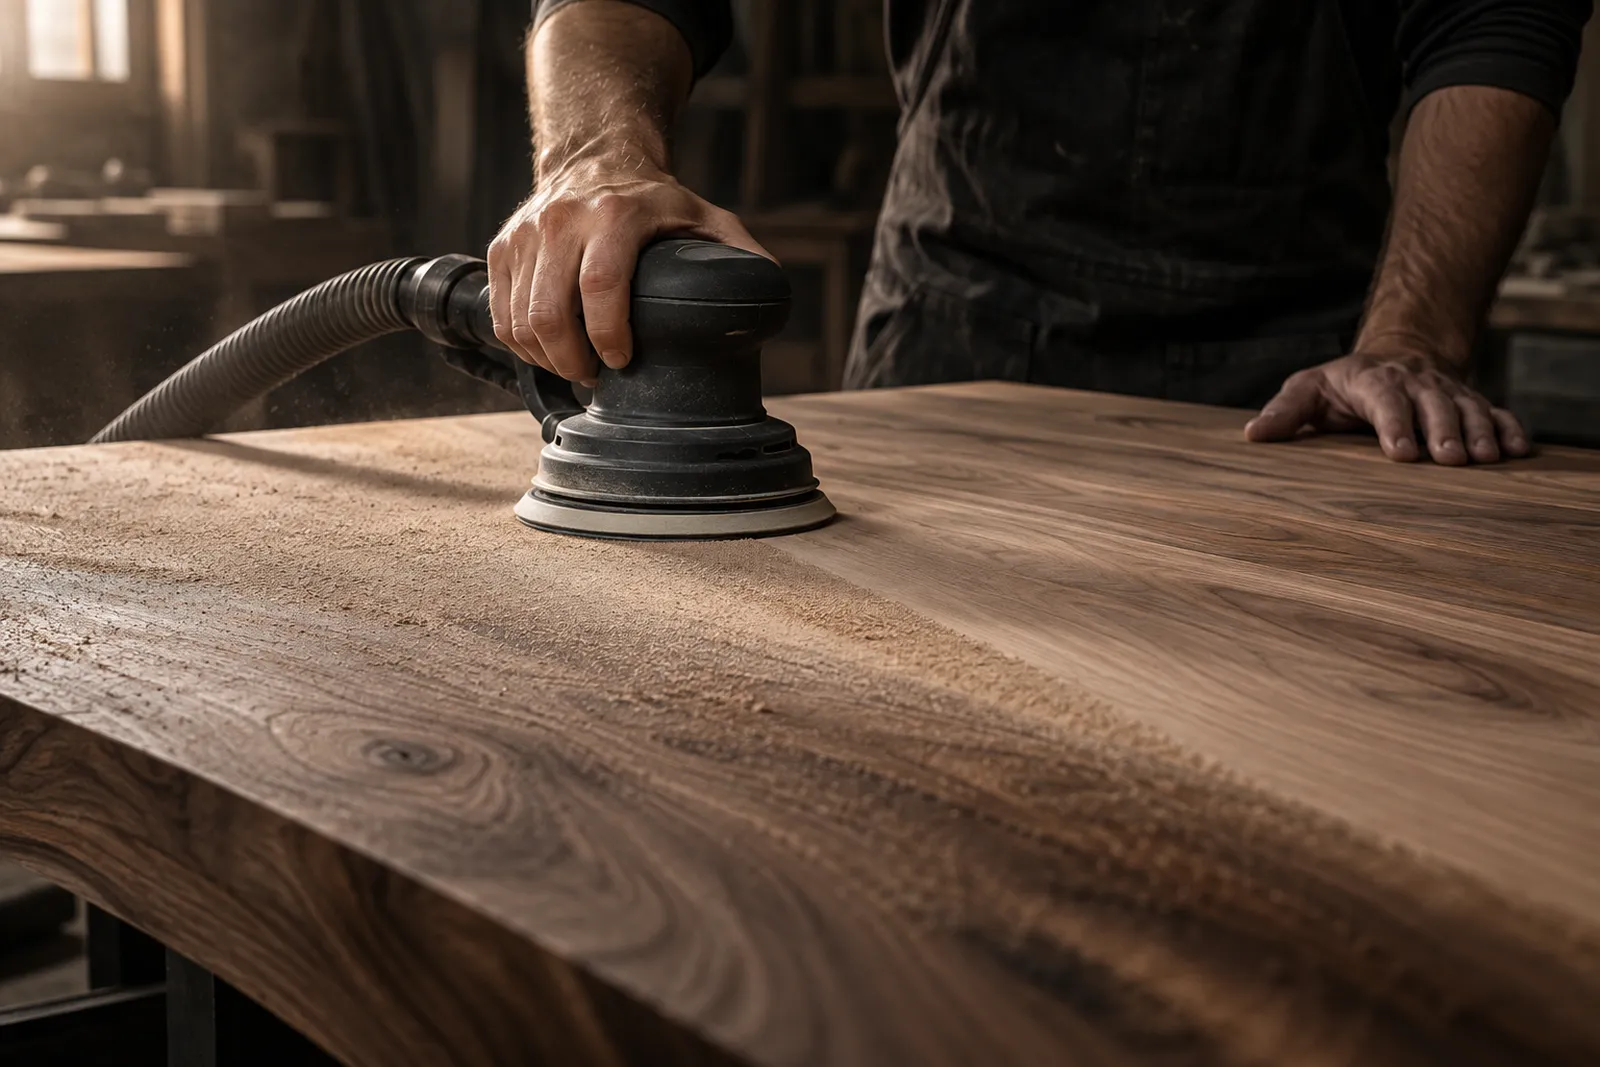
Place the random orbital sander flat, work with its own weight and move evenly. Too much pressure brakes the motion and makes swirl marks. Edges, corners and profiles are sanded by hand with a block or foam pad.
4. Choose wet or dry
Up to about P400 mostly dry with dust extraction, from paint sanding on wet: water rinses away the swarf, the paper does not clog and the surface becomes more even.
5. Check before going finer
Guide coat or raking light shows where marks of the previous grit remain. Only when the whole surface is even do you go to the next step.
6. Spot defects
Swirl marks, deep scratches, sanded-through edges and clogged discs usually have simple causes. The defect pages show how to recognise them and how to put them right.
7. Finishing
Remove dust thoroughly, degrease and then oil, paint or polish. How fine the last grit has to be depends on the finish; the guides by material give the numbers.
FAQ
What do I start sanding with?
With the coarsest grit that reliably removes the defect, then finer step by step – never more than doubling and never skipping a step.
How do I know I can move to the next grit?
When the surface is evenly matt and guide coat or raking light show no more marks of the previous grit.
Terms in this article
- Dry sanding
- Clear coat
- Polishing
- Random orbital sander
- Swirl marks
- Dust extraction
- Guide coat (control powder)
- Raking light
- Degreasing