For a smooth base.
Body filler
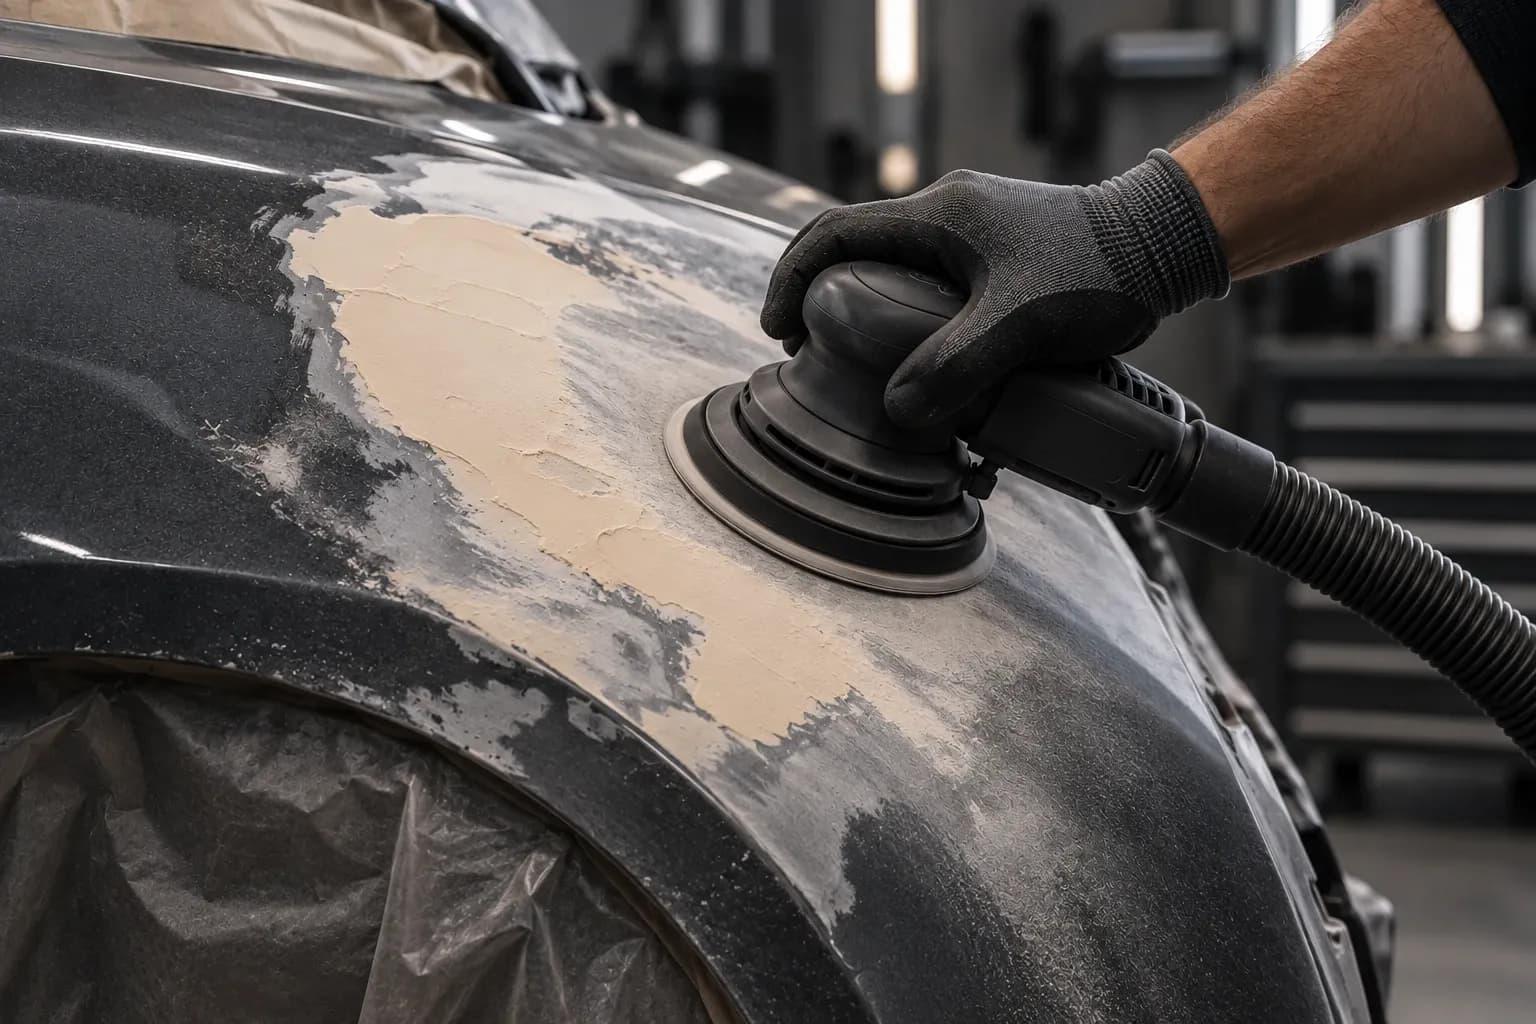
Level and shape polyester and finishing filler – the first step of every paint job.
2 work stepsGrit P80 to P240Car paint starter set €69.90
The film
Sanding for body filler
Level fast, shape cleanly, prepare perfectly – P80 to P240, then ready for primer surfacer.
Work steps
2 steps in working order – from coarse to fine. For each step, the grits and the matching product.
- 1
Level the filler
Remove high spots, build the shape.
Tip: Apply a guide coat before sanding: wherever it remains, there is still a dip. In the system: Sand body filler →
- 2
Feather the edges
Feather the edges into the old paint.
The whole sequence at once
4 grits, 1 × smallest pack each: PRO CUT 150 (10 pcs) P80 · P120 · P180 · P240.
Or as a set: Car paint starter set (P120–P600) for €69.90 →
incl. VAT, plus shipping
Matching products
7 products for Body filler – recommended ones first, each card starts with the grit you need first here.
Abrasives
- Bestseller
- P80–P600
- Grit
- 150 mm
- Diameter
- 50 pcs
- Contents
€0.50 / pc · incl. VAT, plus shipping
- Bestseller
- P80–P400
- Grit
- 150 mm
- Diameter
- 50 pcs
- Contents
€0.50 / pc · incl. VAT, plus shipping
- P80–P400
- Grit
- 70 × 420 mm
- Dimensions
- 25 pcs
- Contents
€0.92 / pc · incl. VAT, plus shipping
Accessories · Sets & bundles
- Bestseller
- P120–P600
- Grit
- 150 mm
- Diameter
- 60 PRO CUT 150 discs
- Contents
incl. VAT, plus shipping
What matters with Body filler
What counts beyond the grit – technique, typical defects and the related guides.
What can go wrong
View all sanding defects →Pigtails and arcs in the surface
Small, even arcs, usually only visible under raking light or after painting.
Usually: A grit was skipped – the fine grit can no longer remove the deep scratches left by the coarse one.
Scratches from the coarse grit are still there
Individual straight scratches, clearly deeper than the rest of the scratch pattern – guide coat stays in them.
Usually: The jump to the next grit was too big, for example from P120 straight to P320.
The filler repair shows through
An edge you can feel with the flat of your hand before you see it – after painting it shows as a shadow.
Usually: Sanded only on the filler instead of well beyond it – the edge remains as a step.
The disc no longer cuts, it smears
Same pressure, same speed – and still nothing happens; the surface gets warm, and there are shiny patches or lumps on the disc.
Usually: Worked without dust extraction: the dust clogs the grains before they are blunt.
The surface goes wavy, edges get rounded
Under raking light or with a long straightedge, shallow hollows show up; edges that should be crisp have gone soft.
Usually: The backing pad was tilted or put down with the machine running.
Blisters in the paint over a filler repair
After painting, small blisters appear over a filled area – and nowhere else.
Usually: The polyester filler was wet sanded: it is porous, soaks up the water and releases it later.
Related guides · 3 articles
Body filler
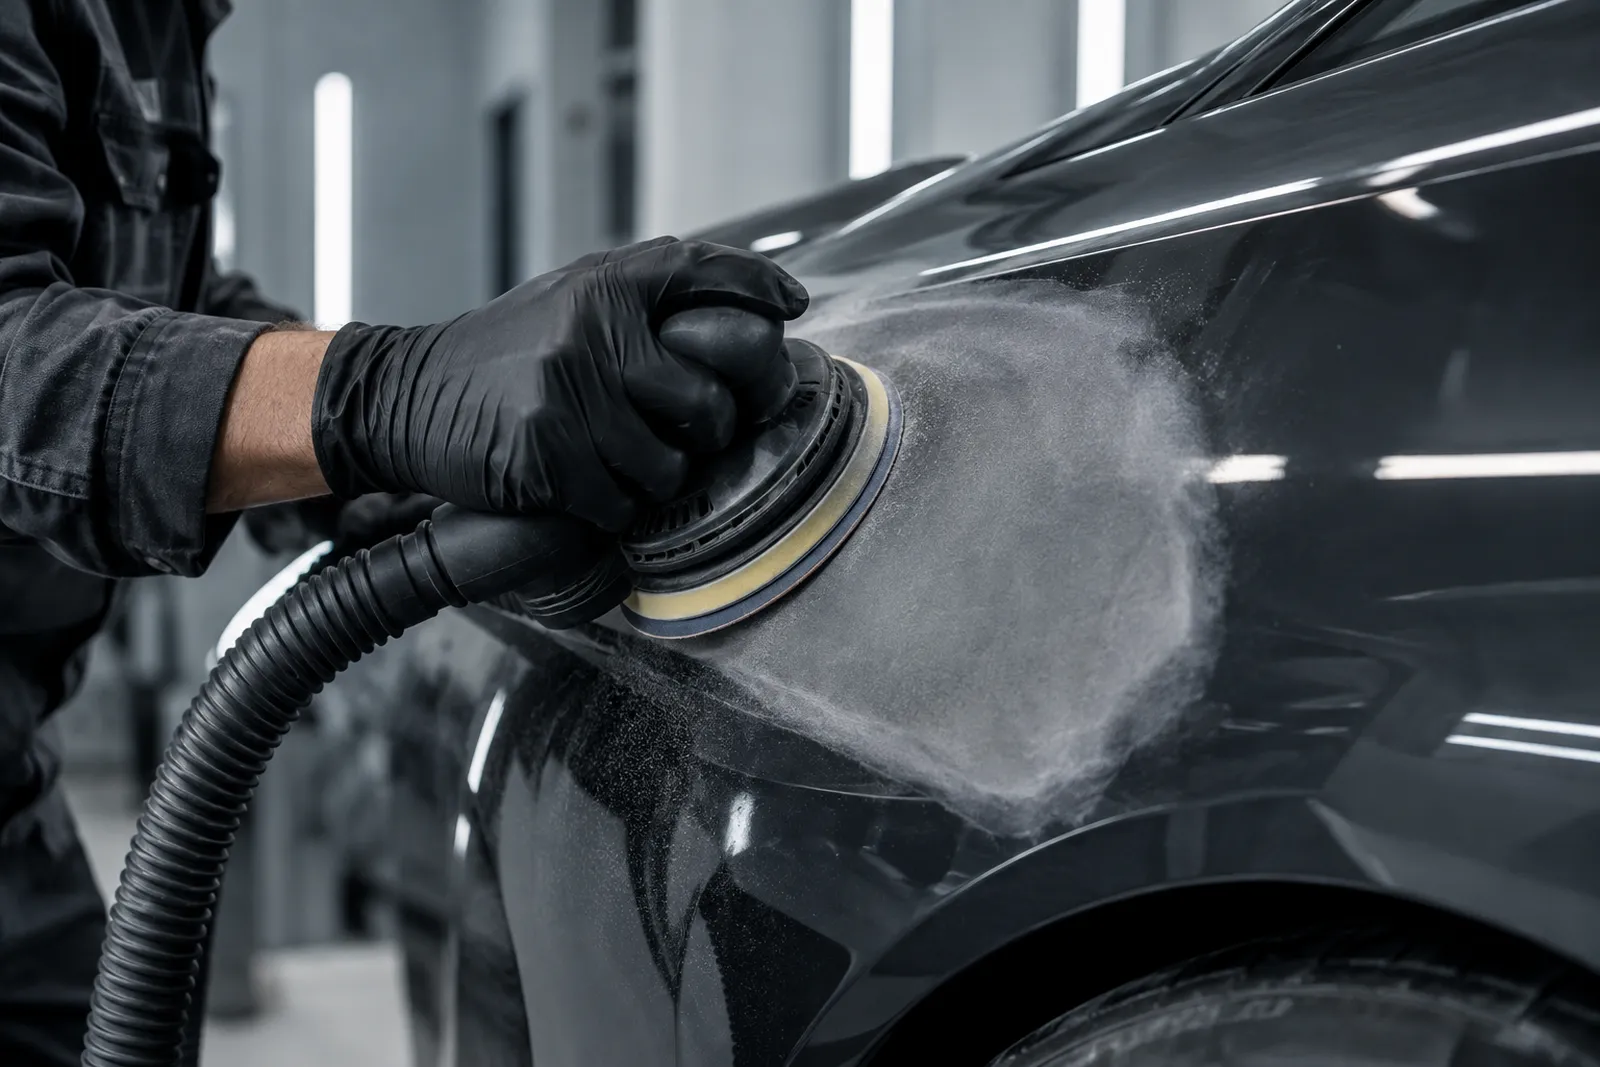
What grit for sanding body filler?
P80 to shape, P120 to P180 to feather the edges, P240 before primer surfacer – and why body filler is never sanded with P400.
P80 → P120 → P180 → P240
Read · 1 min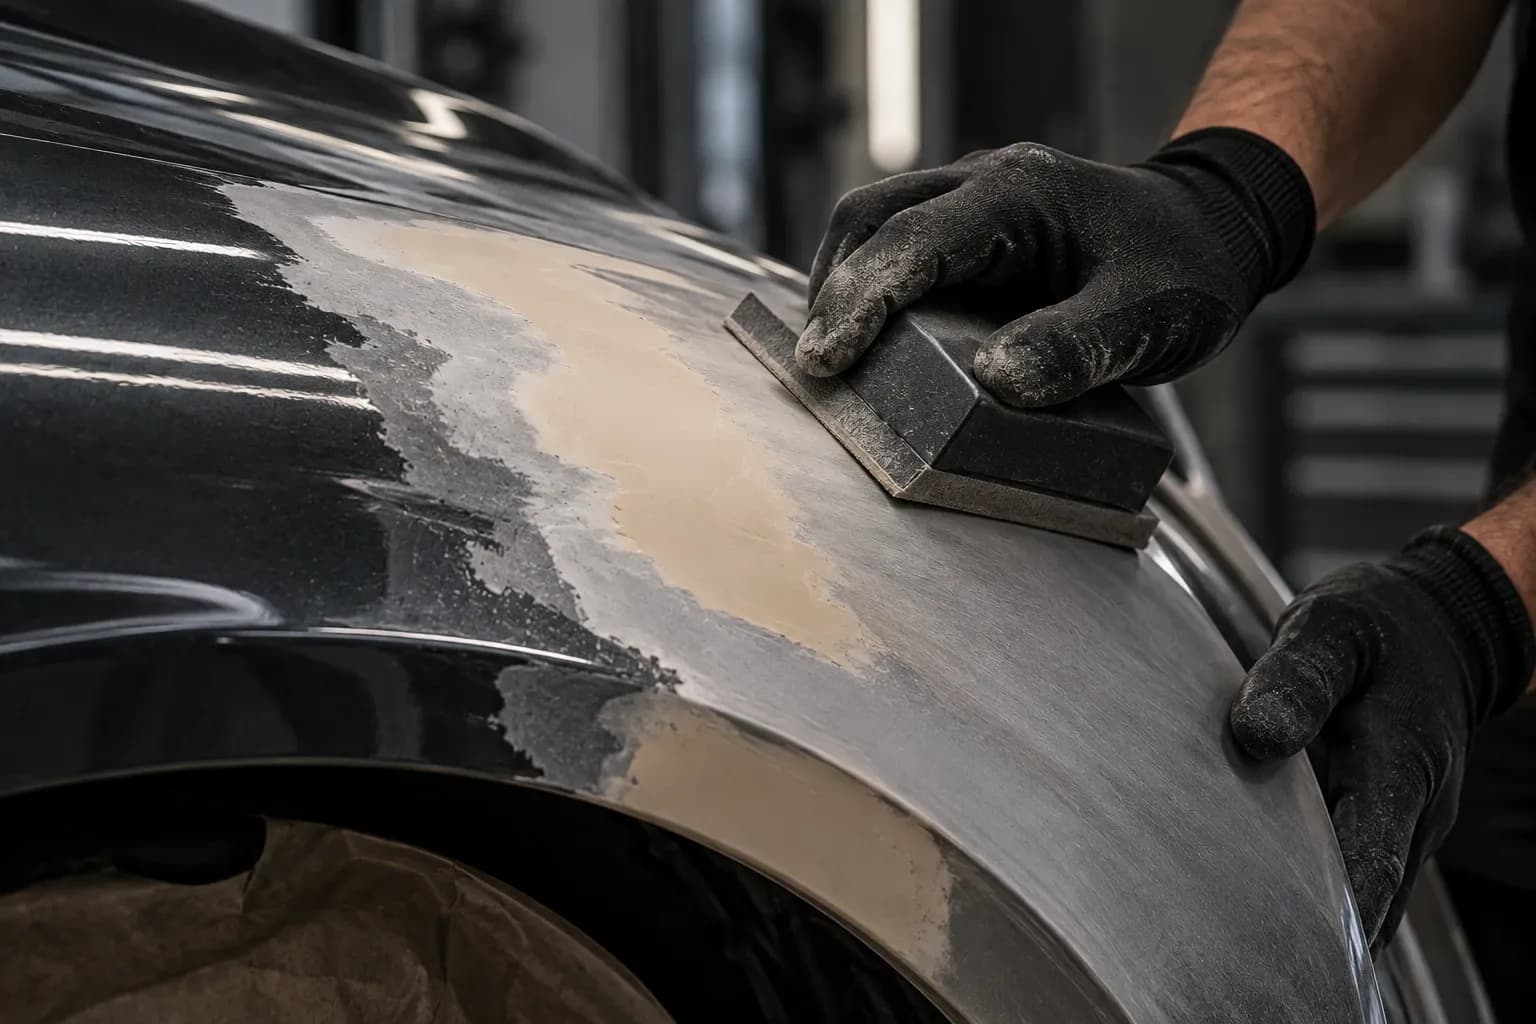
Body filler
Sanding a filler repair invisibly: feathering the edges
Why filler repairs often still show through the paint – and how to sand them flat with P80, P120 and P180 to P240 and feather the edge out wide.
P80 → P120 → P180 → P240
Read · 1 min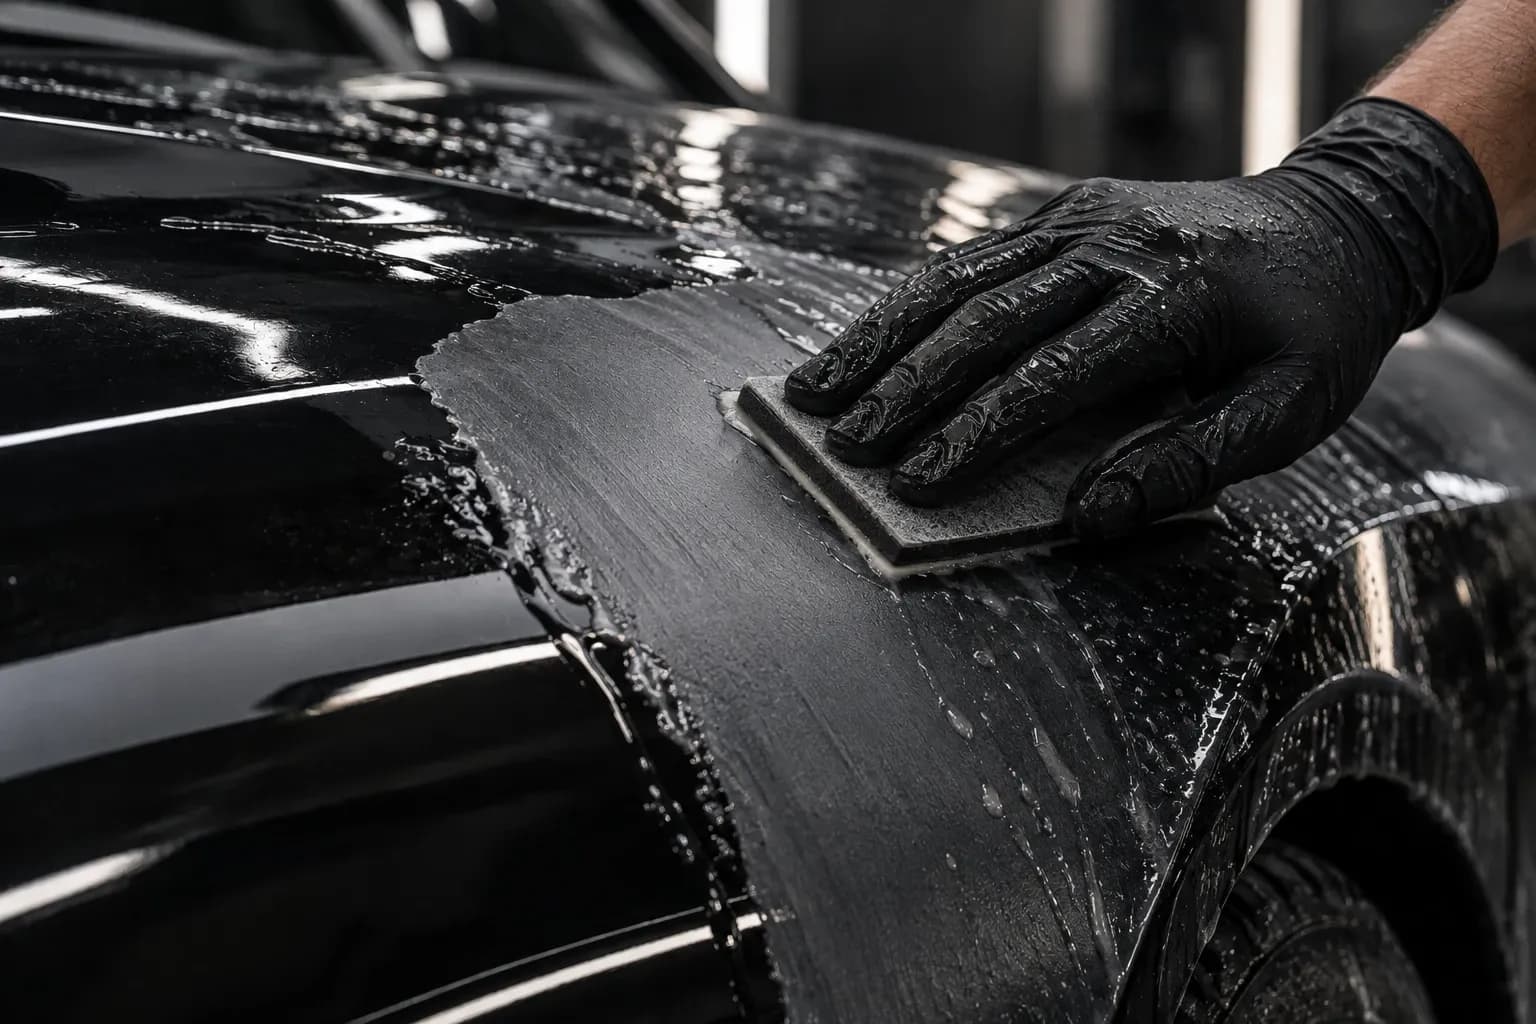
What grit sandpaper for car paint?
From body filler to finish: the grit sequence for a paint repair – and why you never skip a step.
P80 → P120 → P180 → P240 → P320 → P400 → P600
Read · 2 min
FAQ on Body filler
Which grit for polyester filler?
Take down high spots with P80, shape with P120 and feather the edges into the old paint with P180 to P240. Then the primer surfacer goes on.
How do I know the filler is fully sanded?
With a guide coat: apply a thin layer of black guide coat powder and sand. Where it remains, there are still low spots; once it has gone evenly and the edge feels flat to the flat of your hand, the primer surfacer can go on.
By hand or by machine?
Large, flat areas with the random orbital sander and a hard backing pad; curved surfaces and swage lines by hand with a sanding block – a long, hard block keeps the surface flat, whereas a soft backing would just follow the low spots.
More applications
Different surface, different process – each application with its own work steps and grits.
- Car & paintPerfect surfaces – from repair to finishP80 – P3000
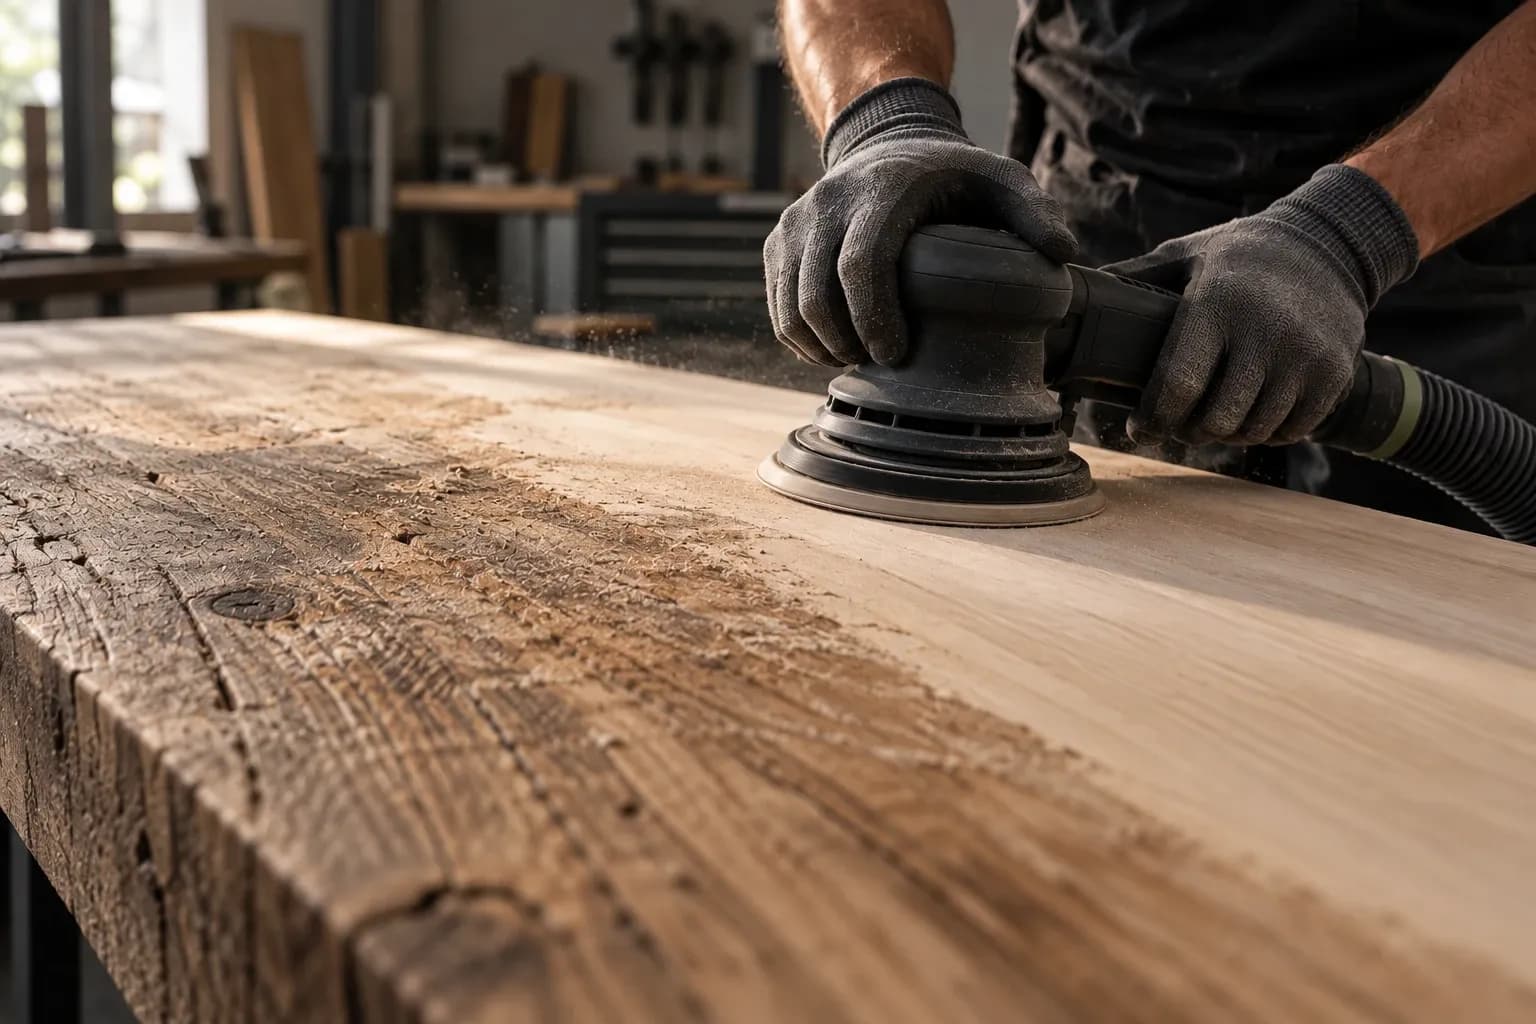 WoodFrom raw to perfect – for furniture, interiors and moreP40 – P320
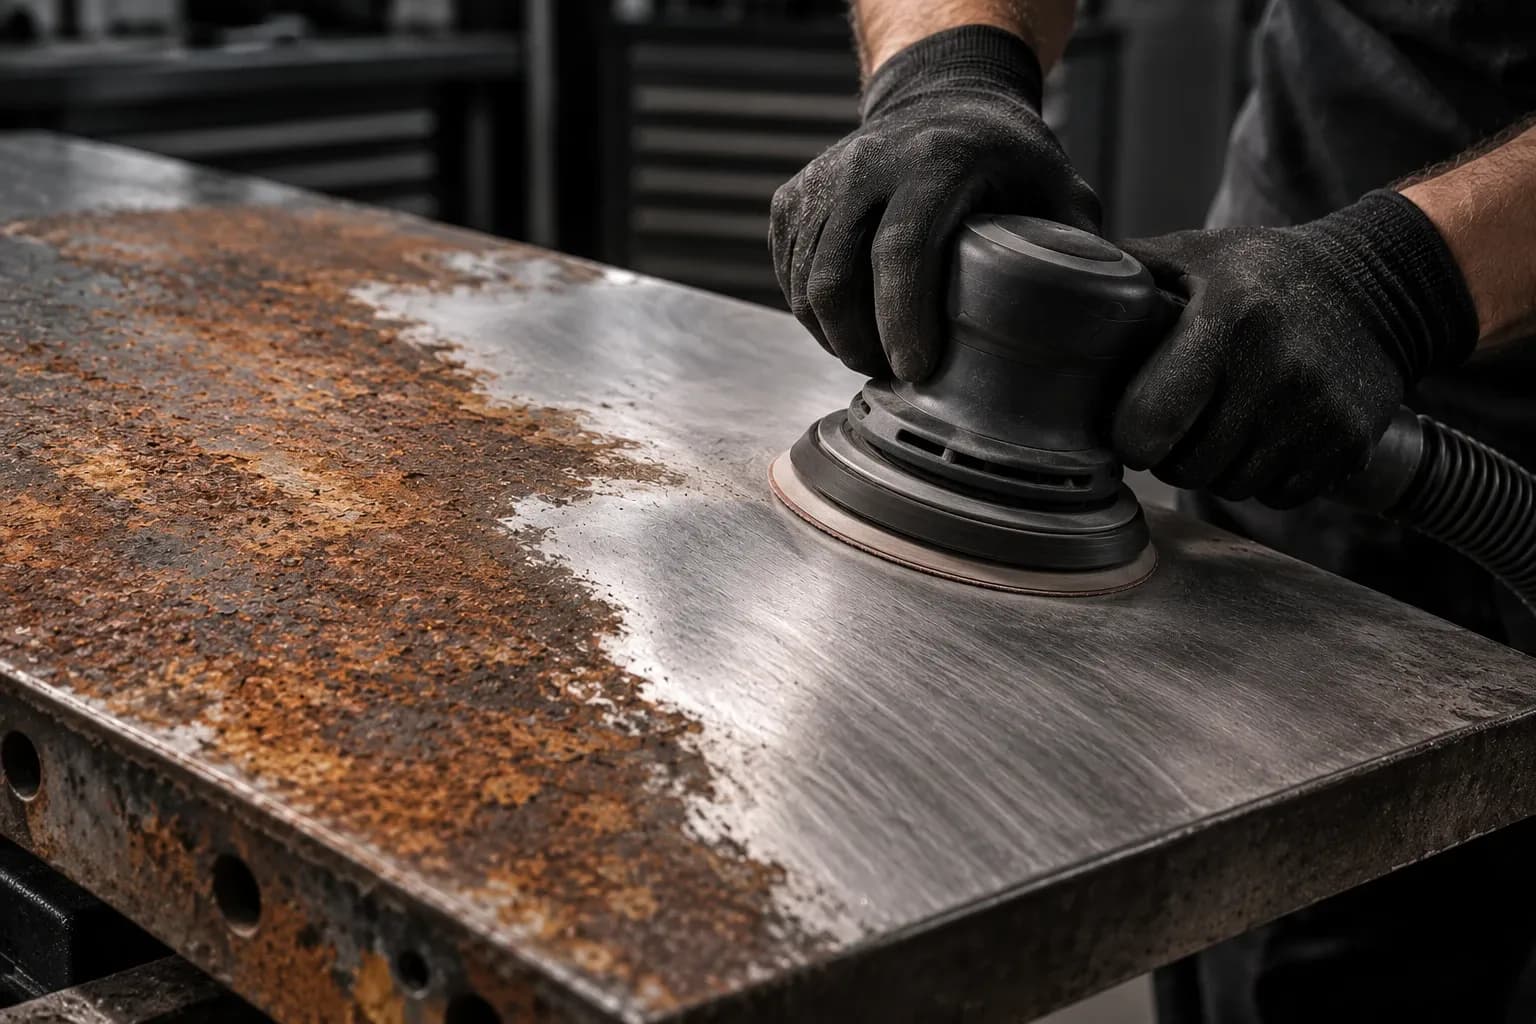 MetalRemove rust, refine surfaces, protect for goodP40 – P400
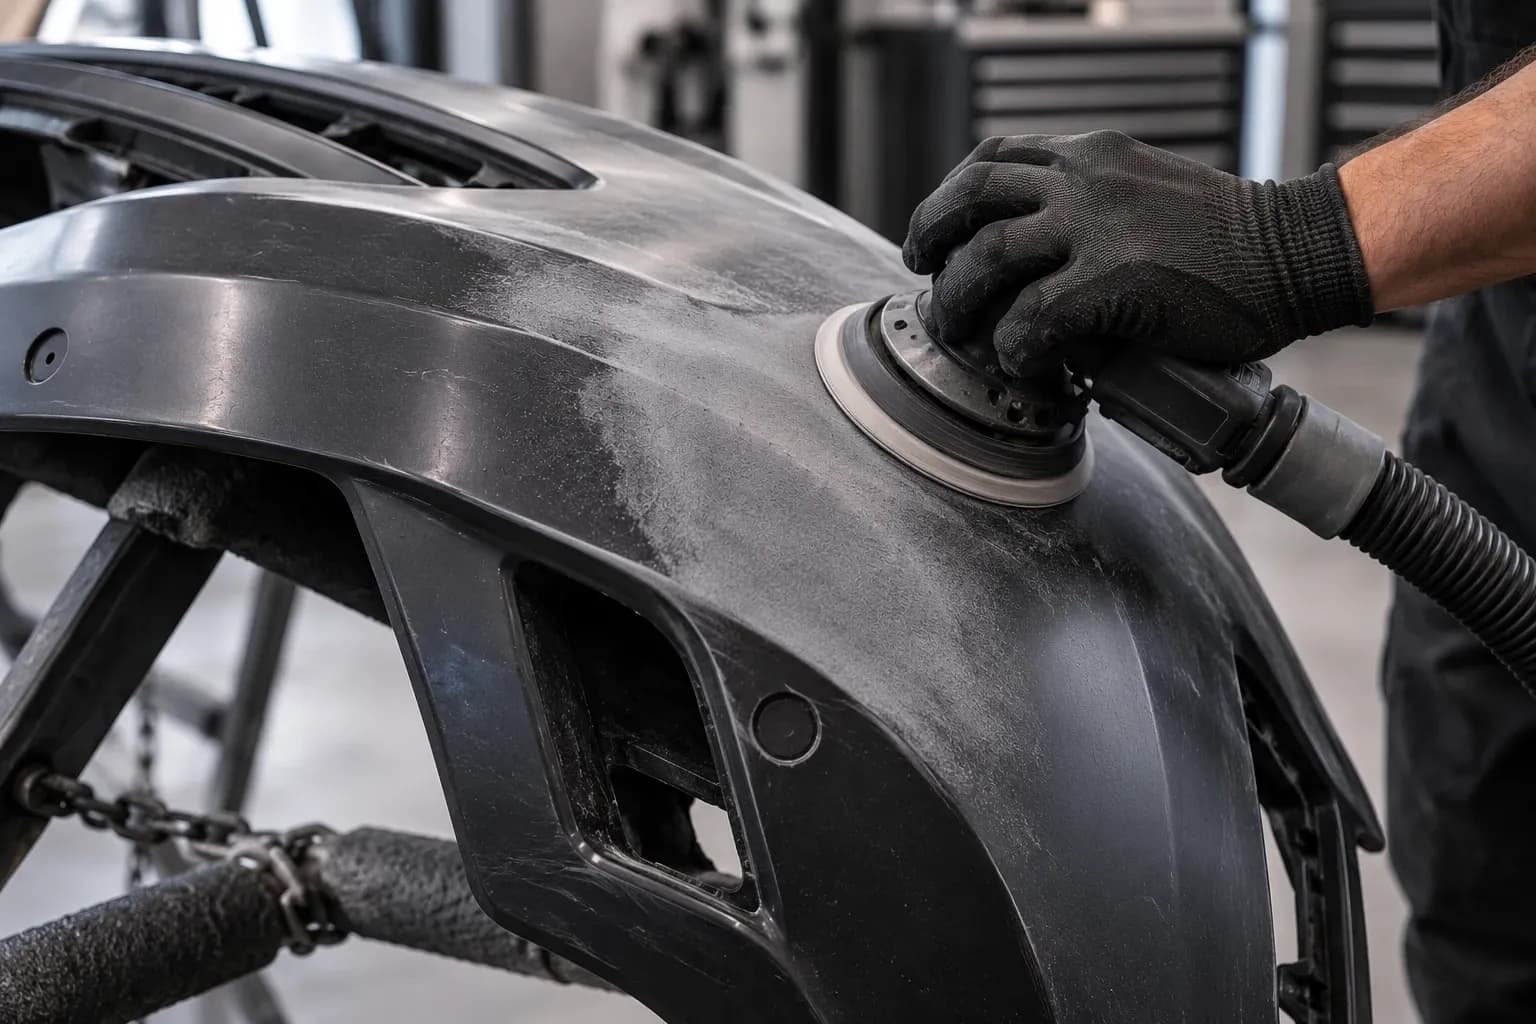 PlasticSand safely – for optimum adhesion and perfect resultsP180 – P1000
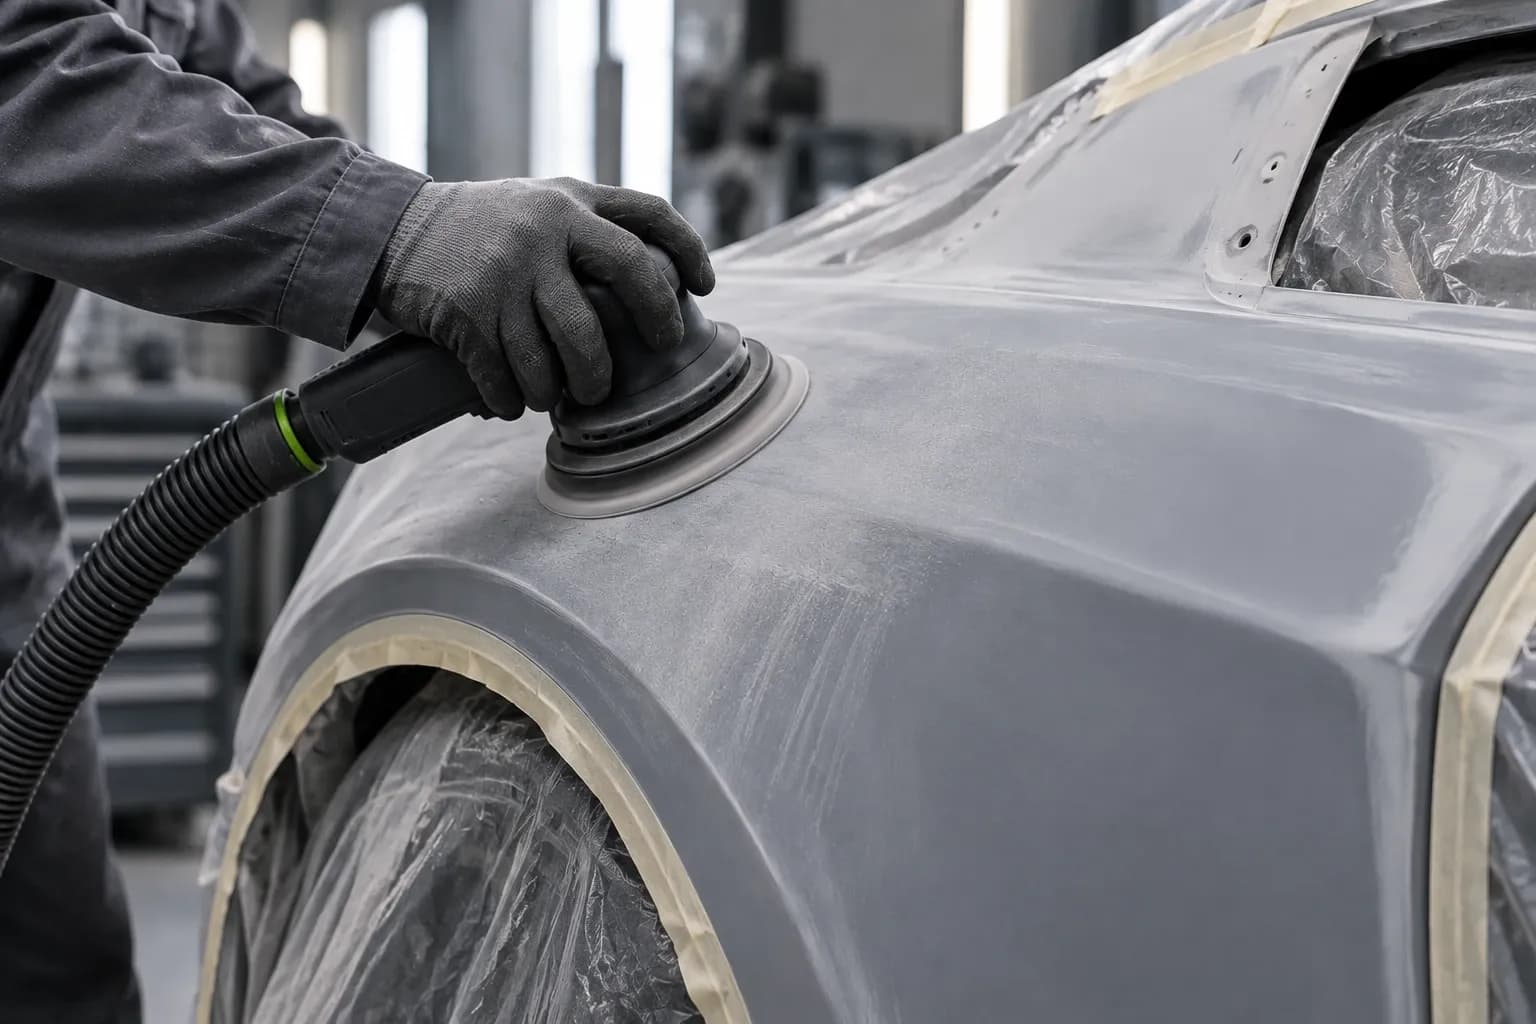 PrimerFor an even, high-quality paint finishP320 – P600
Still unsure?
The abrasive finder asks about your machine and goal – the material is already set – and tells you the product and grit.
Find abrasives for Body filler →