Plastic & resin · 1 min read
Restoring headlights: which grit?
Wet sand from P800 to P2000, then polish – and seal afterwards, or the lens will be cloudy again after one summer.
Last updated: · published
Why headlights go cloudy
Headlight lenses are plastic (polycarbonate) with a thin UV-protective coating. When that coating turns brittle and yellow over the years, the lens scatters the light. Sanding removes the damaged layer – which is why it needs a fresh seal at the end.
The sequence: wet, fine, even
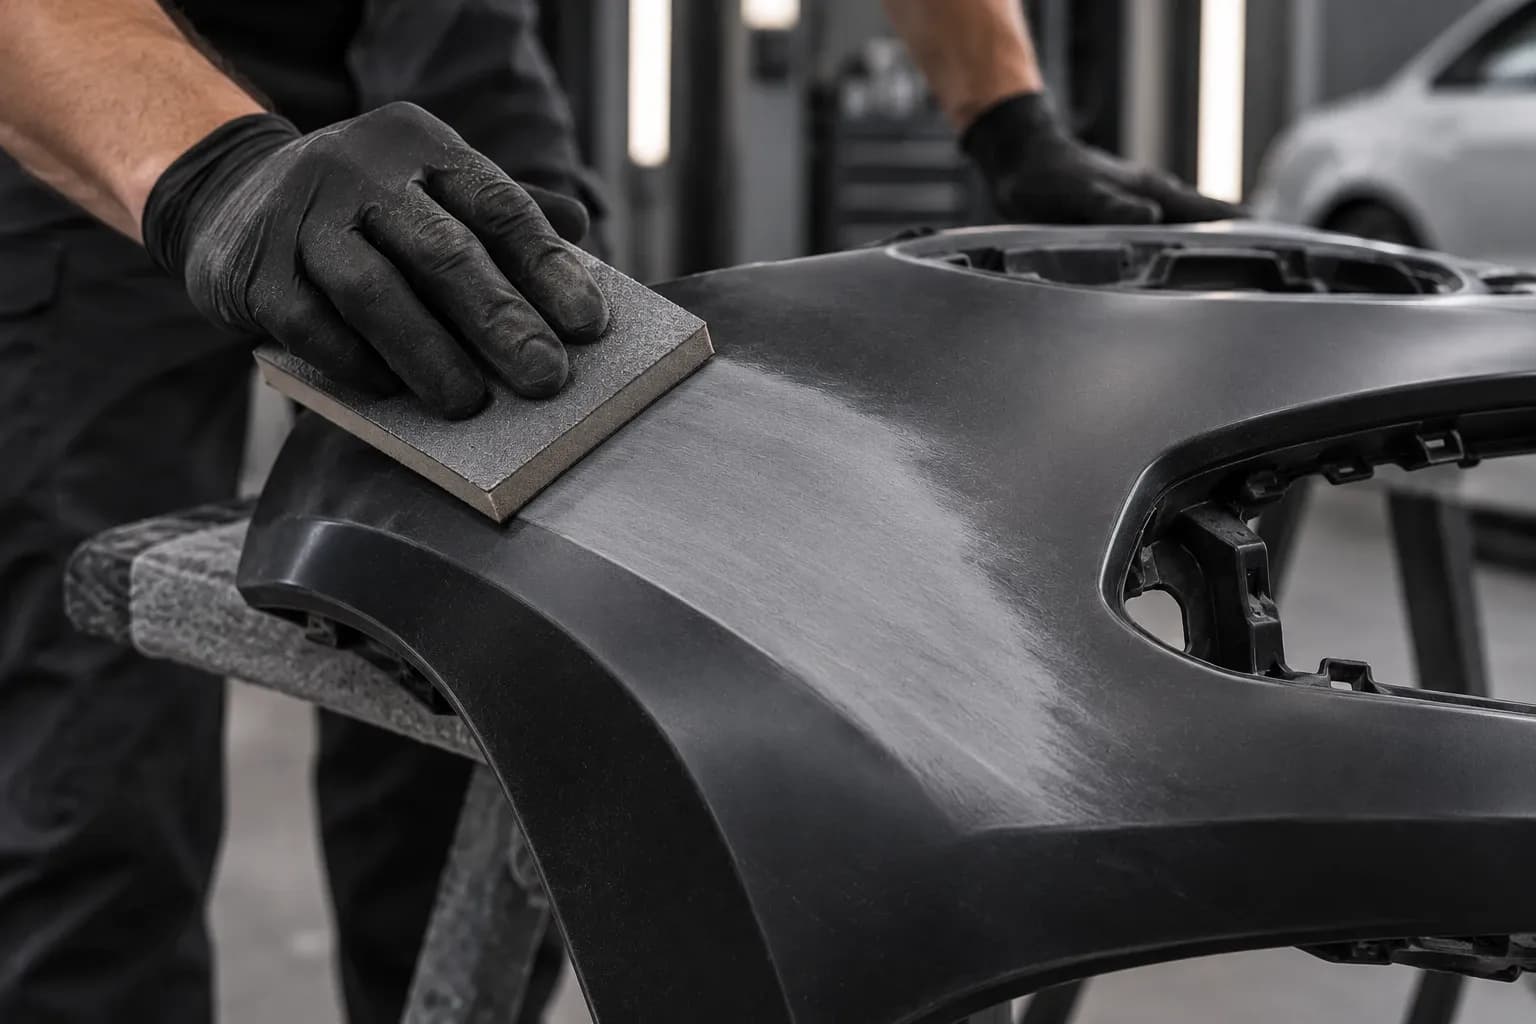
Mask off all around, then wet sand: use P800 to remove the yellowed layer evenly until the whole surface is matt with no yellow patches left. Then P1000, P1500 and P2000 – at every change, remove the scratches of the previous grit completely. Plenty of water, little pressure, otherwise the plastic heats up.
After P2000 the lens is an even satin matt; polishing brings back the clarity. If you have P3000 to hand, it shortens the polishing – but it is not essential.
Do not forget to seal
Without a protective layer, bare polycarbonate yellows again quickly. Apply a UV-resistant clear coat or a headlight sealant as directed by the manufacturer. For headlights used on public roads: the lens must be clear afterwards – scatter and glare are not permitted.
FAQ
Can I sand headlights with a random orbital sander?
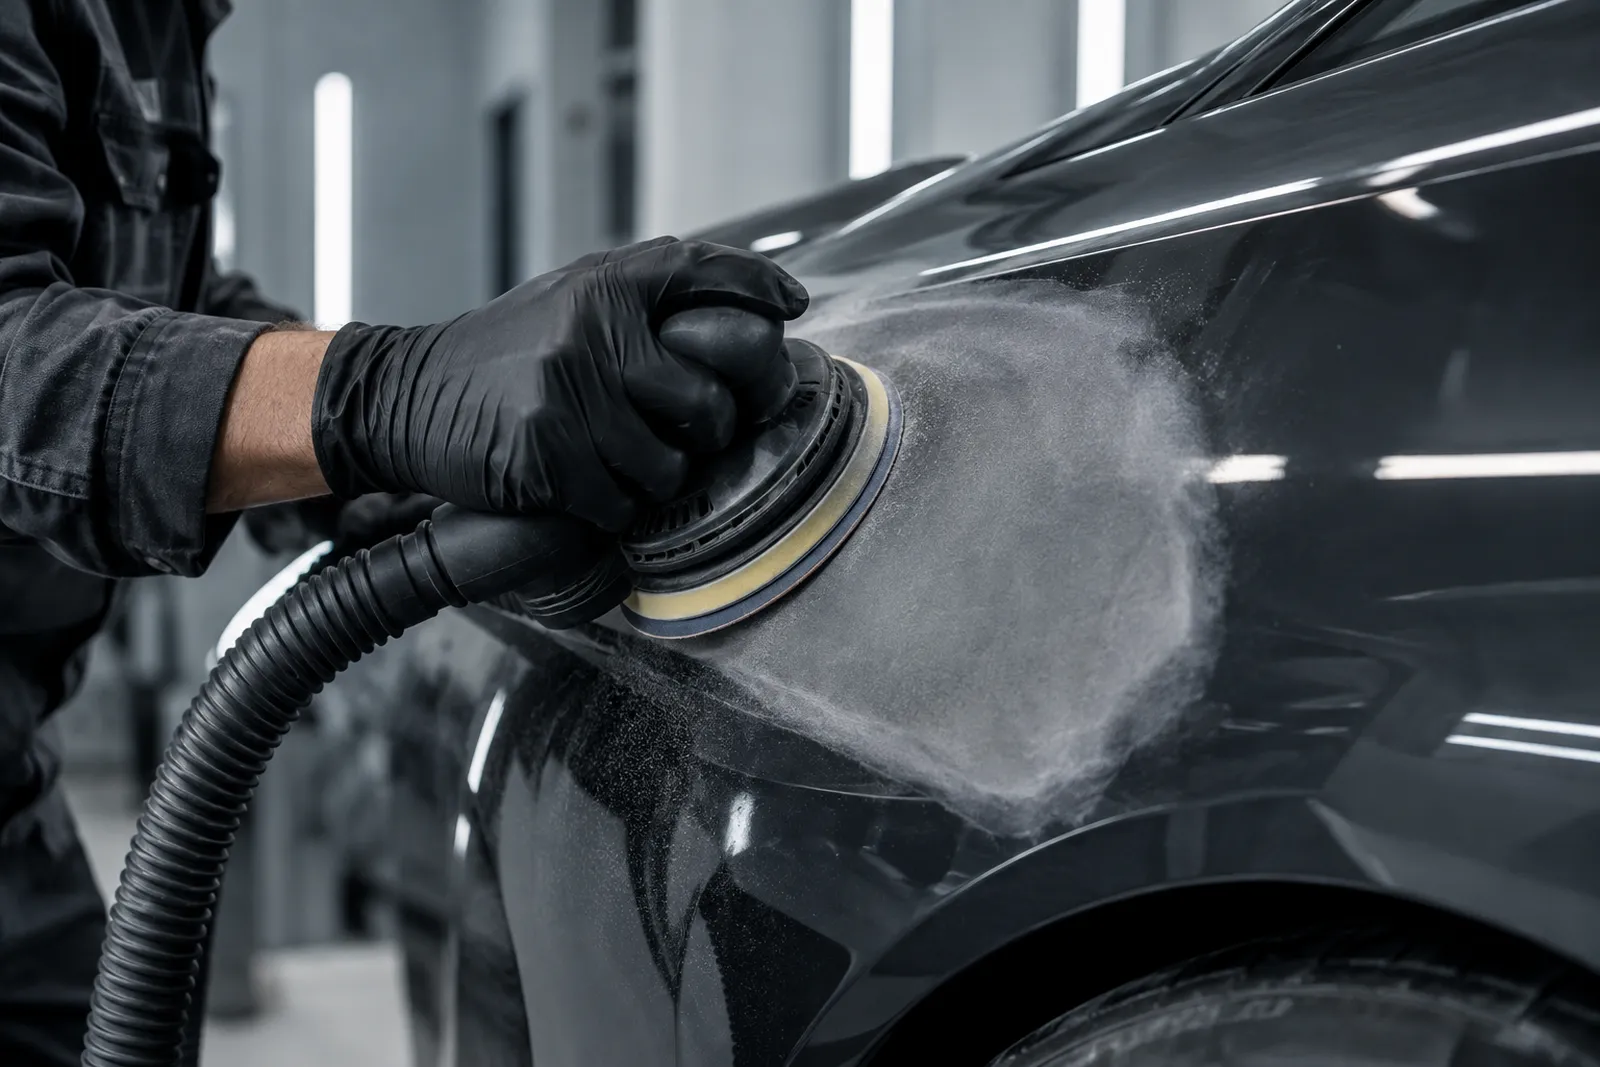
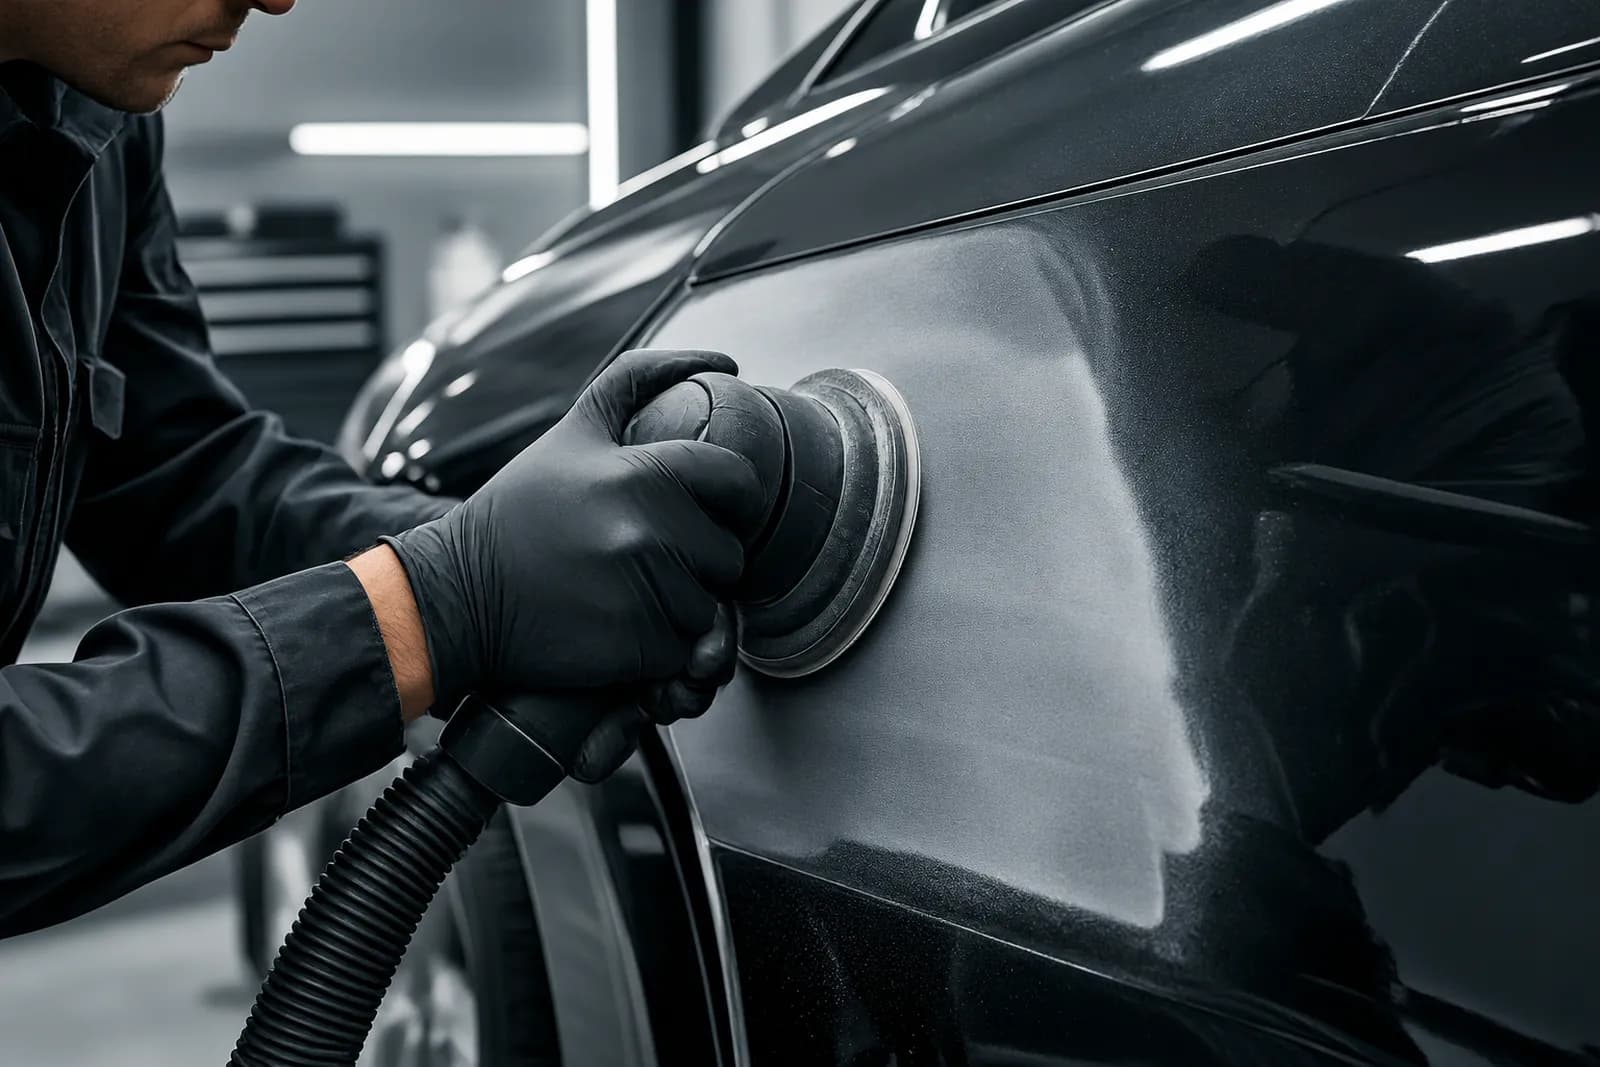
With a foam pad and light pressure, yes – but never wet with a mains-powered machine. For most headlights, working by hand with a sanding sheet and a spray bottle is just as quick and safer.
Terms in this article
All terms in the sanding glossary →The whole sequence at once
4 grits, 1 × smallest pack each: PRO SHEET 230 × 280 wet (25 pcs) P800 · P1000 · P1500 · P2000.
Or as a set: Finish set for high gloss (P1000–P2000) for €59.90 →
incl. VAT, plus shipping