Plastic & resin · 1 min read
Sanding and polishing epoxy resin
River tables and castings: level coarse, then wet sand up to P2000 or P3000 and polish. Why the resin must be fully cured first.
Last updated: · published
Let it cure fully first
Epoxy resin must be fully cured – depending on the resin and the temperature, that takes days. Soft resin smears, clogs any disc instantly and tears scratches. If in doubt, test in a corner: it should produce dust, not stick.
Level and refine
Remove bumps and overhangs with P120 to P180, then go finer step by step: P240, P320, P400, P600. The surface turns evenly matt as you go; shiny spots are low areas you have not reached yet.
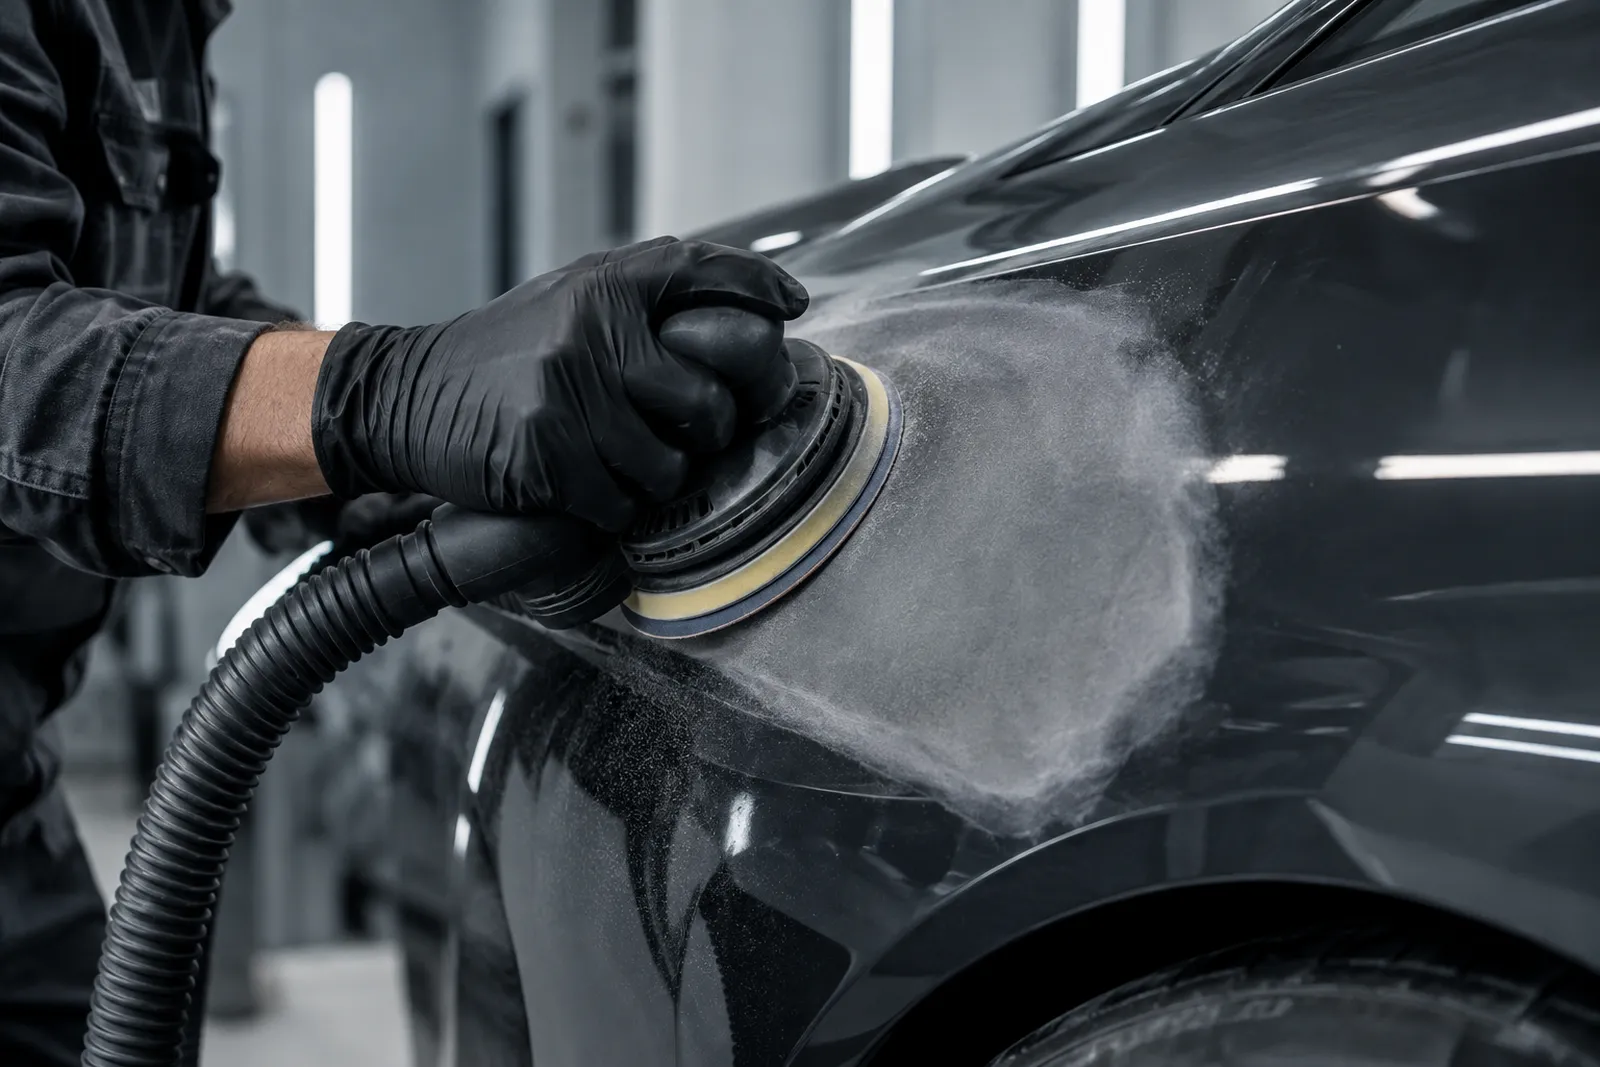
Epoxy heats up when sanded – light pressure, lower speed, dust extraction, and an FFP2 mask against the fine dust.
Wet sand to a gloss
FAQ
Which grit should I use to key epoxy before pouring another layer?
P180 to P240, until the whole surface is evenly matt. Remove the dust thoroughly and the next layer will bond.
Why does epoxy turn milky when sanded?
Those are fine scratches, not damage to the resin. It gets clearer with every finer grit and is transparent again after polishing.
Terms in this article
All terms in the sanding glossary →The whole sequence at once
10 grits, 1 × smallest pack each: PRO CUT 150 (10 pcs) P120 · P180 · P240 · P320 · P400 · P600, PRO FILM 150 (10 pcs) P800 · P1000 · P1500, SOFT FINISH (10 pcs) P2000.
incl. VAT, plus shipping