Wood · 1 min read
Sanding veneer without sanding through
Veneer is often only half a millimetre thick: never coarser than necessary, never tilt the sander, edges by hand – and how to tell it’s getting thin.
Last updated:
KORNDEX sells abrasives – matching products are linked below the article.
How thin veneer is
Modern veneers are usually 0.5 to 0.6 mm thick; old furniture sometimes has over 1 mm. Sand-through can’t be repaired: underneath, chipboard or a different wood comes to light. So only remove as much as necessary – key old varnish rather than stripping it completely wherever you can.
Test first on a hidden spot (the back panel, the inside of a door) to see how the veneer reacts.
Grit and sander
Key varnished veneer surfaces with P180, then P240, and P320 before the new varnish. Smooth bare veneer with P180 to P240 before oiling. Only use coarser grits if the old varnish is very thick – and then only until the wood starts to show through.
A small orbit, low speed – the weight of the machine is enough. A soft interface pad spreads the pressure and stops the edge of the pad from cutting in. Thick layers of varnish often come off better with paint stripper; then just go over it with P240.
Edges and warning signs
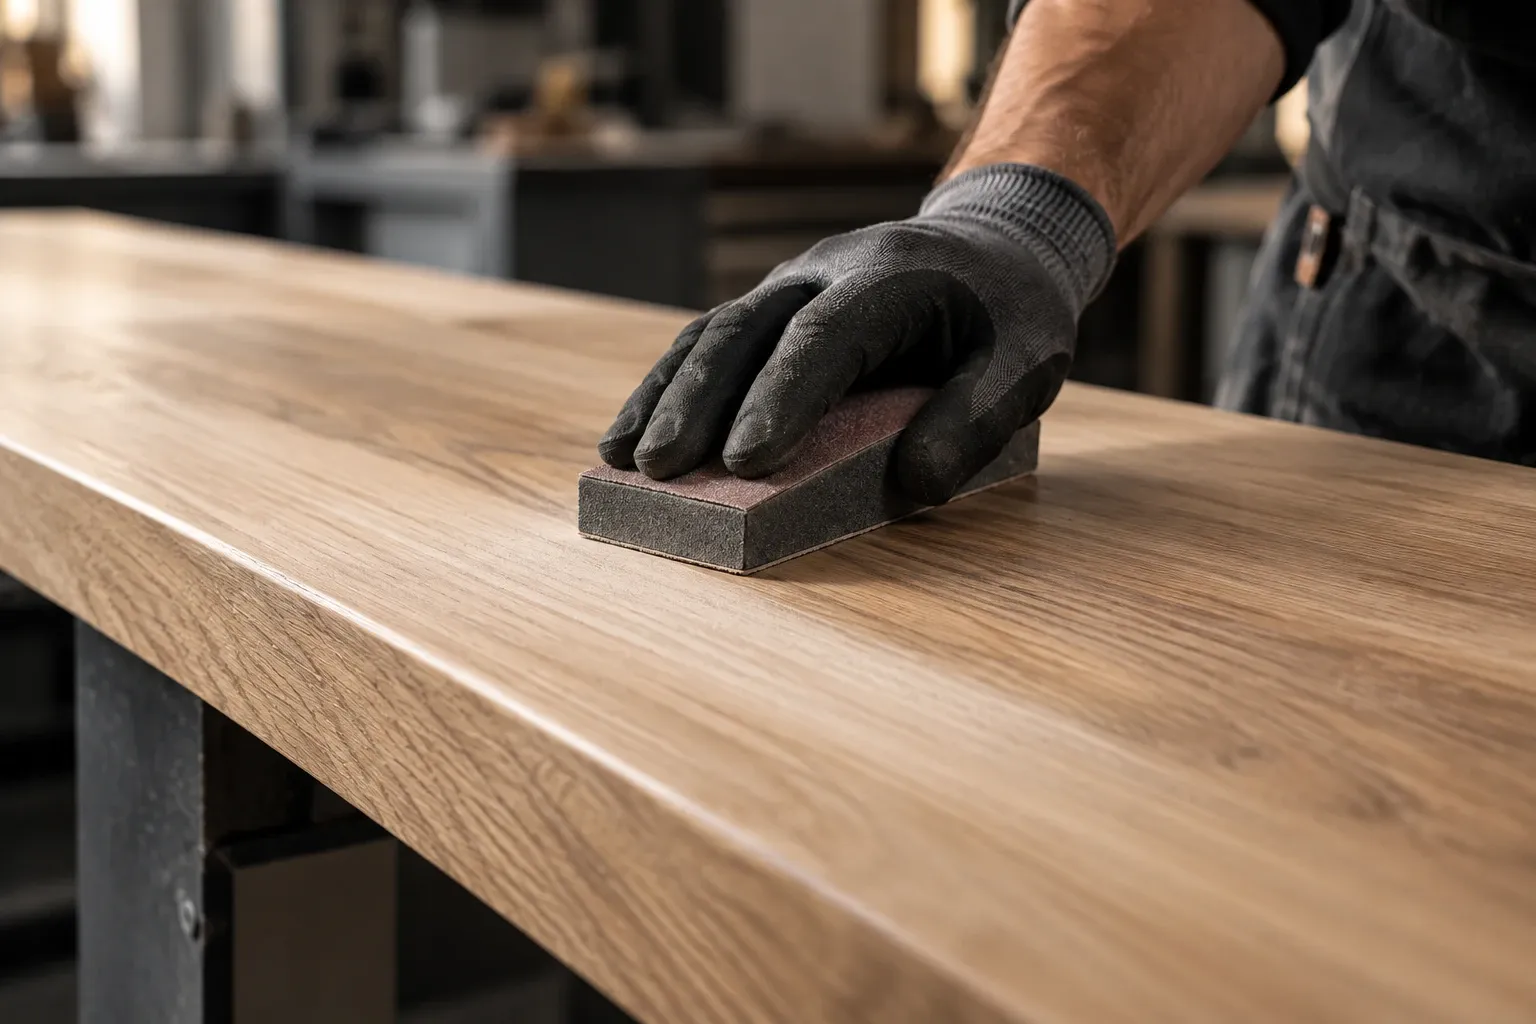
Never do edges and corners with the sander: that’s where the veneer goes through fastest. Work by hand with a block or non-woven abrasive, along the grain and with just a few strokes.
Warning signs: the colour changes, glue traces or a different wood structure show through. Stop immediately and only use non-woven abrasive on that spot from then on.
FAQ
How can I tell whether a piece of furniture is veneered?
By the edge: if the grain of the surface doesn’t run round the edge, or you can see a fine line between surface and edge, it’s veneered. Solid wood shows the growth rings on the end grain.
Can I rescue veneer I’ve sanded through?
Small spots can be disguised with a touch-up pen, wax or stain. Larger areas need a patch of veneer let in – that’s a job for a cabinetmaker.
Terms in this article
All terms in the sanding glossary →The whole sequence at once
3 grits, 1 × smallest pack each: PRO NET 150 (10 pcs) P180 · P240 · P320.
Or as a set: Wood starter set (P80–P240) for €49.90 →
incl. VAT, plus shipping