Wood · 1 min read
Sanding and re-oiling a tabletop
Stains, scratches, an old finish: take it off with P80, smooth with P120 and P180, and for oil stop at P180 to P240. How to keep the top flat.
Last updated:
Keeping it flat
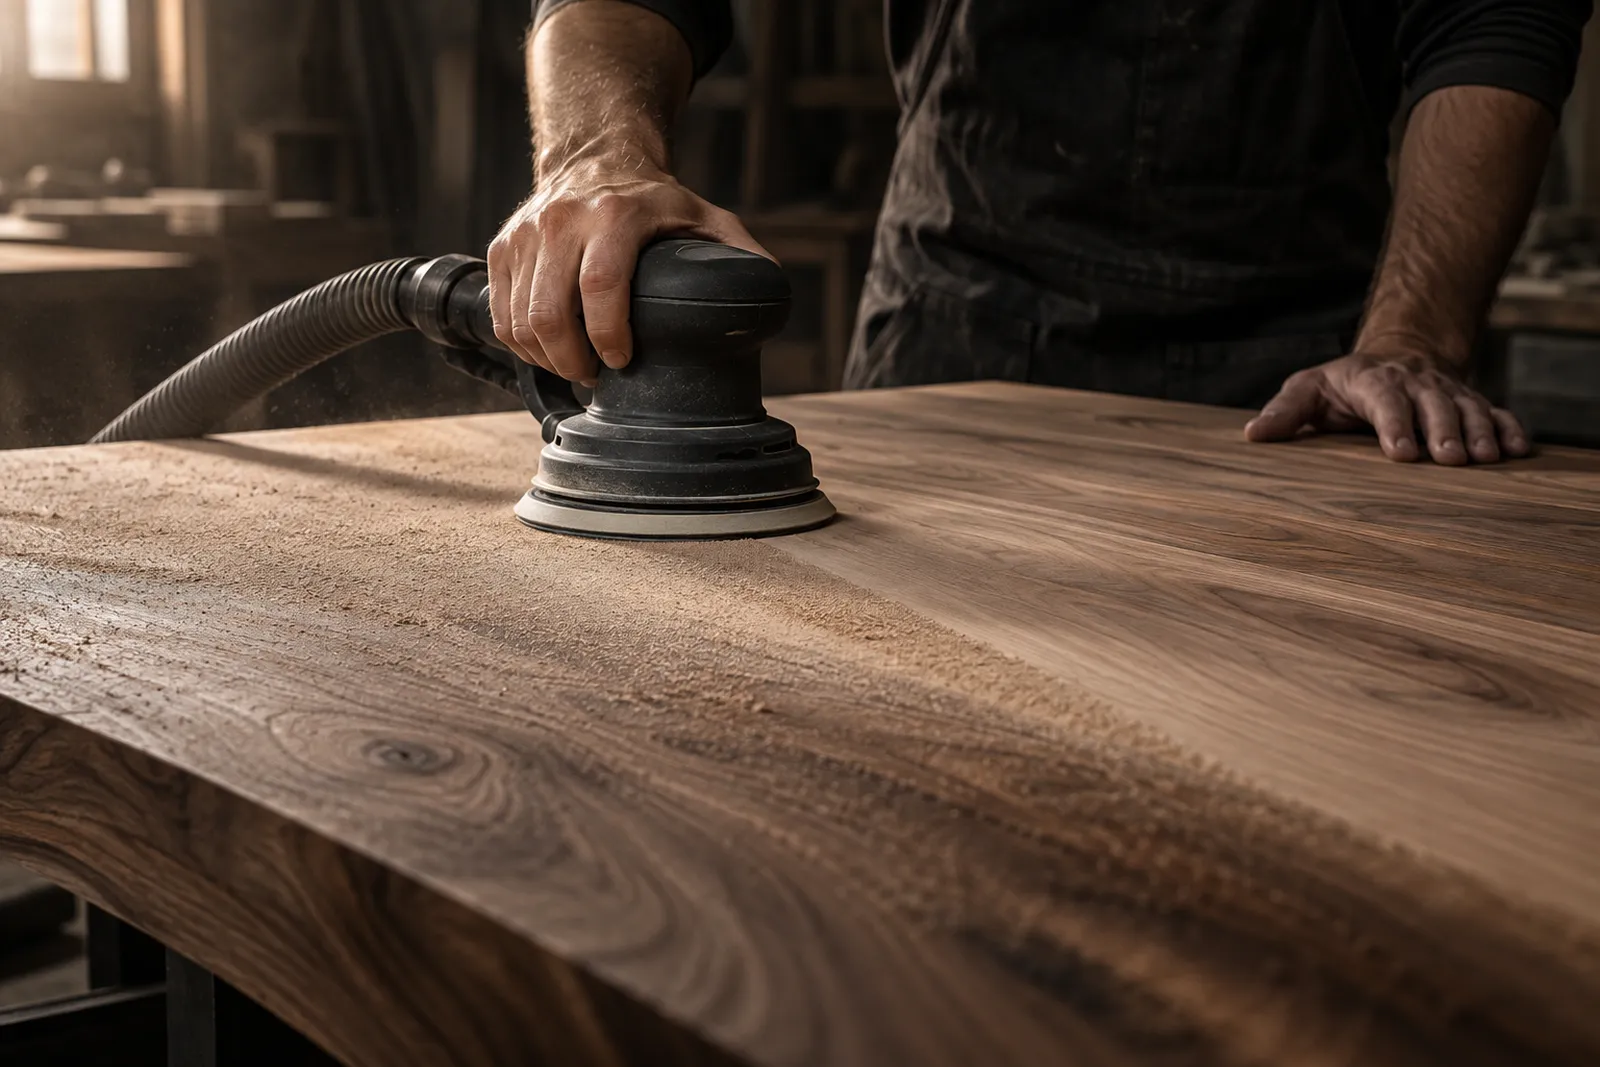
Keep the random orbital sander flat and move it over the whole top in overlapping passes – don’t circle in one spot, or you’ll create hollows. Draw a rough pencil grid on the top: once all the lines are gone, the surface has been sanded evenly.
The sequence
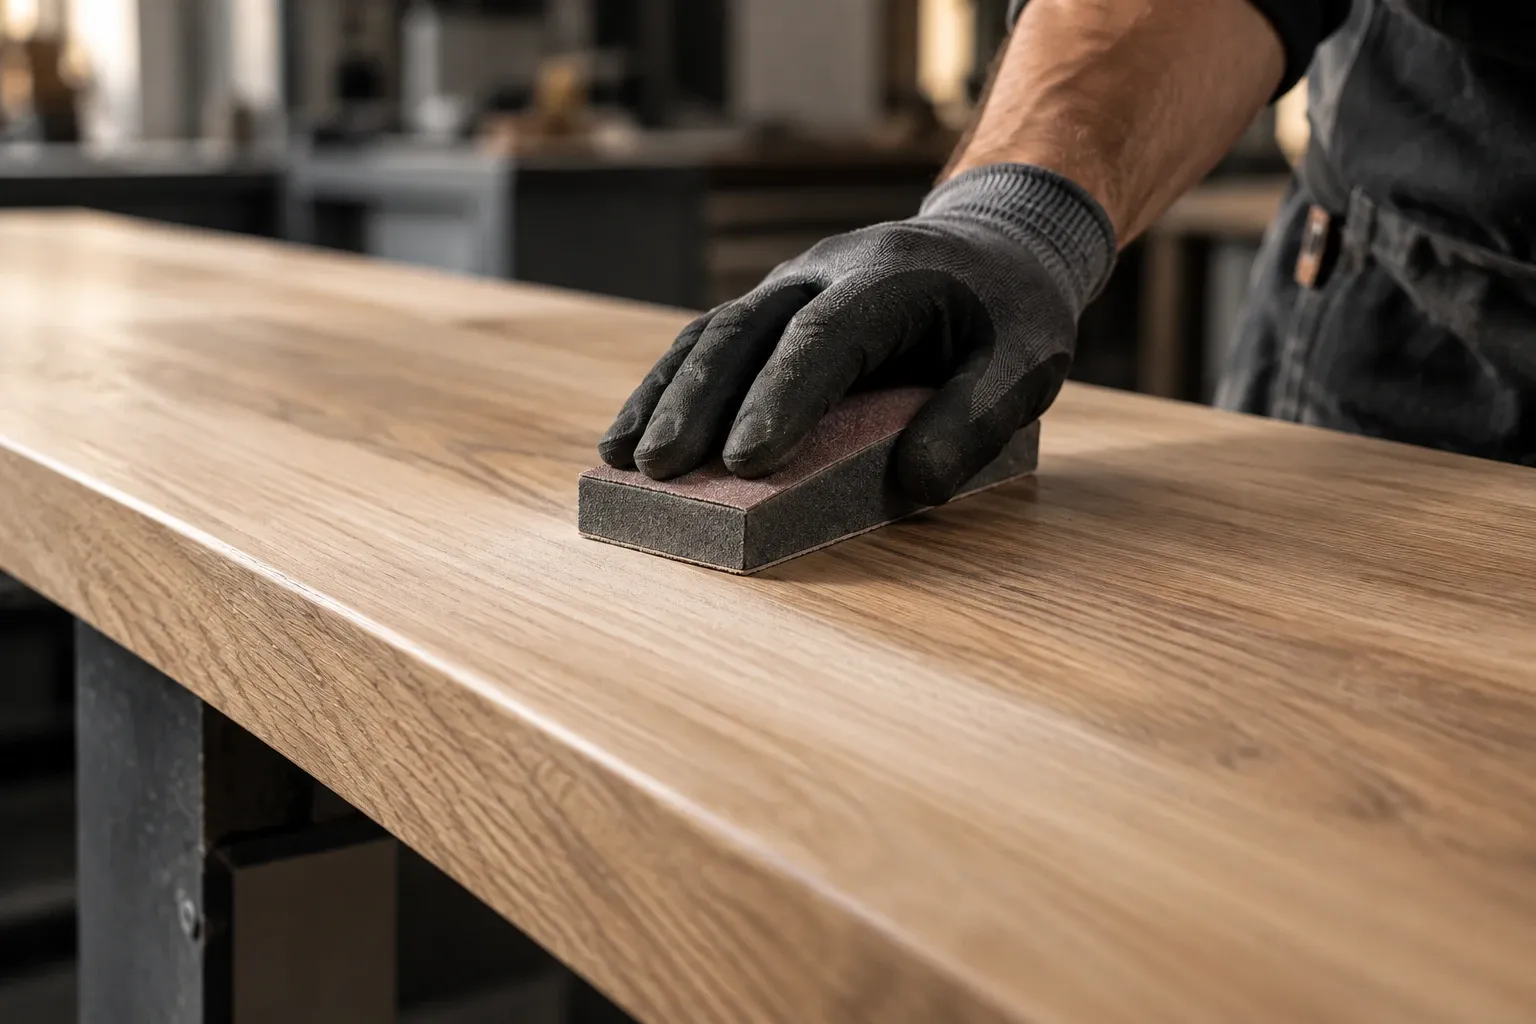
Remove the old varnish or oil layer and deep scratches with P80, then P120 and P180. Don’t skip a step: otherwise the P80 scratches stay visible under the oil. Finally, break the edges lightly by hand.
Raising the grain and oiling
Before the final sanding pass, dampen the top lightly and let it dry – the raised fibres are then sanded off with P180 or P240, and the top stays smooth after the first wipe. Oil thinly, wipe off the excess and, once dry, sand between coats with non-woven abrasive.
Solid wood or veneer?
Before the first pass, check at the edge or underneath whether the grain runs right through. If a thin face layer sits on top of a different core, the top is veneered. In that case don’t start with P80 but with P180, without pressure – veneer sands through quickly.
Stains: what sanding can do
Pale water rings usually sit only in the old finish and disappear with it. Dark stains have often soaked into the wood – on oak, for example, from iron and water. Sanding lightens them but rarely removes them completely – better not to keep sanding deeper in one spot, or you’ll create a hollow.
FAQ
Can I sand a veneered tabletop?
Only very carefully: veneer is often less than a millimetre thick. Don’t start with P80 but with P120 or P180, and use especially light pressure at the edges.
The whole sequence at once
4 grits, 1 × smallest pack each: PRO CUT 150 (10 pcs) P80 · P120 · P180 · P240.
Or as a set: Wood starter set (P80–P240) for €49.90 →
incl. VAT, plus shipping