Wood · 2 min read
Sanding kitchen fronts, laminate and melamine before painting
Resin surfaces are smooth and thinly coated: scuff them matt with P240 to P320, do not sand through – and then use a suitable adhesion promoter.
Last updated:
KORNDEX sells abrasives – matching products are linked below the article.
Why smooth resin surfaces are different
Kitchen fronts made of melamine, laminate or foil-covered board have a closed, hard surface. Paint holds poorly on it because there is nothing for it to key into. Sanding creates this keying surface – it is not about removing material.
The decor layer is thin. If you sand too coarse or too long, you reach the carrier board and get a spot that later shows through or swells.
Preparing: remove, clean, degrease
Take the fronts off, remove handles and fittings and lay them flat. Kitchen fronts are often greasy and coated with care products; clean and degrease thoroughly first, otherwise the dirt settles into the sandpaper and the bond.
Repair damaged edges and chipped spots beforehand and let them dry.
Grit: P240 to P320, only matt
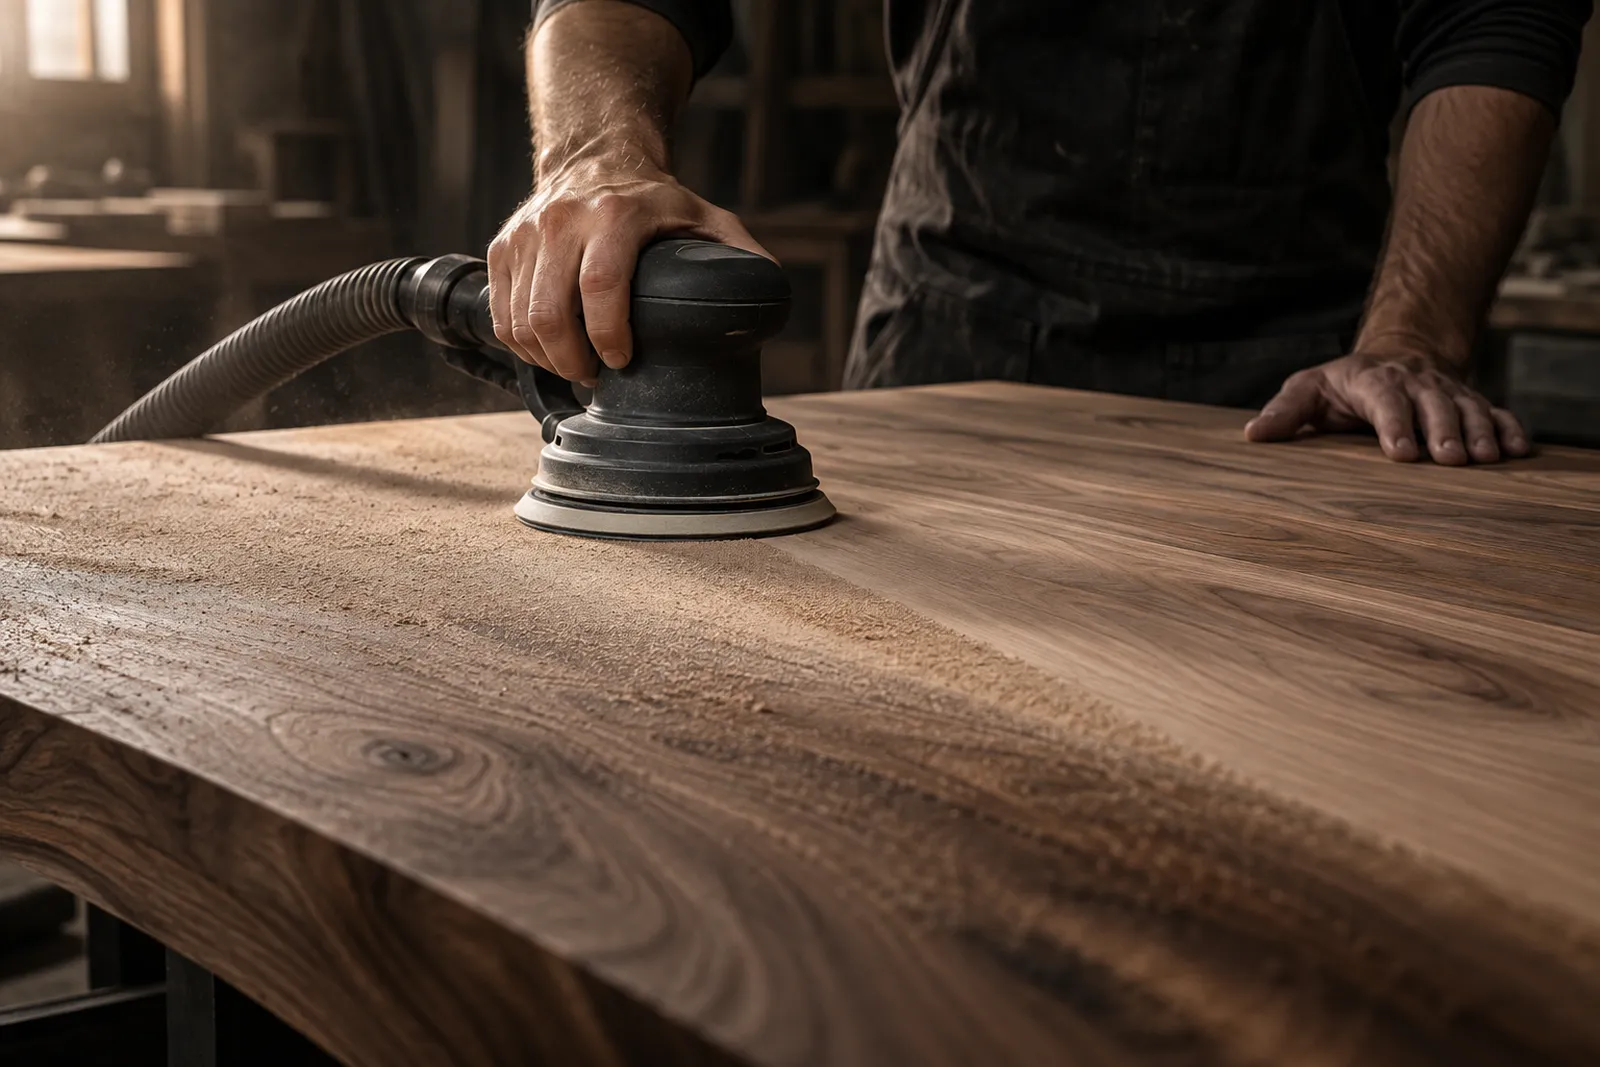
Sand evenly with P240 until the whole surface is matt and no gloss is left. Then refine with P320 so no deep marks remain visible under the paint. Little pressure, by hand or random orbital sander with a soft interface pad.
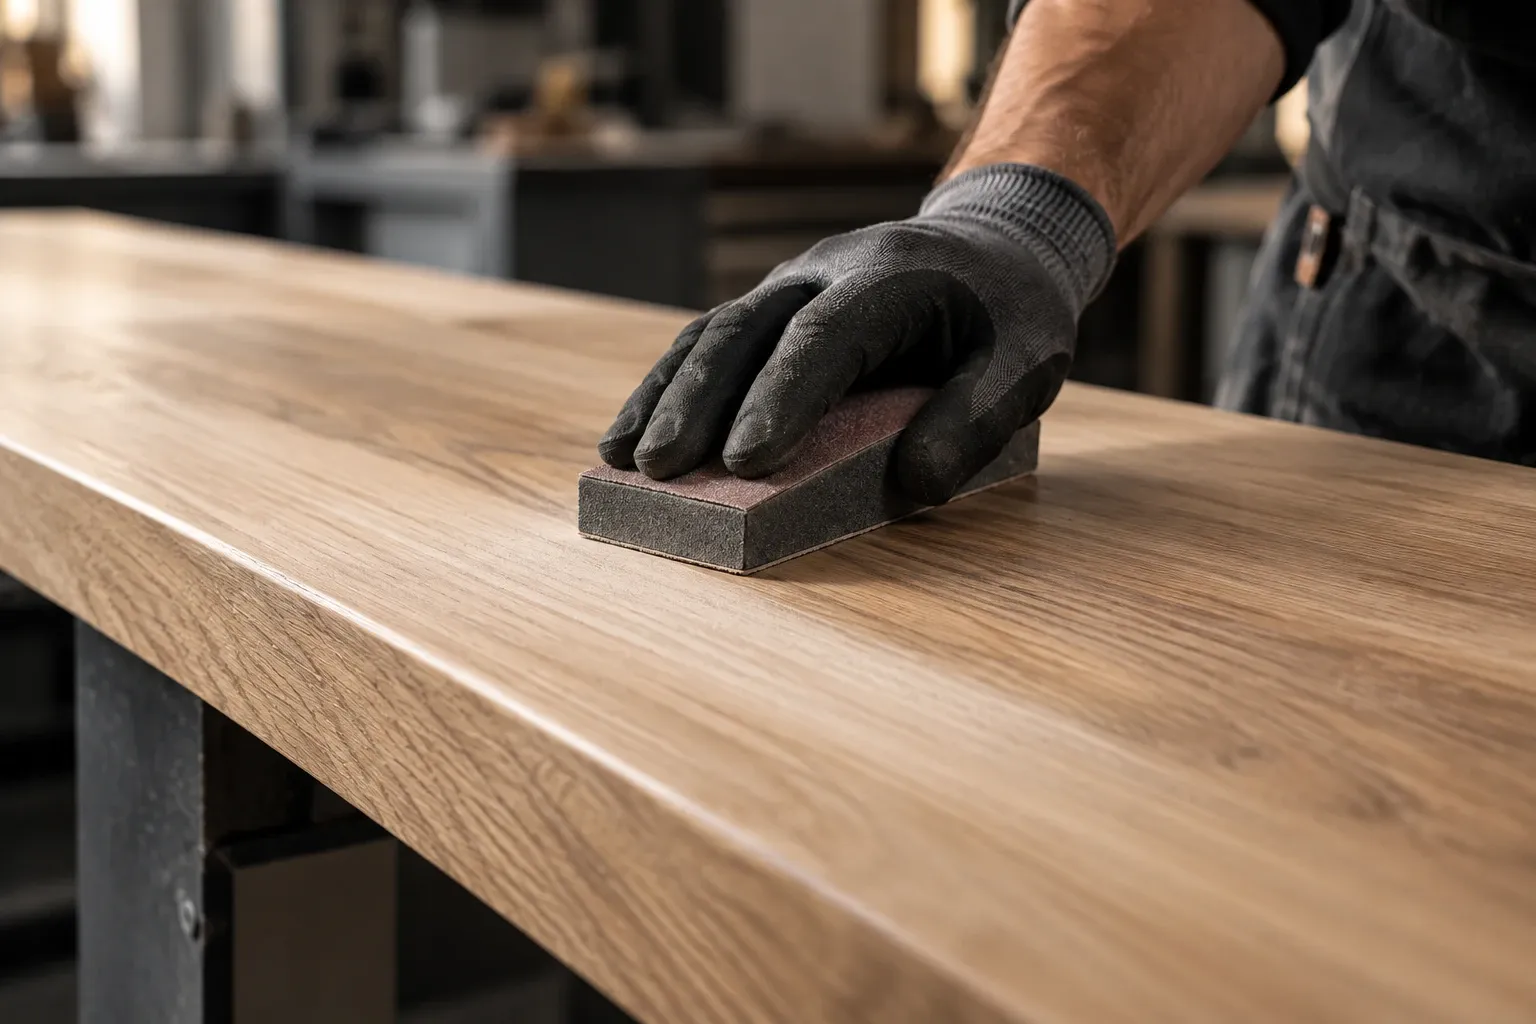
Edges and profiles by hand with a sanding block or a sanding sponge, not with the machine – the coating is through fastest there.
After sanding: dust, adhesion promoter, paint
Wipe off the dust thoroughly. On smooth resin surfaces an adhesion promoter approved for this substrate is recommended; which one is in the technical data sheet of the paint. Then paint in thin coats with a light intermediate sanding.
Typical mistakes
Sanding through the decor layer: use less pressure on edges and corners and sand by hand.
Only briefly scuffing: if glossy spots remain, the paint comes off there later.
Starting too coarse: P120 and coarser leave scratches that show through the paint.
FAQ
Do I have to sand melamine or laminate before painting?
Yes – the smooth, hard surface gives the paint no grip. Scuff it matt with P240 to P320, degrease and use a suitable adhesion promoter.
Which grit for painted kitchen fronts?
P240 to P320. Coarser leaves scratches that show through the paint; finer gives too little adhesion.
Terms in this article
- Scuff sanding (keying)
- Degreasing
- Interface pad
- Sanding sponge
- Adhesion promoter
- Intermediate sanding
- Sand-through
The whole sequence at once
2 grits, 1 × smallest pack each: PRO CUT 150 (10 pcs) P240 · P320.
Or as a set: Wood starter set (P80–P240) for €49.90 →
incl. VAT, plus shipping