Wood · 1 min read
Staining and glazing wood: which grit to sand to
Up to P180 – finer closes the pores and stain takes unevenly. How the sequence is built and why grain direction and dust matter.
Last updated:
KORNDEX sells abrasives – matching products are linked below the article.
Why not finer than P180
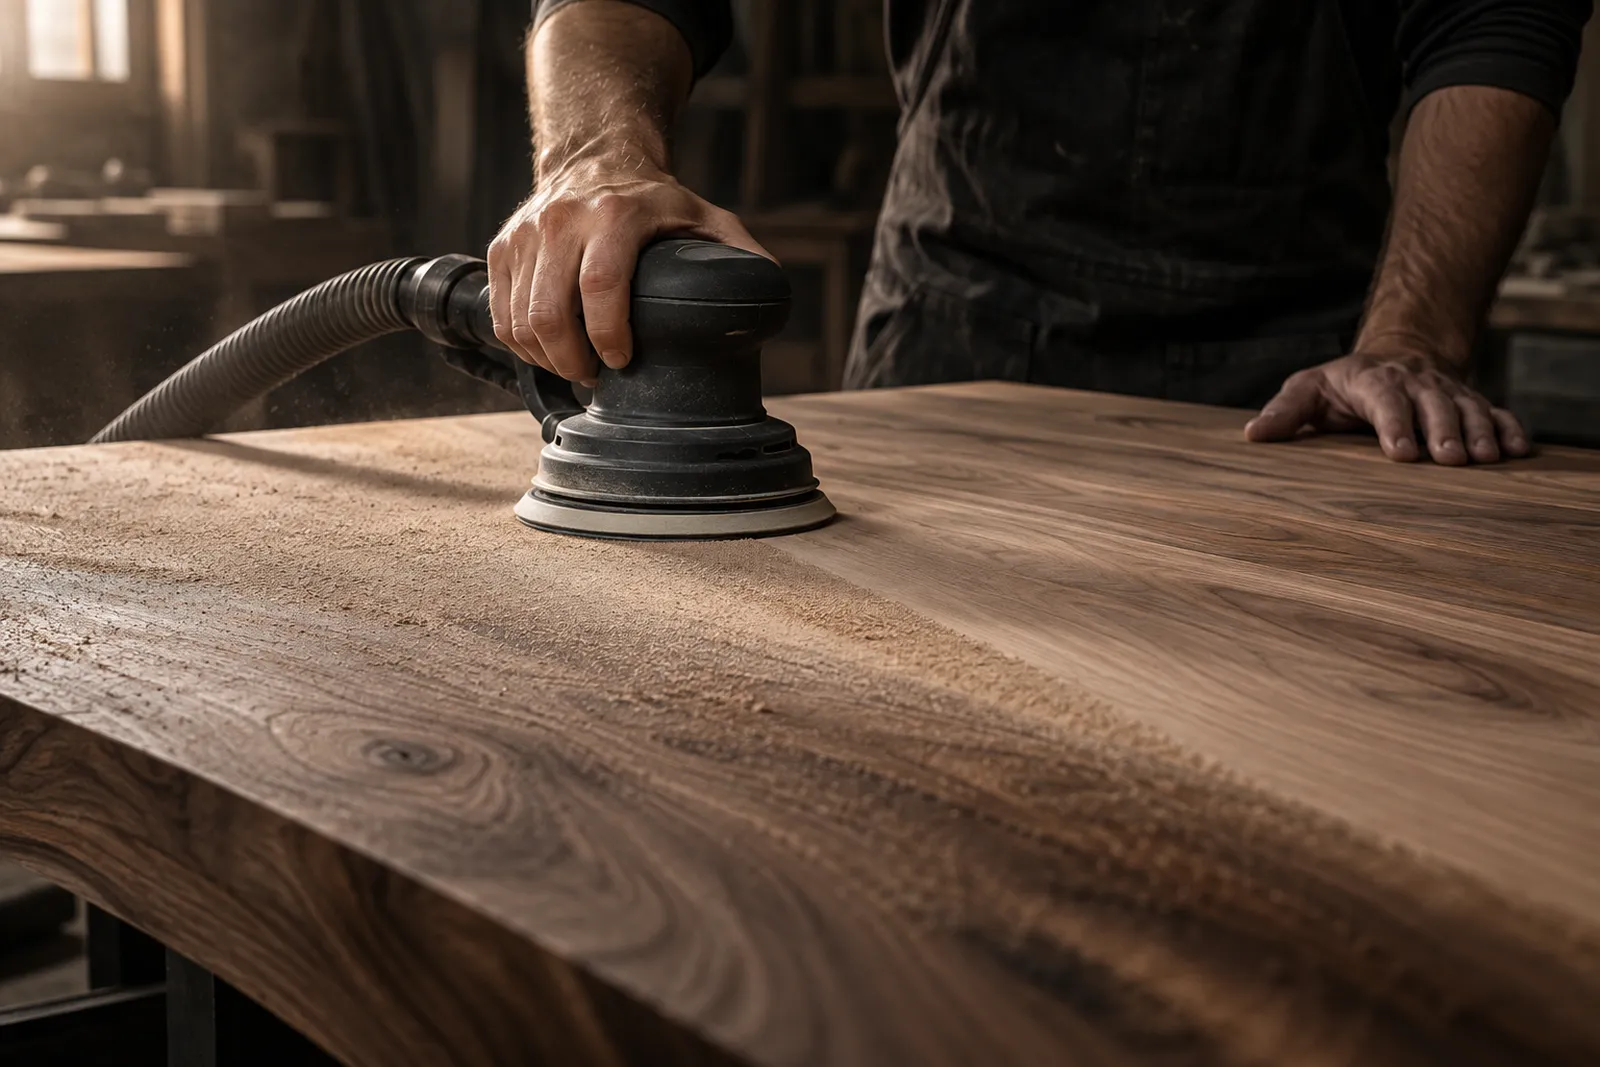
Stain and glaze are meant to soak into the wood. Wood sanded too fine has closed pores and takes up less colour; the surface looks lighter and blotchy. For most woods P180 is therefore the upper limit before staining; softwoods with their soft and hard stripes are especially sensitive to uneven sanding.
The sequence: P80, P120, P180
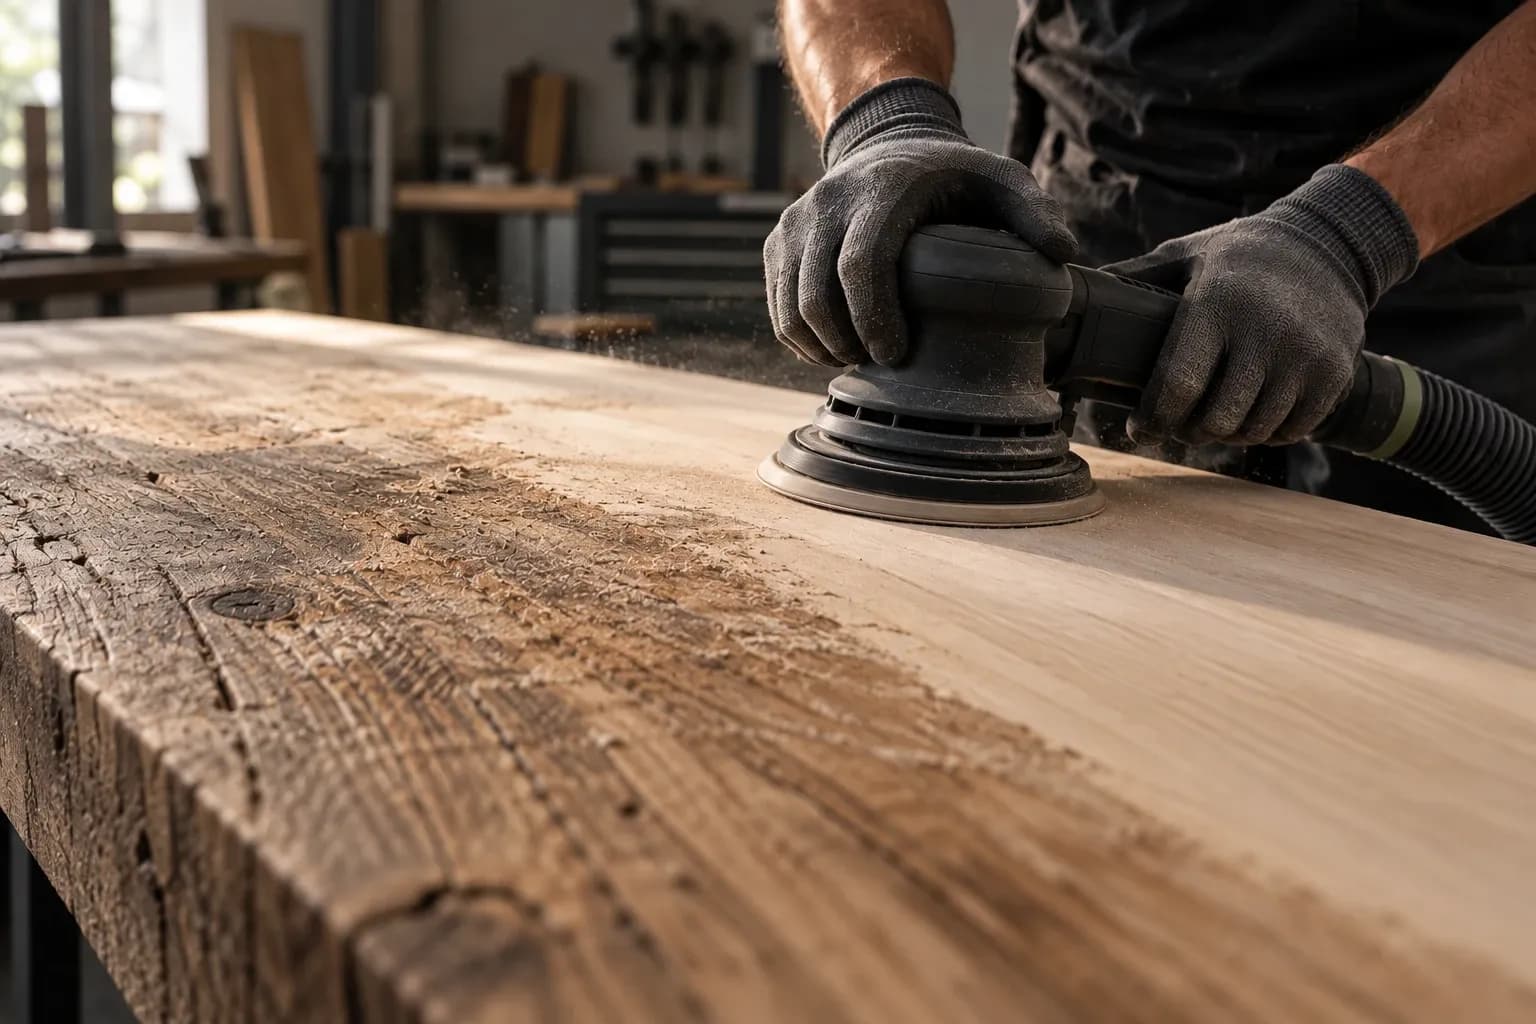
Start with P80 after old finish or a rough surface, smooth the scratch pattern with P120 and finish at P180. Never skip a step – scratches that the stain later picks up only show after staining. Always sand along the grain, never across.
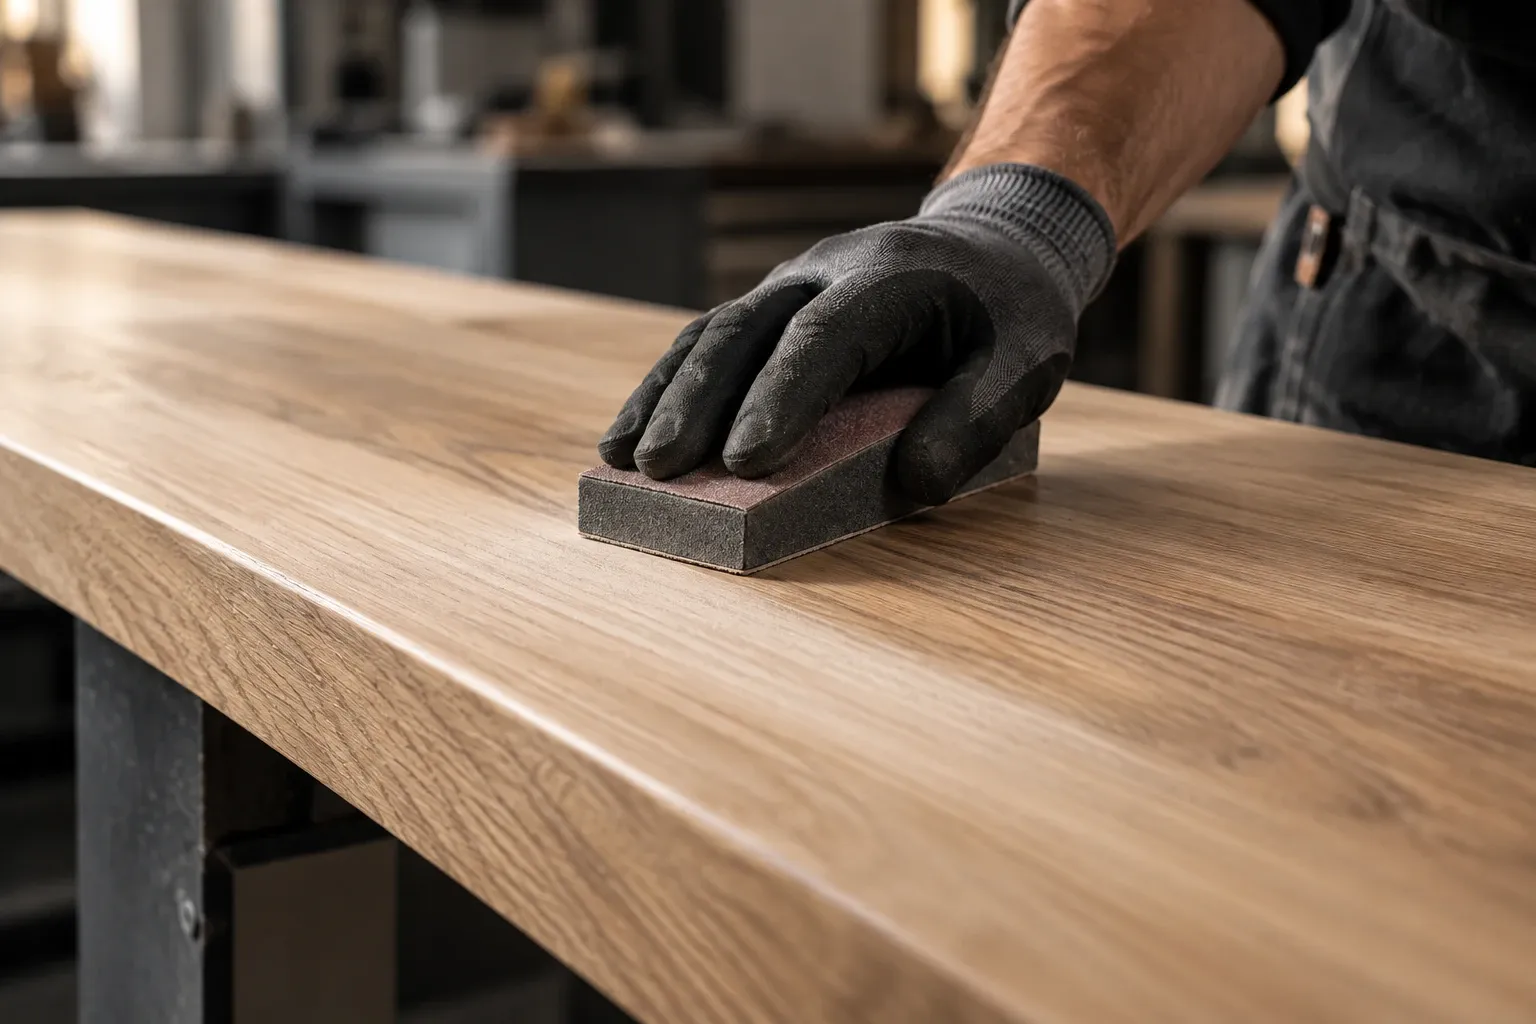
By machine with the random orbital sander and dust extraction, edges and profiles by hand with a block or foam pad.
Dust and a test piece
Remove dust thoroughly, also from the pores, and dampen the surface (raise the grain) if a water-based stain is used: lightly take down the raised fibres again with P180. Before staining, test on a spare or hidden piece how the wood takes the colour.
Between coats
After the first coat fibres stand up. Lightly sand by hand with P240 to P320, wipe off dust and carry on. The same when glazing, but without pressure so as not to sand through the layer.
FAQ
Which grit before staining?
Up to P180. Finer closes the pores, and the stain is taken up unevenly.
Do I have to sand between coats of glaze?
Yes, lightly: after the first coat sand by hand with P240 to P320 because fibres stand up.
Terms in this article
All terms in the sanding glossary →The whole sequence at once
3 grits, 1 × smallest pack each: PRO CUT 150 (10 pcs) P80 · P120 · P180.
Or as a set: Wood starter set (P80–P240) for €49.90 →
incl. VAT, plus shipping