Wood · 1 min read
Sanding a wooden staircase: treads, nosings, corners
Strip the old finish with P80, then P120 and P180. How to reach the treads, nosings and the corners a random orbital sander cannot get into.
Last updated:
Surfaces first, then corners
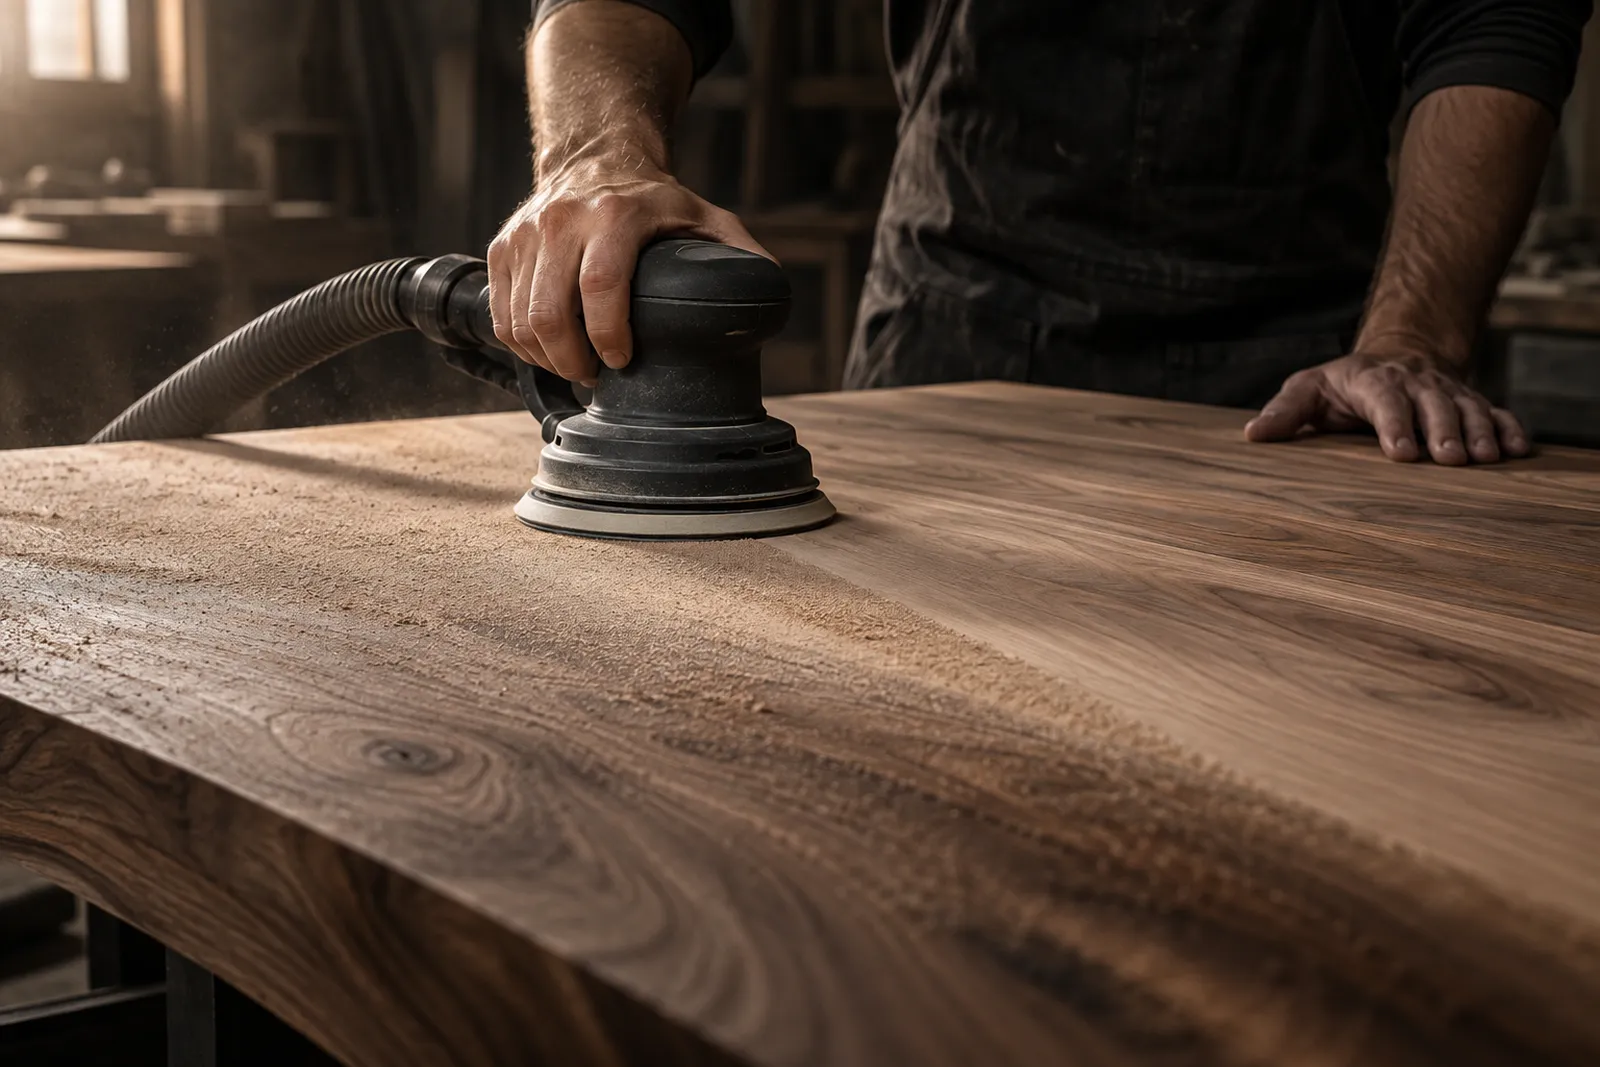
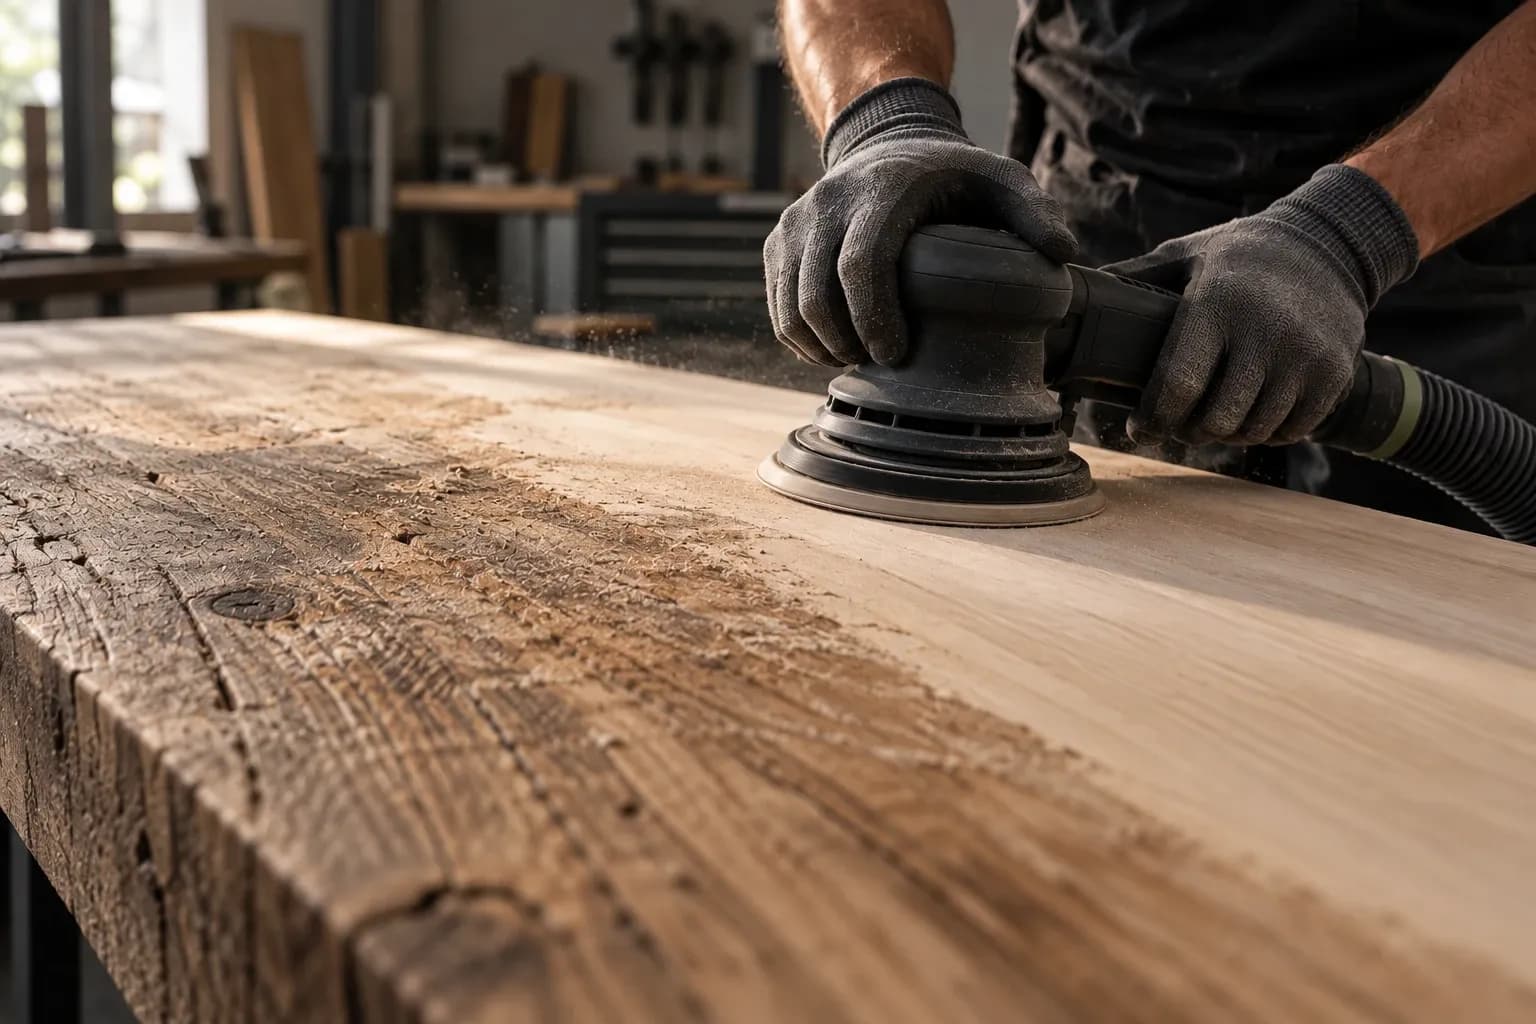
The treads can be done with a random orbital sander: P80 until the old finish is off everywhere, then P120 and finally P180. If the finish clings on in one spot, do not force it off with pressure – go back to the coarser grit instead.
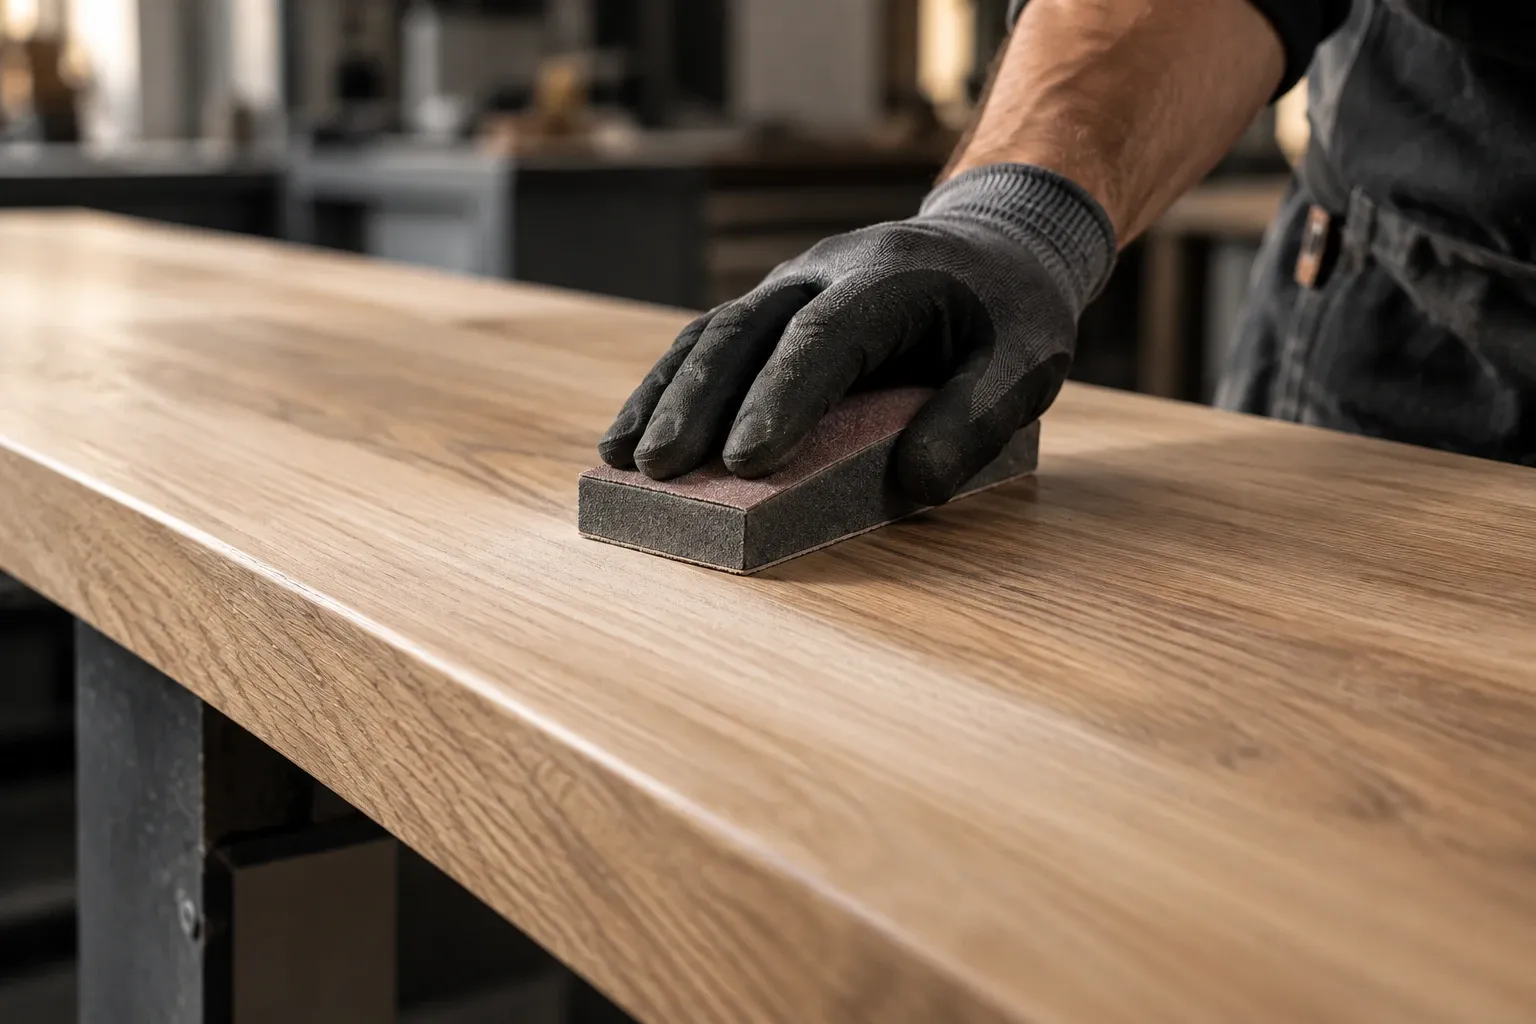
The round backing pad cannot reach the corners, the joints with the risers or the profile of the nosing. Finish those with a sanding strip on a hand block or wrapped round a piece of batten, using the same grit sequence.
Do not round over the nosings
The front edge of a tread is easily sanded round. Keep the machine flat and let it overhang the edge by no more than half the pad. Break the edge itself by hand with light pressure – it should be crisp, not soft.
Dust and working order
Work from top to bottom so you do not walk over freshly sanded treads. Dust extraction on the machine, a mask for old finishes – with coatings in older houses it is not always clear what they contain.
Before oil or varnish, vacuum thoroughly and wipe over with a slightly damp cloth. Between two coats of varnish, key lightly with P240.
FAQ
What do I use to sand the treads between coats of oil or varnish?
P240 or abrasive fleece, lightly and without a machine. Only key the surface, do not sand through – then remove the dust thoroughly.
Terms in this article
All terms in the sanding glossary →The whole sequence at once
3 grits, 1 × smallest pack each: PRO CUT 150 (10 pcs) P80 · P120 · P180.
Or as a set: Wood starter set (P80–P240) for €49.90 →
incl. VAT, plus shipping